I love to read and although I have a Kindle that I absolutely love, I also still enjoy a ‘proper’ book. My sister and I (and a few friends) like to swap books and I also often go to the secondhand shop to get books. There isn’t a great choice in English books but I usually find one or two and I never have a problem finding a few good German ones.
Over the years I have used lots of different bookmarks: bought bookmarks, photos, scraps of paper, paperclips, pencils and miscellaneous bits and bobs that are lying around. One thing most of them have in common is that they fall out when you chuck your book in a rucksack or bag. So I decided to make bookmarks that wouldn’t fall out. I used fabric scraps and a bit of elastic to make my first ones.
I sort of liked it and didn’t like it. So I thought it might be the elastic that was bothering me and went off to get some wider elastic. These are the next two bookmarks I made:

One in green for myself and one in blue for my daughter.

Although I really liked those I felt that they were a little difficult to get right. Some books were just too big to fit the bookmark and we soon stopped using them.
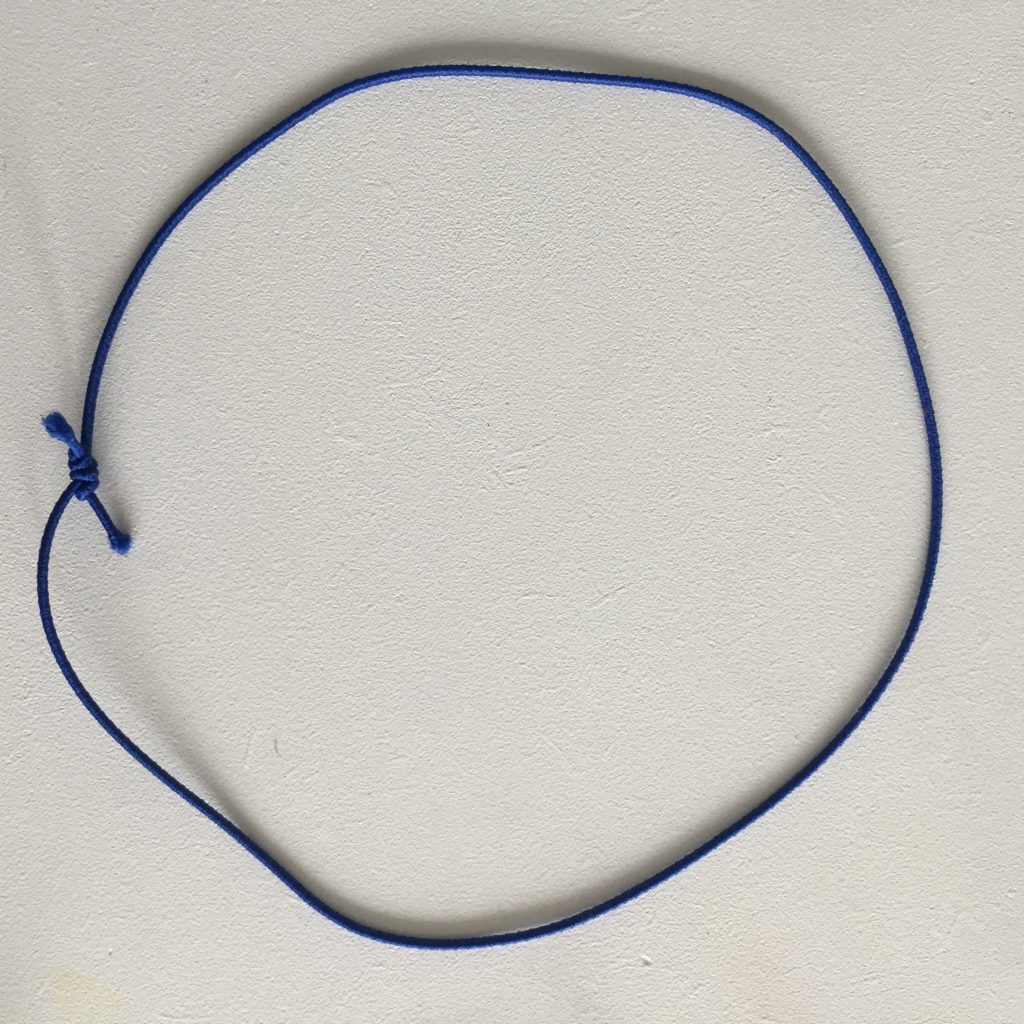
So I thought I needed to go back to the thin elastic which is super stretchy and fits easily around lots of the books. I just needed to hide the ugly knot.

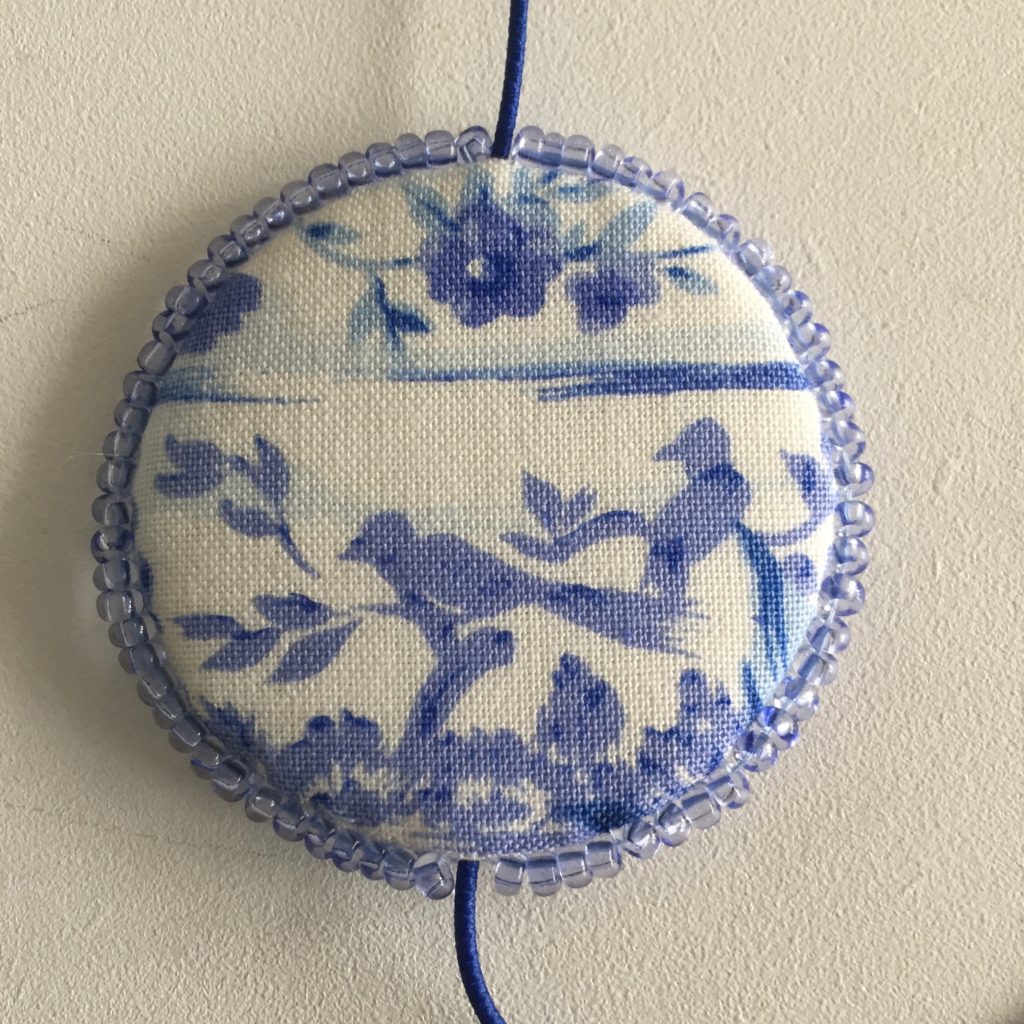
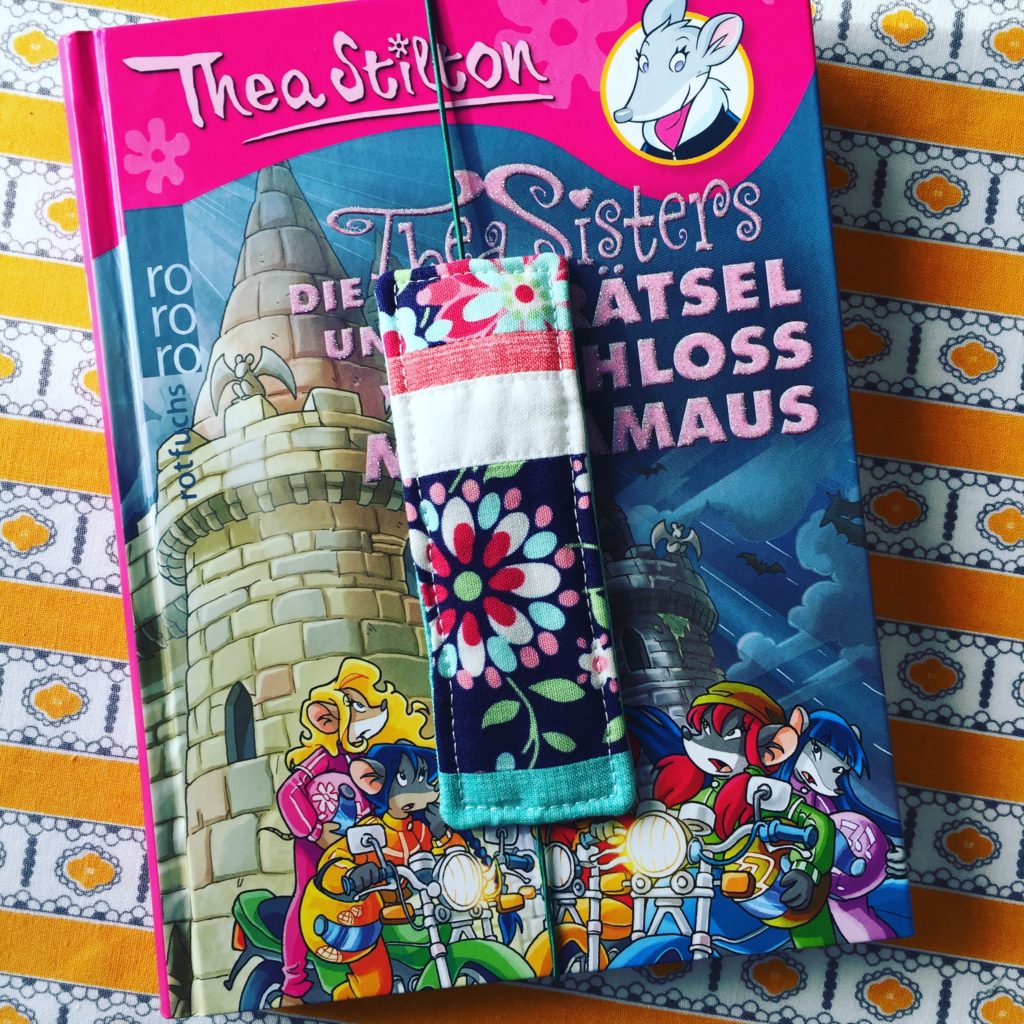
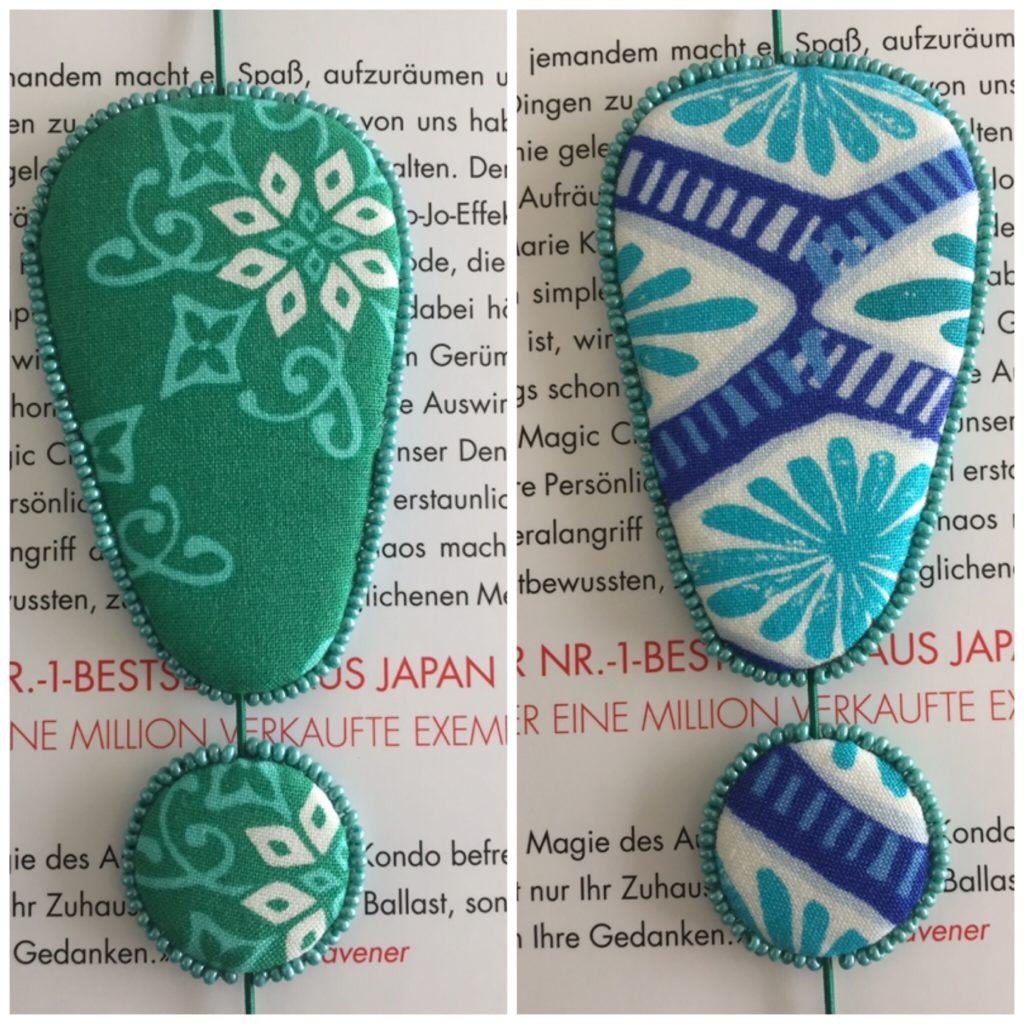
This was the result. I really love these bookmarks. They stay in the book if it falls on the floor or is rudely thrown into a bag. They’re fun and colourful and I love the little beads around the edge. The best thing is that you can easily use up your favourite scraps.
Would you like to make one too? I’m going to show you how I make a round one (which is my favourite) but it’s easy to adapt the shapes. I’ve made ovals, hearts, circles and even a slightly wonky exclamation mark.

Materials:
scraps of fabric
16″ of thin elastic
pelmet (e.g. Vliesline S320) or some thin cardboard
batting
beads
scissors, needle and thread
First, draw the shape you have decided on -I’ve gone for a circle- onto your pelmet or thin card. Cut out twice. Do the same with the batting. I like to use wool batting as it’s got a high loft but in this tutorial I’m using some cotton batting.

Lay the pelmet on your piece of fabric and cut out twice with a 1/4″ seam allowance. You can also make a template with some paper or card to fussy cut the fabric.

Sew a running stitch around the edge of your fabric piece, then lay first the batting and then the pelmet on top and pull on the thread. Secure the thread once you’re happy that your fabric is taut. Don’t pull too hard as you don’t want to bend your pelmet or card. Do that twice.

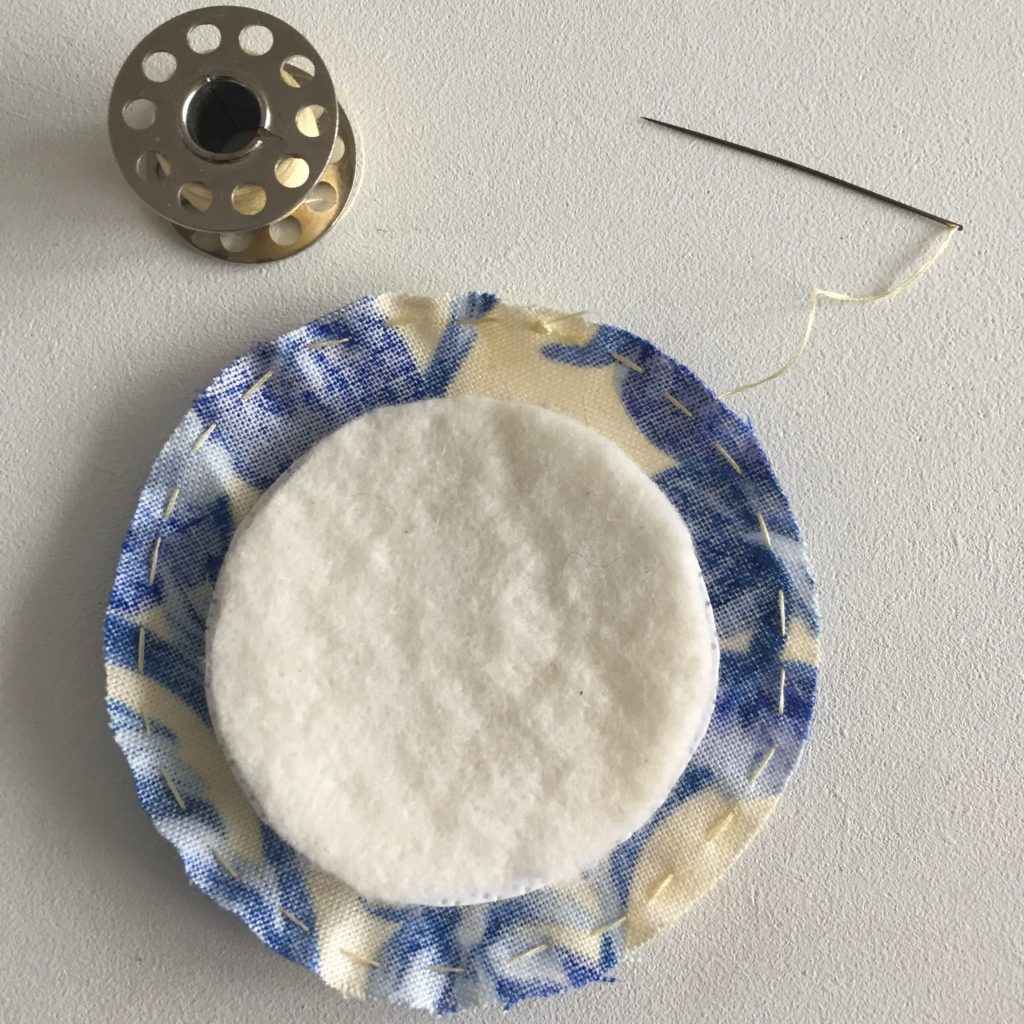

I realised that I made a mistake and had the batting on top of the pelmet rather than the other way around. Don’t make the same mistake as it makes the bookmark very flat. Luckily I realised it before I finished the bookmark and was able to rectify my mistake but it’s still wrong in the picture.
Now, take your elastic and knot it together. Attach the elastic to the back of one of your shapes with a couple of stitches. Then lay the second shape on top and sew together with a ladder stitch or whip stitch.


Next, sew the beads on the edge of the shape. I like to use a back stitch to attach them all on a quarter of the circumference and then go through all the beads so they line up beautifully.


Done. Now, go and enjoy a cup of tea and a good book!