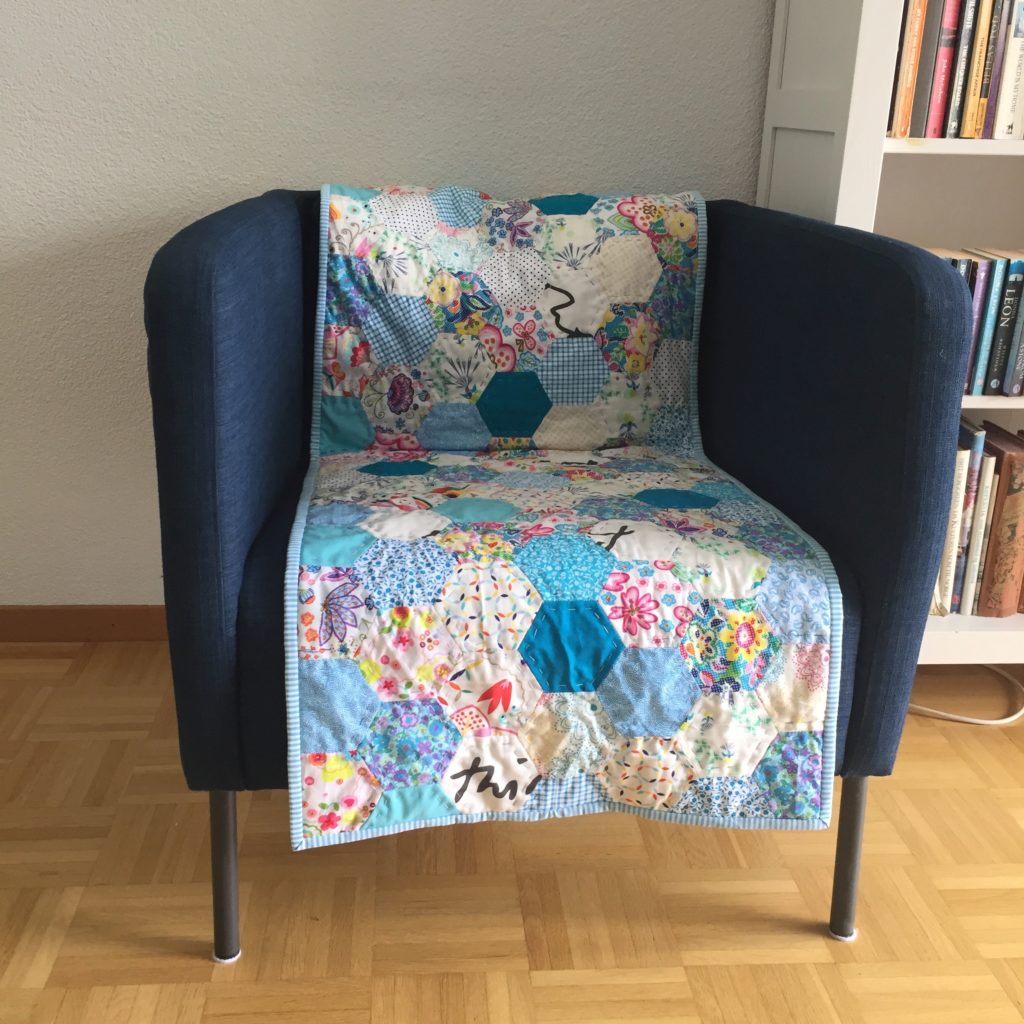
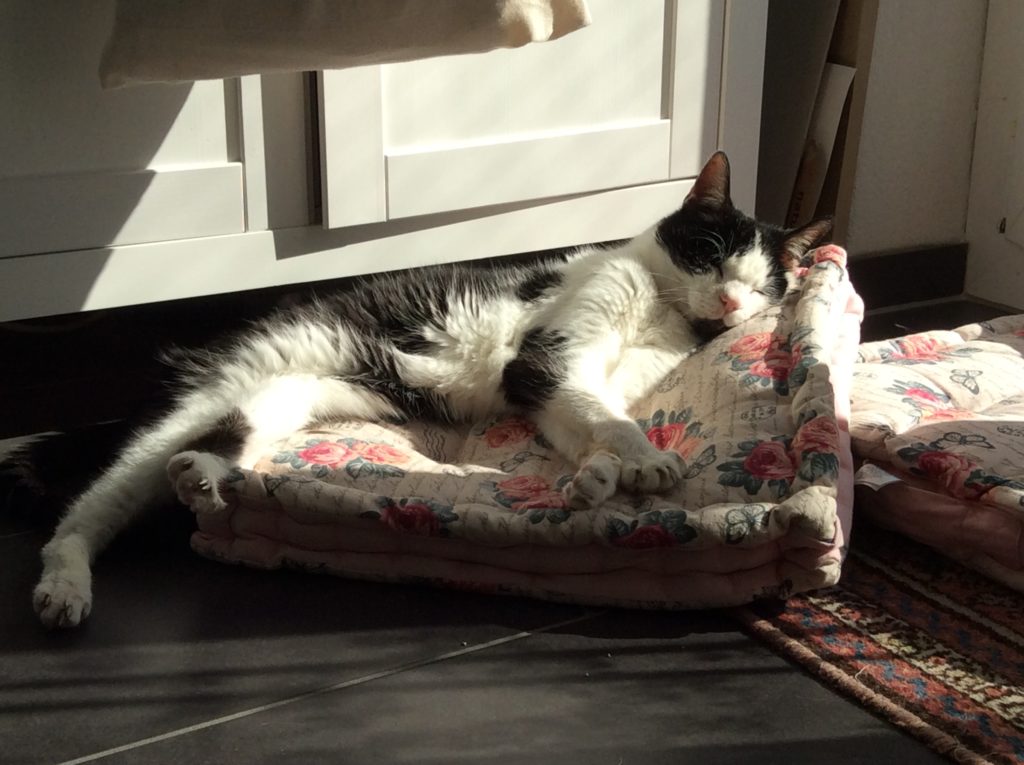
It’s now been seven weeks since lockdown started here in Switzerland. You would think that it’s the perfect time to sew but I’ve not really felt it. I have been sewing a little but with all the time spent on homeschooling my daughter I’ve done less than expected.
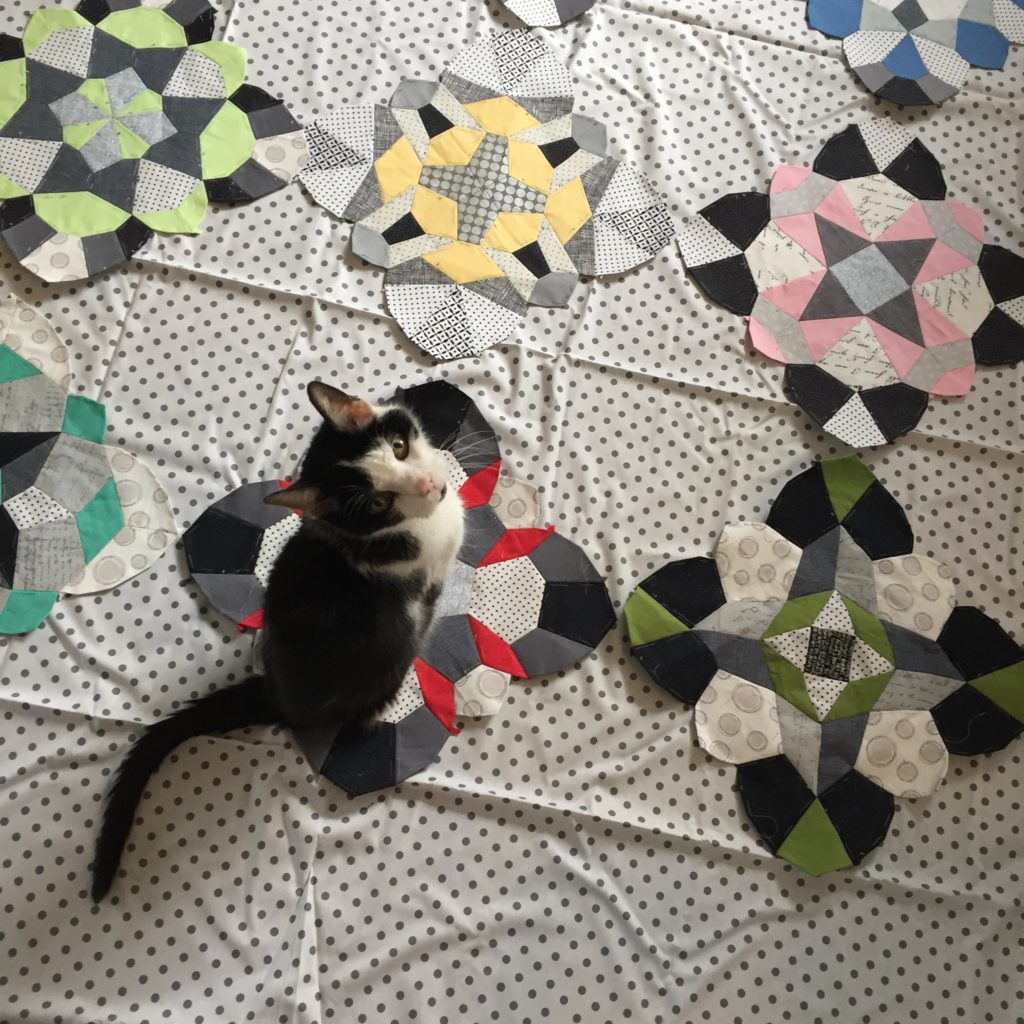
The fabric shop I’m working at, Alja nouveau, is expected to open again in two weeks time and my colleagues and I are going to sew a few masks. I’m sure lots of people are going to come to buy fabric and elastic but some might also want to buy finished masks. I’ve already sewn a few but I thought that among all that catastrophe sewing it would be nice to do something else so I’ve designed a couple of free English Paper Piecing (EPP) patterns for you.

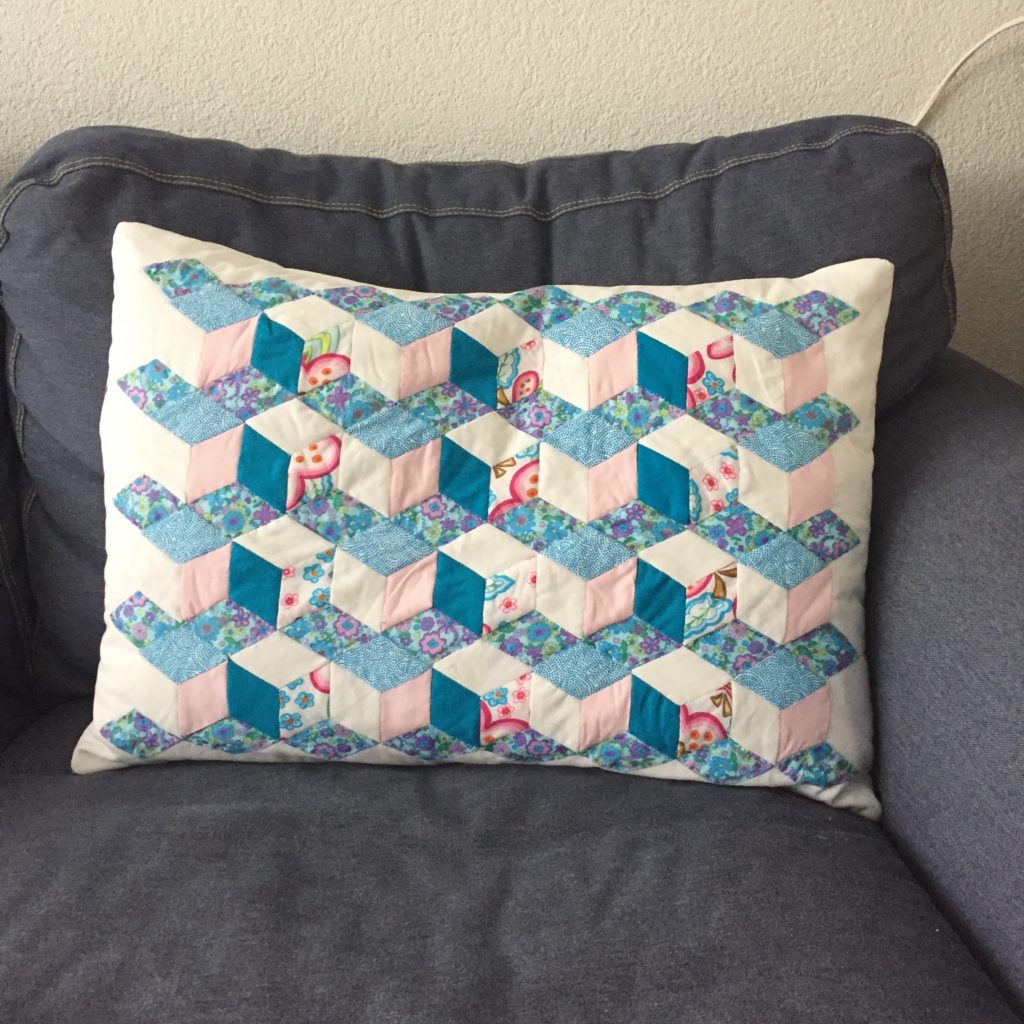
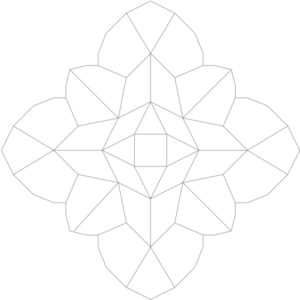
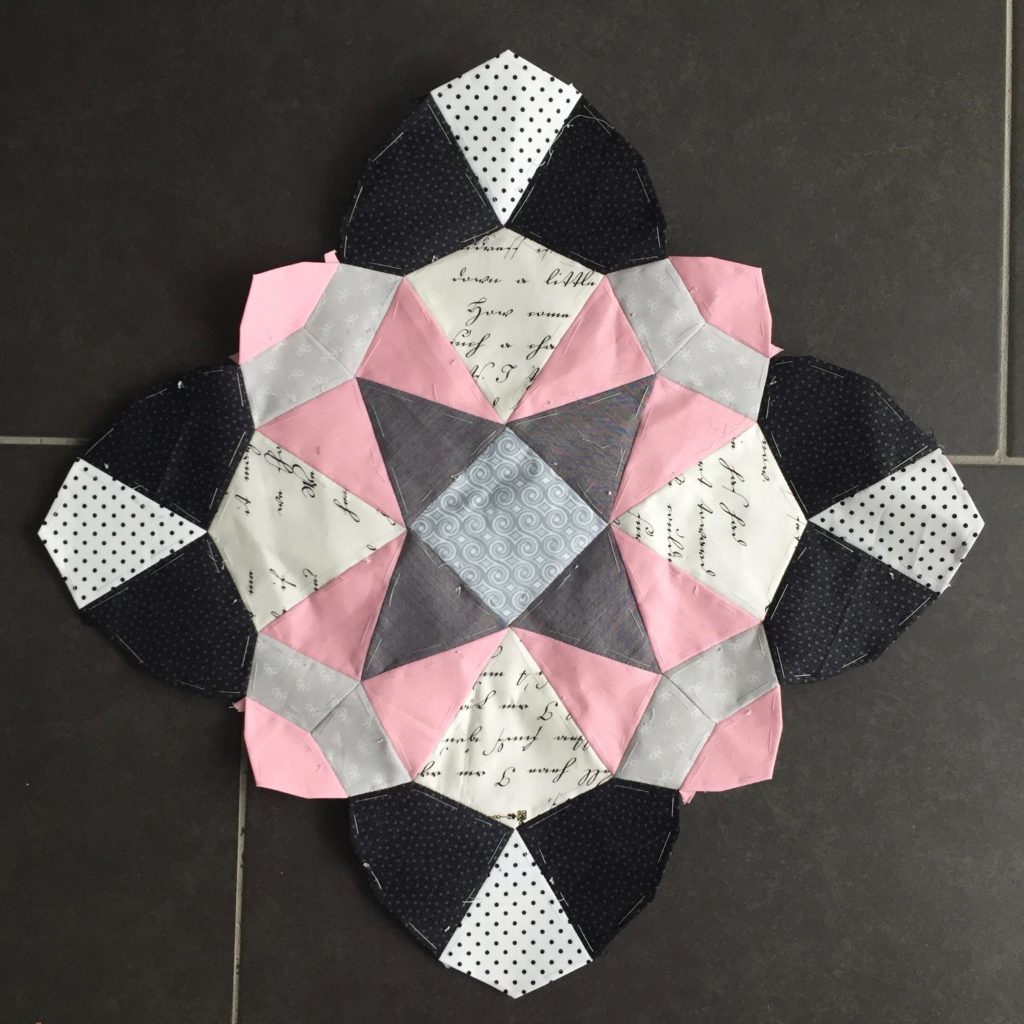
The first one is called Comfort and I’ve designed it to become a cushion. I’m not sure why the bottom line isn’t in the picture, it’s there when I look at the picture in my photos. Anyway, the size is 16″ x 18″ as I like a slightly rectangular cushion and if you stuff a 20″ x 20″ cushion filler in it the cushion becomes nice and plump, just the way I like it. If you’d like it a different size you can, of course, resize it before printing it out. If you’re not sure how to do that, check out one of my previous blog posts Tips and Tricks.
Find the templates for Comfort here:
I’ve written on the templates how many times you have to print them out to make the cushion.
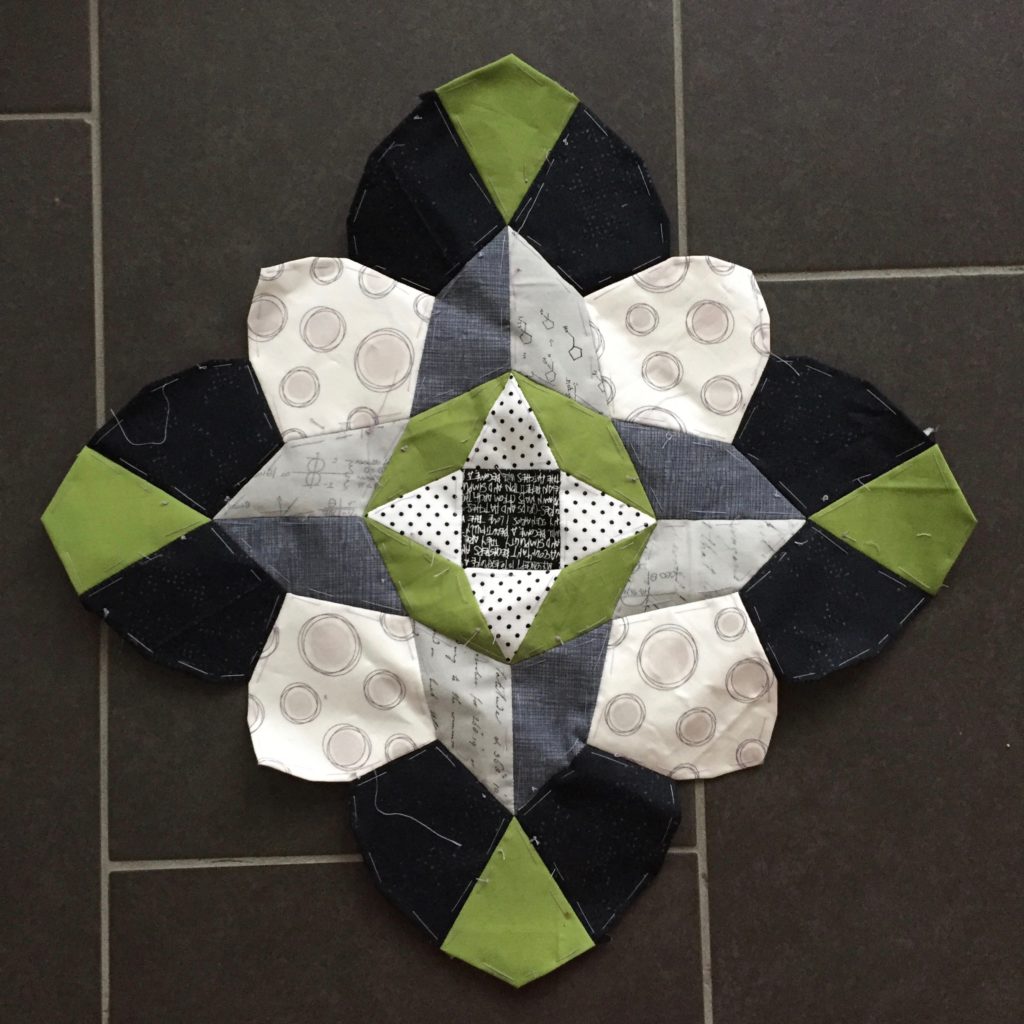
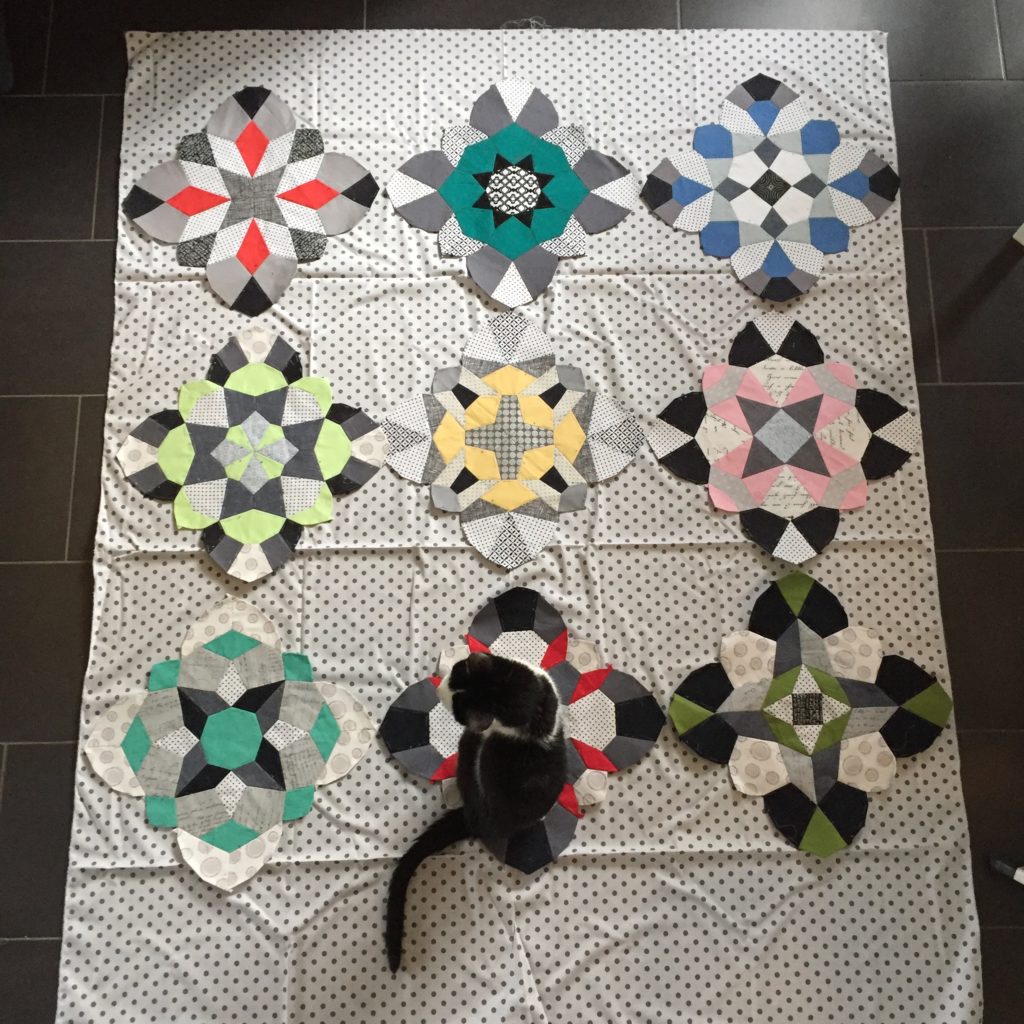
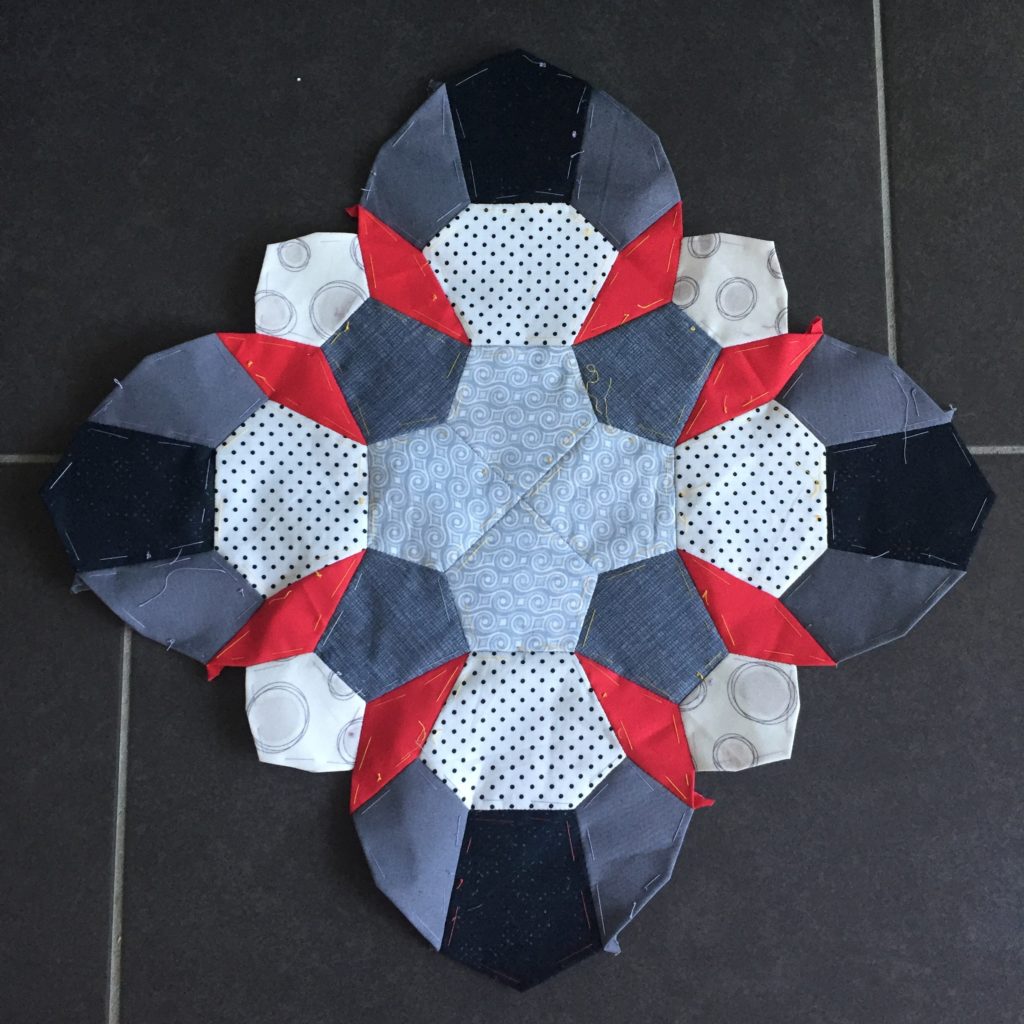
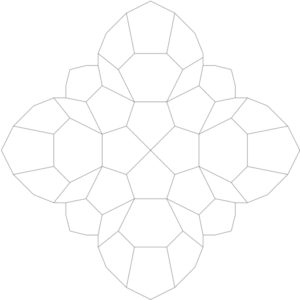
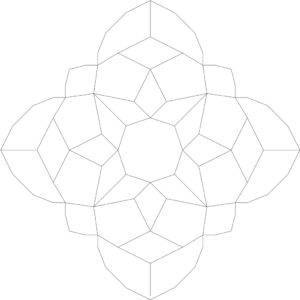
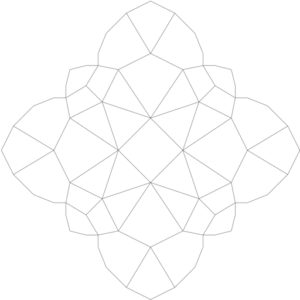
Next there’s a pattern for a table runner (although I could also imagine three or more appliquéd onto a background to make a stunning quilt). Gratitude finishes at 13.5″ x 46″.

Download the templates for Gratitude here.
You will need to print out each file twice to have all the templates. When sewing it’s easiest to start with a (the outside) and work your way through the alphabet or if you prefer to work from the inside out, start with g and work your way out to a.
I’m happy to help if you have any problems or questions with either of these patterns. Email me at sharksdinner (at) sunrise (dot) ch and I’ll do my best to help.
I really hope you like these two new patterns. If you do sew one of them and you are on Instagram, I would love it if you added me (@lemonshark) and/or used the hashtag #sharksdinnerpattern. Thank you!
Happy sewing!