July Row

Hello, hello!

Another month has passed and I’m still working on my March row. As our summer holiday is fast approaching I’m hoping to get more done and will do my utmost to catch up with my sewing.

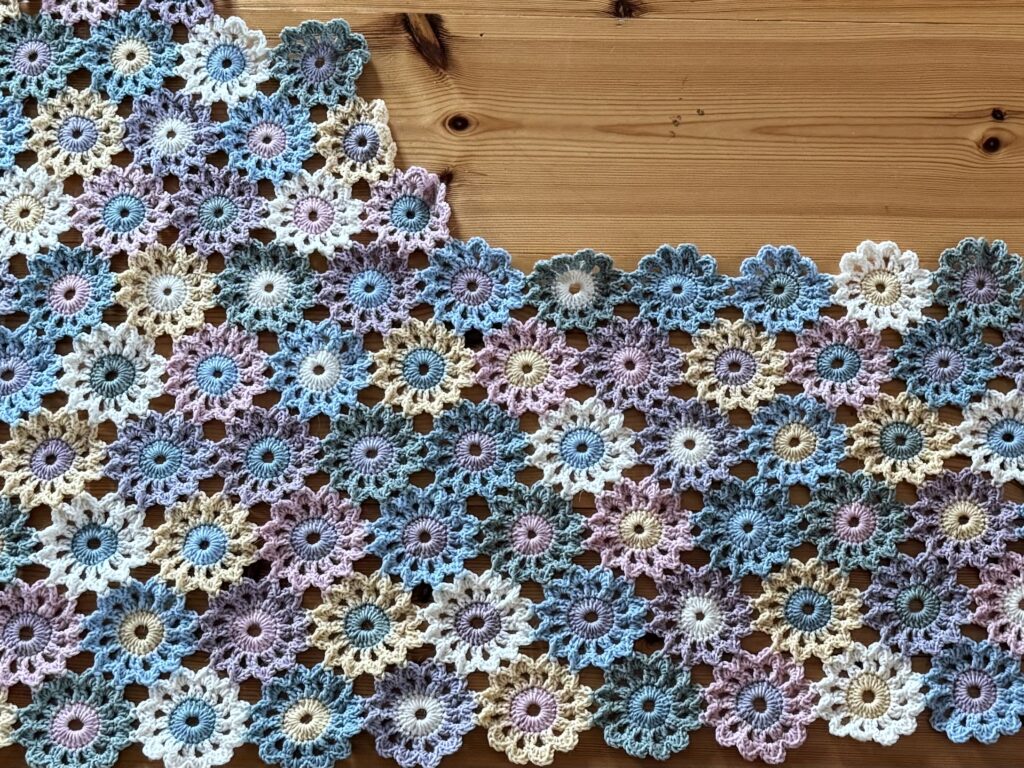
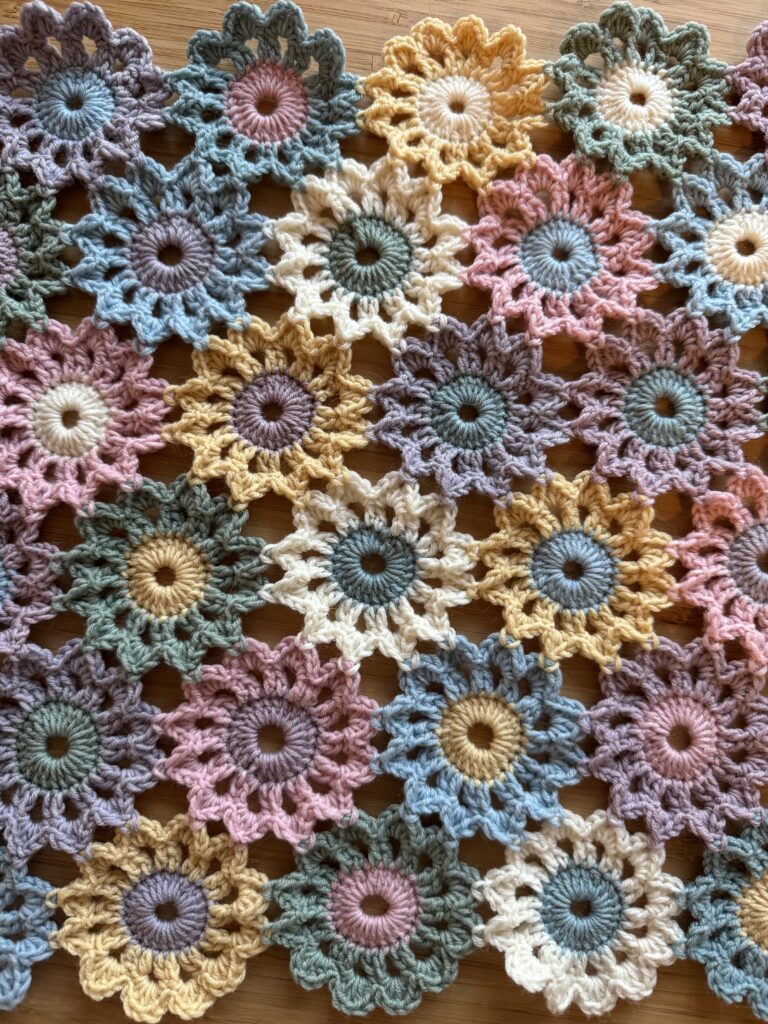
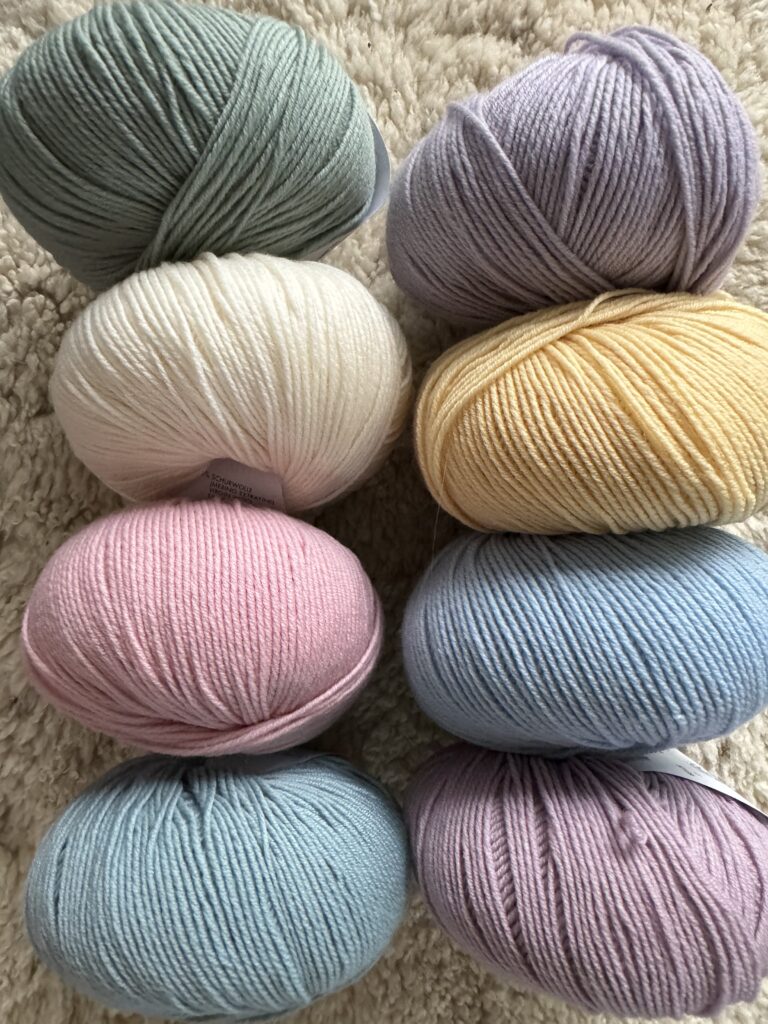
However, I’ve been naughty and have started a new crochet project. Three friends of mine have asked me to design a flowery crochet blanket. One of the girls saw a beautiful crochet blanket but we couldn’t find a pattern for it so designed a similar one. I’m making mine for my daughter and she’s picked lots of lovely pastel colours:

I’ve made a start and the blanket will look very soft and delicate. I’ll show you my progress in a separate blog post as I’m really pleased with both the design and the wool.

Here are the templates for the July row of the block of the month:

July 1

July 2

July 3

Happy sewing!

June Row

Hello, hello!

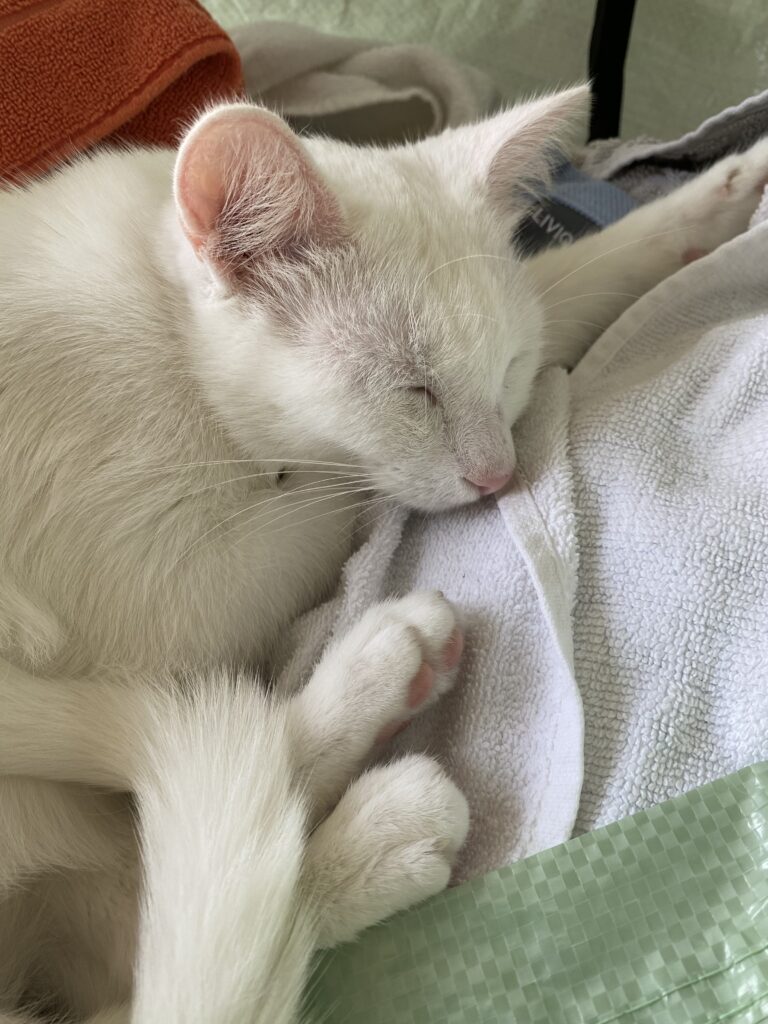
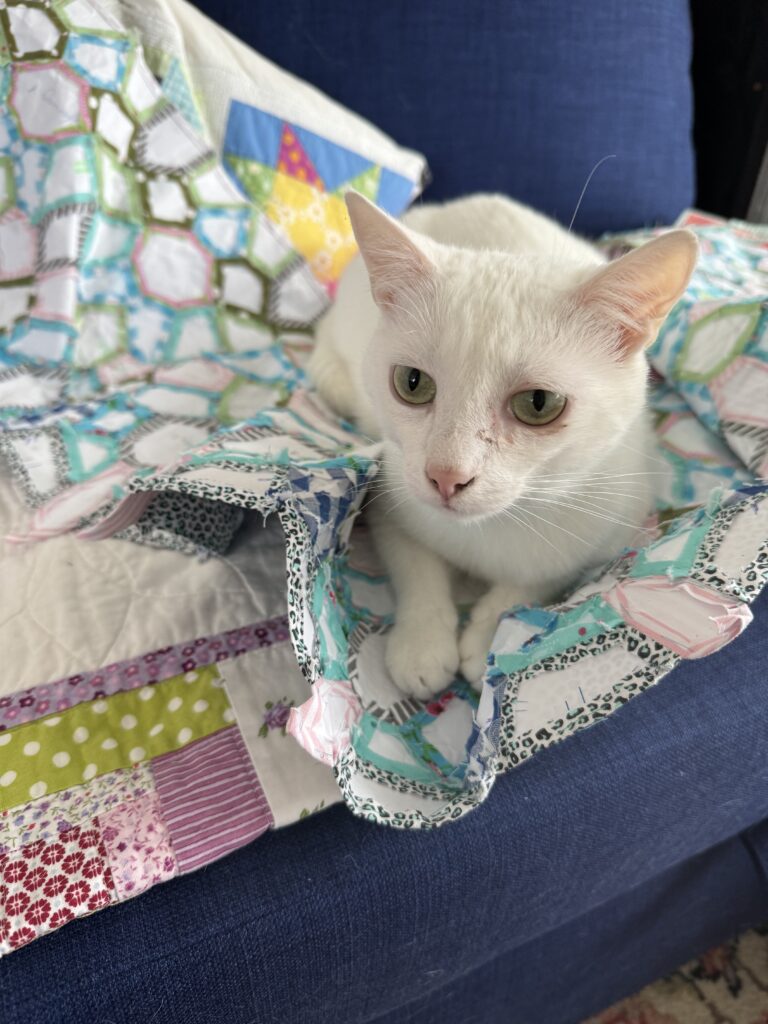
Happy to see you here. I’ve no BOM sewing progress to report, meaning I’m still stuck on the March row. I can, however, report that my gorgeous cat Flynn is recovering well. He’s always hungry and slowly putting on weight. He loves to play and run around the flat like a madman again. I’m really happy and I hope he will continue to do well and recover completely.

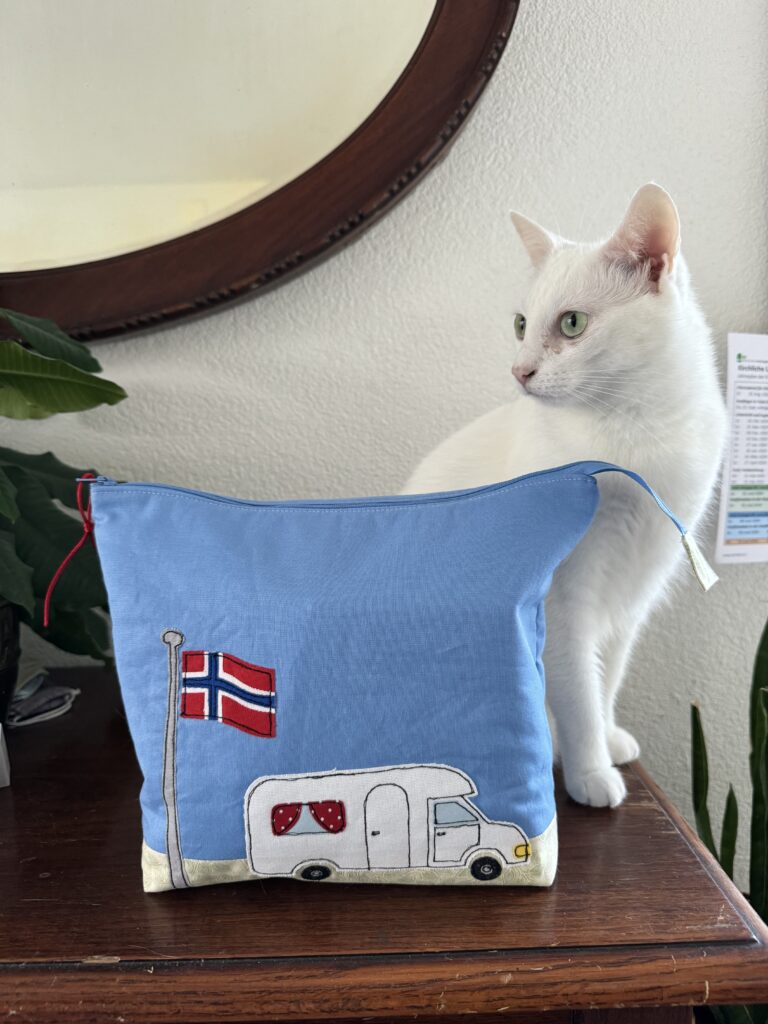
I have been sewing a little bit. My former boss retired this week and is now off to Norway in her camper van for two months. So my colleague and I decided to buy her some goodies to take with her: a book, a crossword puzzle, mosquito repellent etc. I then made her a big pouch to put everything in.


Right, here are the templates for the June row:

June 1

June 2

June 3

Happy sewing!


May Row

First of all, I have to apologise for disappearing and not posting the May templates earlier. Work has been very busy but mostly it’s been a difficult time for me as my gorgeous cat Flynn Curlytail is very poorly. As I’m writing this post he is at the animal hospital in Bern. We still don’t know exactly what’s wrong with him but all the options are scary to say the least. He turned three last Friday (the day he was admitted to the hospital) and I really don’t want to lose him. He is the sweetest cat: loving, funny and clumsy. He finds the weirdest places to sleep in and loves his food.

Right, now to get to the templates. Here are the templates for the May row:

May 1

May 2

May 3

Happy sewing!


April Row

Hello, hello!

Are you ready for the next row of this Block of the Month? I’m still running behind. I’ve only just finished the February row this morning… I was really stressed out about it for a while but then realised that it’s all good. We sew because we enjoy it and we’ll finish our projects when we finish them. I might be able to catch up this month or I may not. I’m going to try but if I’m still behind at the end of the month then that’s ok with me.

As you can see Olive has been helping me.

Right, without much further ado. Here are the templates for this month’s row:

April 1

April 2

April 3

April 4

Number four are the ‘connectors’ between the other blocks. The whole block was basically too big to fit on one page so I had to add another page to the templates. There are lines to show you where the templates go.

If you have any problems, please let me know and I’ll do my best to solve them.

Happy sewing!

Almost

I’m still running behind on my Block of the Month. Work has been hectic and when I haven’t been working I’ve been sleeping, eating or cleaning. At least that’s what it feels like. I’m almost finished with the February row and I’m looking forward to adding the March row. Which might be some time in April, if I don’t get to do a lot of sewing over the Easter holiday.


I was rather worried for a little while as I didn’t like what I’d done but after a few fabric switches, I’m pleased with my first two rows. I’m slowly adding some blue to the pinks, turquoises and greens. The grey and white stripe will be used as a kind of background to let the eye rest between all the different prints and colours. I might use a solid or two but am still on the fence about it. How is your version of this quilt going?

Happy sewing!

March Row

Hello, hello

Ready for the March row? I’m not. I’ve started a new job and am continuing in my old on this month so my days are full and I have hardly any sewing time. Hopefully I’ll be able to finish the February blocks this week as I’m excited to start on this new row.

Right, here are the templates:

March 1

March 2

March 3

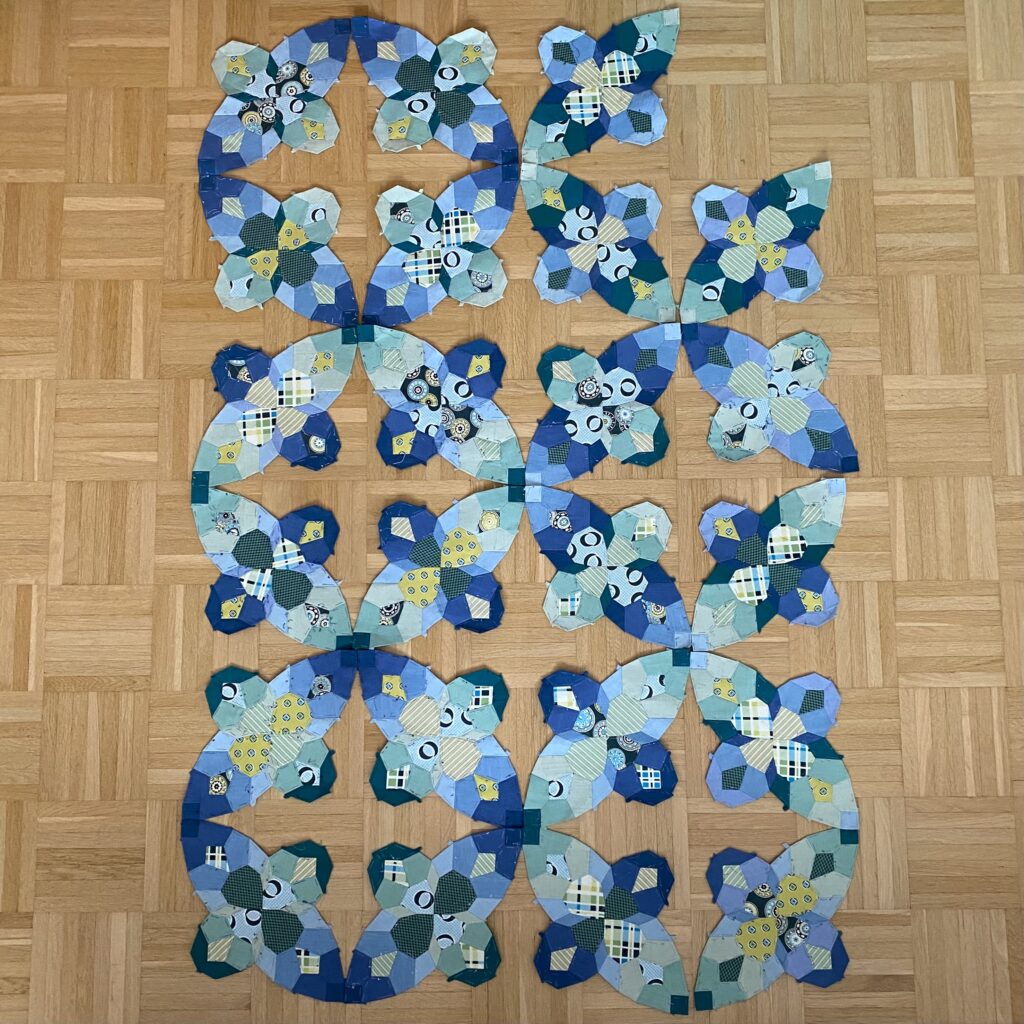
I really hope you’re enjoying this quilt as much as I am. This is a picture of my January row. I’d love to show you my progress but as that is minimal at the moment I’ll wait till next time.


Please let me know if you have any problems downloading the templates. I’ve been asked whether I would consider sending the templates by email. Of course I would. So if you’d like to receive the templates directly in your inbox, send me an email or add a comment to this post and I’ll put you on the list.

Happy sewing!

January Row

Happy New Year! I hope you’ve had a great start to the new year.

Let’s start this block of the month. I’m incredibly excited to get back to English paper piecing. I’ve been neglecting it as I’ve been focussed on the granny square blanket and a cardigan I’m crocheting. I’ve also done a lot of bag and pouch sewing but almost no patchwork or quilting.

Right, here we go:

January 1

January 2

January 3

You need to print out January 1 and January 3 once and January 2 as often as you need to get the width that you’d like. I’m going to print it out eight times which results in a quilt that is 60″ wide. The quilt consists of twelve rows and will end up being 72″ long. You can, of course, make the quilt smaller by making less rows. I might add some squaring up lines to the templates after a few rows.

As you’re printing, make sure you don’t scale the printout. Keep it at 100% and check the little square is 1″x1″.

I can’t wait to start this project and see what you guys make of it. Happy sewing!

A Start

I’ve started on the Grenoble Quilt. I have to admit that I was naughty and started on it before having finished three WIPs. I simply couldn’t wait. However, I did go back to my pile of unfinished projects once I’d scratched that itch and finished three small projects.

I’ve cut up my template into small chunks of 6 x 7 squares which means I end up with blocks that are 7.75″ x 9″, a nice manageable size to work on while I’m out and about.

Once I finished the first block I sewed the little template onto it so I remember where the block goes.

So far I’ve only finished two blocks but I’ve decided that once I’ve sewed the first seven (which means one whole row). I will then sew them together before continuing with the next seven blocks. This method should make it easy for me to see my progress. I can get bored by projects if I don’t see enough progress.

When I started the block I thought I would go scrappy with the background too, but I haven’t really got enough different low volume scraps so in the end I decided to only use solid whites. As they are scraps they’re not all the same white but I don’t mind that at all; I think it gives it a bit of movement. So far I’m only using greens but I’m thinking of doing the zigzag in dark blue and the crosses in teal or even pink. I’ve got a bit of time before I have to decide what to do (twelve more blocks to be exact) and I rather like not planning ahead. Especially as this quilt will be completely made from my stash.

One thing I have to admit though is that basting and sewing squares is booooooring. Thank goodness for Netflix or this would not end up as a quilt but as a cushion or table runner.

Happy sewing!

Monster Hide and Seek

It’s always fun to make baby quilts and right now I’m making the most fun baby quilt ever.

It all started when I took a class at Quilt Con Together. Jo Avery was teaching her Journey to the Centre of the Earth block. I’ve always been bad at improv and this seemed to be a compromise as you design the block and then FPP (foundation paper piece) parts of the block. It was fun but also very hard and I had to watch the class twice to get a hang of the technique. Once mastered, though, it was incredibly liberating. I made one 12.5″ block and turned it into a cushion.

As I was doing the triangles/spikes I thought they look a bit like monster teeth. That was it, my imagination ran wild and this is what it came up with:

Isn’t that a fun quilt? I tried very hard to not make the monsters scary and I really hope I succeeded. The first monster I did was the green one, then the orange, yellow and purple one. I have to admit that my favourite changes all the time but I think it must be the yellow one. He looks a little worried and quite shy, I think.

As I was deciding what colour to do the last monster (I had planned on making a blue one but realised it would blend too much with the background), I laid the blocks on the floor and Holly became the fourth monster, even showing teeth. She was actually meowing at me, telling me she was hungry and to get a move on and feed her.

In the end it was my daughter who said that the last monster should be purple and I think it was a great choice.

I’m waiting on some basting spray as I want to try spray basting for the first time. I always like trying things out on small pieces and a baby quilt is perfect in that respect. For once I actually know how to quilt this, I usually struggle with it and often quilt in the ditch or echo quilt, but this time I’m going to have a sort of grid in the centre and leaves in the border. The monsters will get a bit of quilting in the ditch to emphasise hair, horns, teeth, nose and eyes but might also get some texture.

Shields

My poor little blog has once again been terribly neglected but today I have a new EPP pattern for you. Shields is a really easy pattern made up of only two blocks but there are many possibilities.

I had a little bit of fun colouring it in TouchDraw, the app I use to design all my Epp patterns, and ended up with two very different looking possibilities.

I posted it on Instagram and as there was a bit of interest I thought I’d provide the templates for this pattern here on the blog.

Here they are:

The templates for squaring up can be cut either horizontally, vertically or into quarters on the dotted lines. The colouring sheet is so that you can do a little bit of planning. I often start colouring in and end up with something completely different but I think with this pattern I would probably go with solids and plan the blocks carefully.

Now these blocks are 6″ x 8″ and if you think that’s a bit big you can always print them out smaller. If you’re not sure how to do that you can check out one of my previous posts on ‘Tips and Tricks’.

If you should sew up this pattern and are on Instagram I’d be really happy if you tagged me, lemonshark, and/or used the hashtag sharksdinnerpattern. Thank you and have fun sewing!