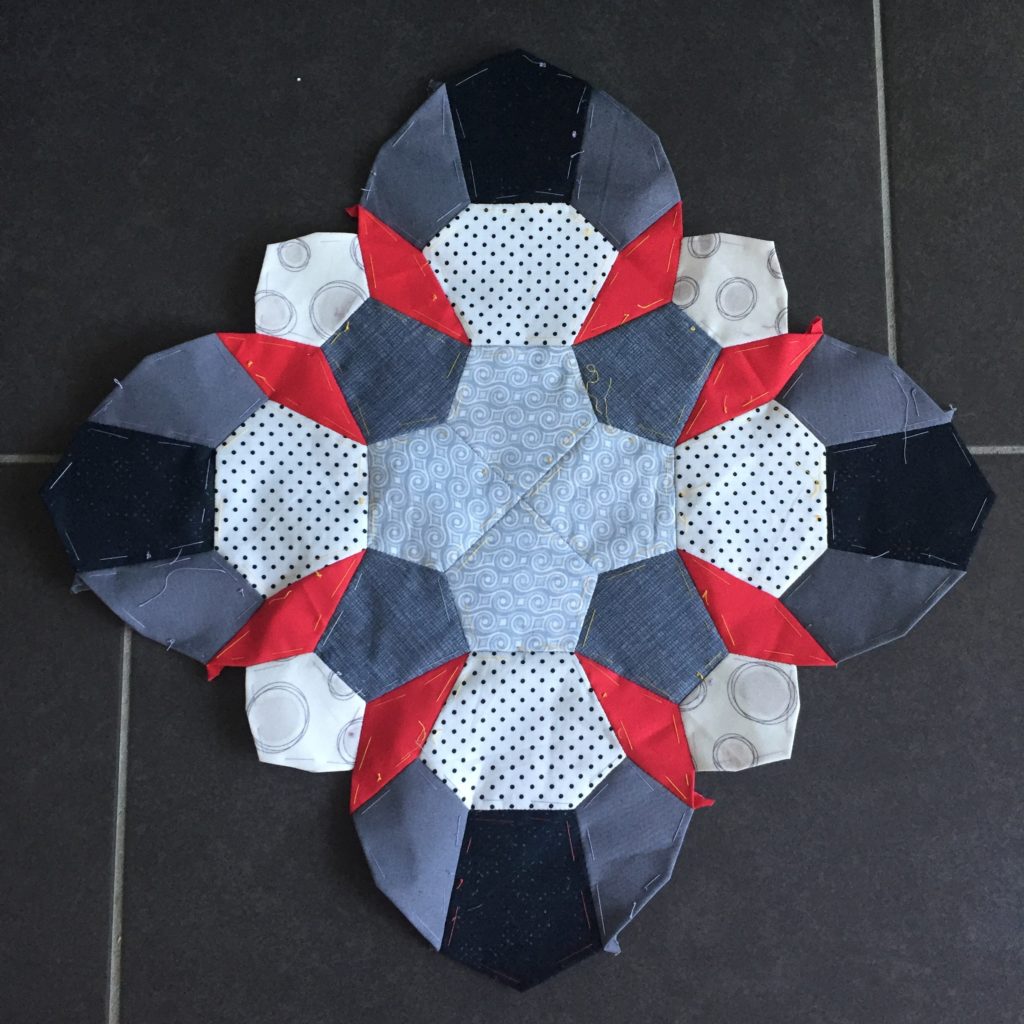
BOM 2019:March

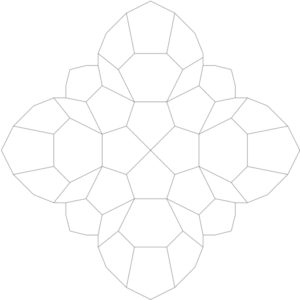
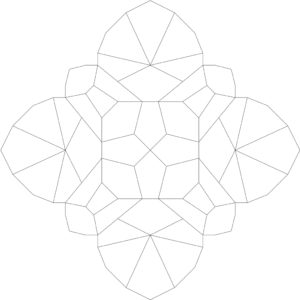
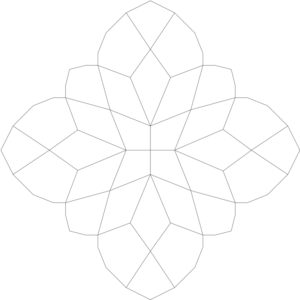
This is what the next tile looks like:

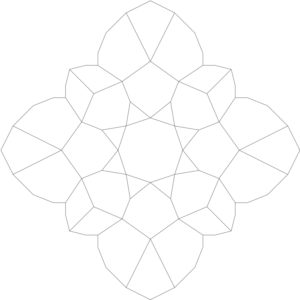
And here are the templates for it:

Here you can download a pdf of the entire tile so you can colour it in and play with your fabric placement.

I hope you’re enjoying this Block of the Month as much as I am. Keep sewing!

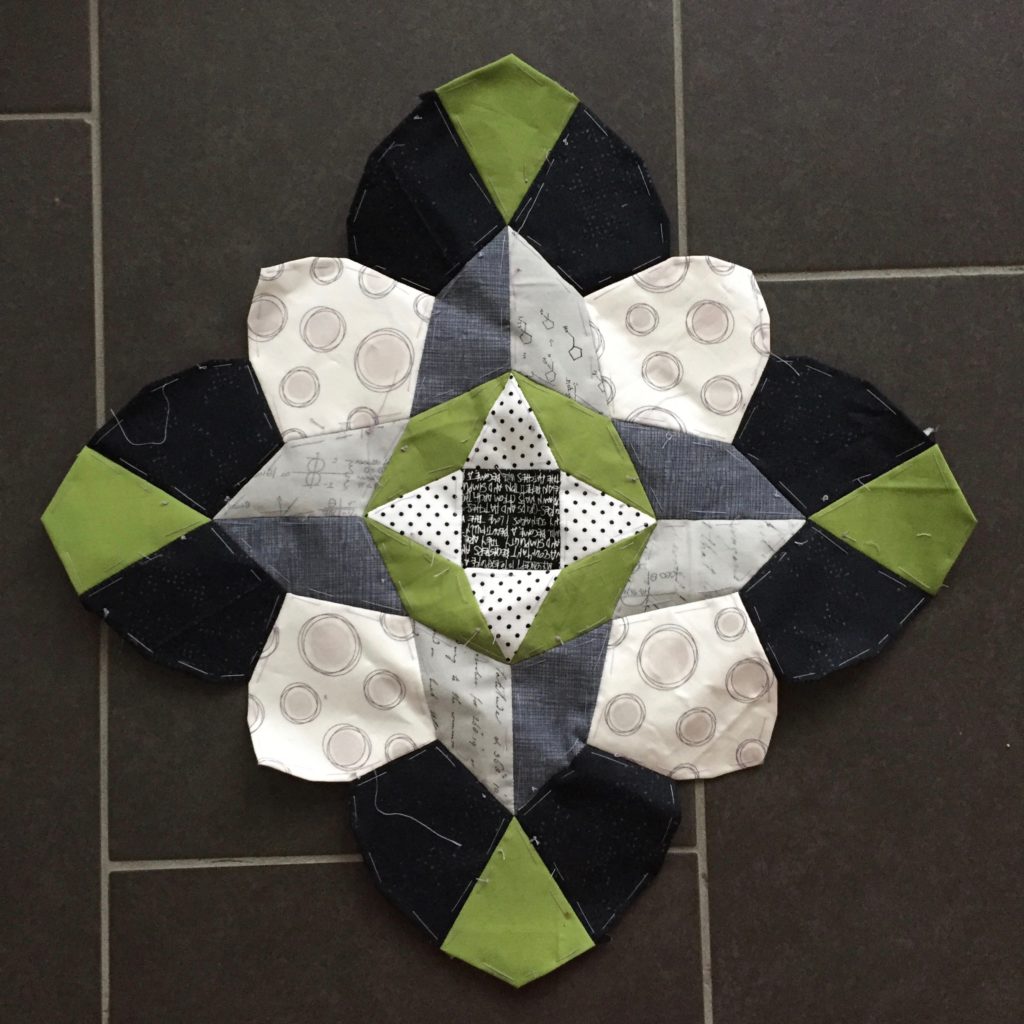
BOM 2019: February

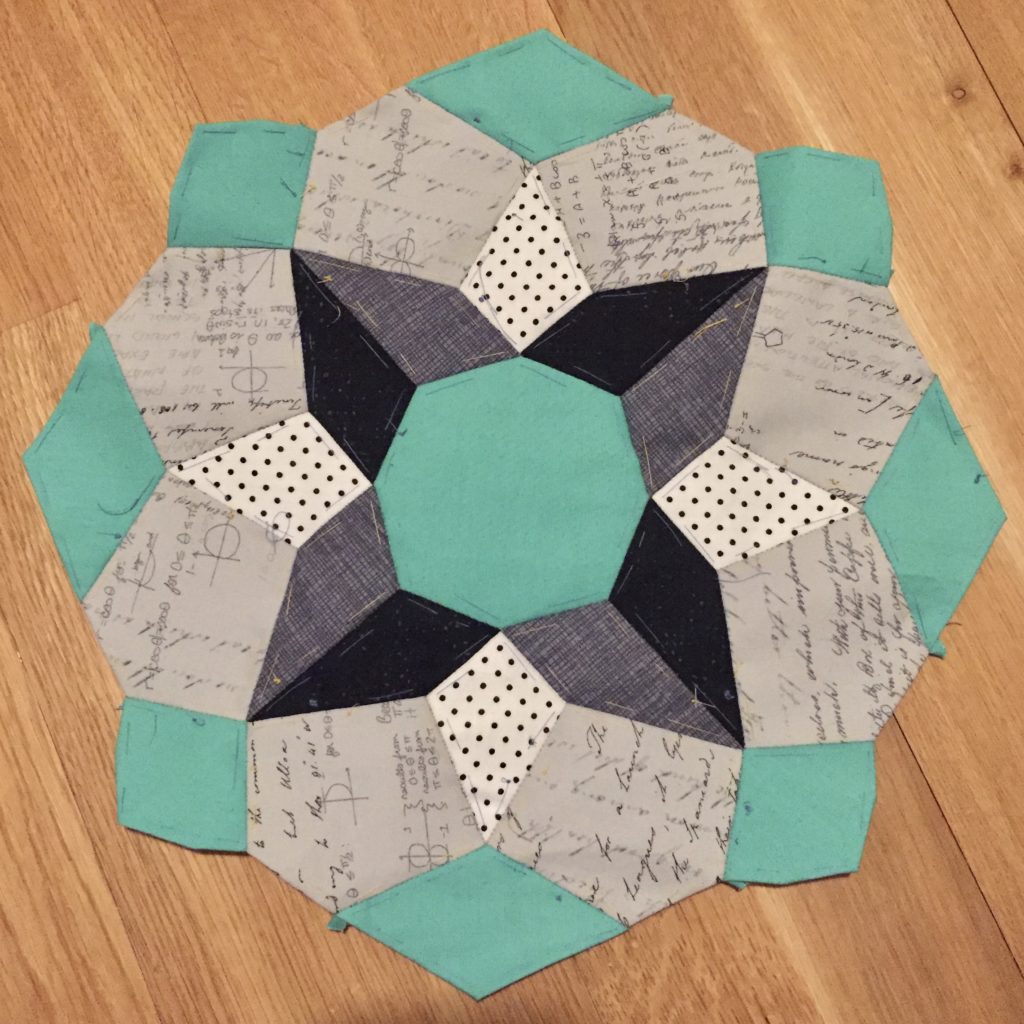
Hello! I finished my January blocks way too quickly and have been longing to continue with February’s tile. I did go for the black, grey and white with a pop of colour and I’m loving it so far. This is totally not what I would normally go for and it’s so nice to challenge myself in this way.

Here are the templates for February’s tile:

You only need one of the center squares from template 3a so you can discard the other three.

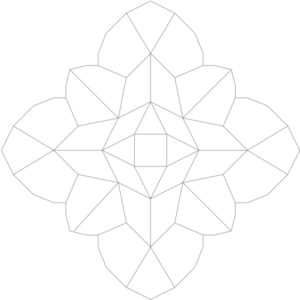
And here is the picture of the entire tile so you can colour it in and play with your fabric placement:

I hope you’re enjoying this Block of the Month as much as I am. Happy stitching!

Tips and Tricks

I love EPP and have over the years found lots of little tips and tricks that have helped me get more enjoyment out of sewing and I thought this is the perfect opportunity to pass some of them on.

RESIZING: It’s fairly simple to resize your templates if you feel that they are too big for your project. The tiles of my Block of the Month are 18.5″ from tip to tip because I wanted twelve large blocks for a large quilt. If I wanted them at 14.5″, for example, all I need to do is divide 100 by 18.5 and multiply the result by 14.5. This will give me the number, in this case 78,5, which I need to enter into my printer to scale the design down.

So if I wanted to scale the templates down to 12.5″ I would need to do the following: 100 : 18.5 x 12.5 = 67.5. For some reason my printer didn’t like the 67.5 and changed it to 68.
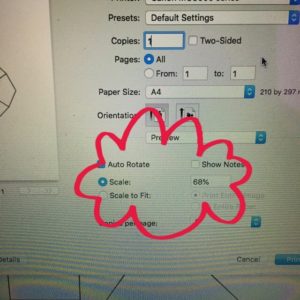
You could of course also scale the design up to 24.5″ by doing the same: 100 : 18.5 x 24.5 = 132.5. When you want to make your templates larger be aware that they may not fit on your A4 sheet anymore and you might have to glue them together.

PAPERS: I prefer to use paper that isn’t too thick; 80g/m3 is my go-to weight. Now, I like to thread baste my shapes going through the paper with the needle and therefore don’t like to have paper that is too thick.The thinner paper also makes it easier to fold shapes so as to slot them into the right place.

However, if I were glue basting I would use a heavier paper 100g/m3 or even 120g/m3 to be able to get the fabric off the paper more easily. For easy paper removal you can also punch a hole in the middle of your template.

TEMPLATES: As I often have various shapes in my designs where it’s not clear which way they need to be sewn, I like to mark my templates. You can do this before you cut the templates apart and it makes it easy to then sew the pieces together. Just make sure your marks are a little longer than your seam allowance.

THREAD: To baste I just use any old thread I have lying around, usually some colour I can’t see myself ever using again. To sew my shapes together I always use Aurifil 50wt. I find that it melts into the fabric and can hardly be seen once you’re finished.

Aurifil now also has a 80wt thread which I love for appliqué but find too thin for EPP. I’m quite a brutal thread tugger and have found that I get a lot of thread breaks when I’m using the finer thread. Having said that, I have friends who swear by Aurifil 80wt for EPP so I think the most important is to find the thread you are most comfortable with.

I like to use thread in different colours as this also helps the stitches to disappear. If you haven’t got the right shade of thread but have one that is lighter and one that is darker, always go with the darker one as that one will blend in better. If you haven’t got a specific colour, use grey thread as that will blend in with most colours.

If you’re using multiple colours to sew together two or three shapes, thread as many needles as you have colours. It’ll save thread and make your life a lot easier as you can simply switch needles rather than having to re-thread all the time.

NEEDLES: I use the Clover black and gold needles, a size 9 for thread basting and a size 11 or 12 for sewing the shapes together. They are very sharp and as I have problems with my thumbs due to hypermobility I need all the help I can get to make sewing as gentle as possible on my hands.

I’ve also heard that some quilters love Tulip needles but I haven’t tried them and can therefore not comment on them. Like with the thread I think the most important thing is to find a needle you’re happy and comfortable with.

THREAD BASTING: To make it easier for me to take the threads out once I’m finished I like to have the knot on the right side and finish off the basting with a backstitch that leaves the tail on the right side. When basting the same shapes I also try to start in the same place every time.

Once you start pulling out your threads it’s easy to find the knot, pull out the backstitch and continue pulling on the threads or when it’s a fairly small shape just pull on the knot to get rid of the thread. I use a pointy implement to pull out the basting stitches, either a crochet hook, knitting needle. a Purple Thang or one of my whittled sticks.

STITCHES: I like to use a whip stitch to sew together my shapes. I don’t mind if stitches can be seen on the front.
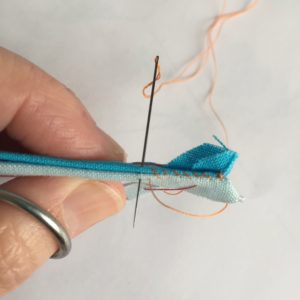
However, if you prefer not to see any stitches you can use a ladder stitch or lay your shapes next to each other on a flat surface and whip stitch them together like that.

I always start sewing by doing two back stitches in the seam allowance, then a quilter’s knot and finish sewing by making another quilter’s knot and two back stitches in the seam allowance. I also make a quilter’s knot every time I go around the corner. This may be complete overkill but I have never had a piece come undone and my cushions are used daily and washed a lot.

SEWING: I usually start sewing from the point to make sure my points stay pointy. I also like to sort smaller shapes into bigger ones that are easy to sew together.

If you find yourself with two shapes that don’t fit together perfectly, i.e. one edge is slightly longer than the other, make sure the shorter one faces you, then gently curve both edges around your thumb as you sew. As the longer edge has to fit around your thumb and the shorter one, they should start fitting together nicely.
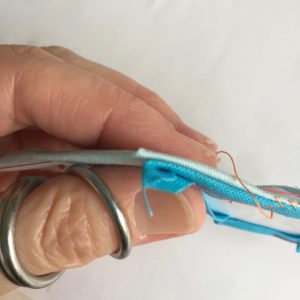
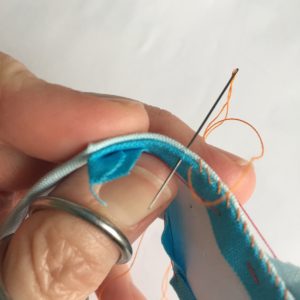
FUSSY CUTTING: I usually use template plastic to fussy cut. I copy the shapes onto it, then add the quarter inch seam allowance. I then place it on the fabric and draw on the template with a pencil if I want to re-use the template or with a marker if I don’t.

If I can’t find my template plastic I use some card or a cereal box. I copy the shape onto the card, add the seam allowance then cut out the shape so I only have the seam allowance left. I then draw on the seam allowance.

These are the materials I like to use and a few tricks I’ve picked up along the way. If you have any questions or can think of more tips and tricks (I’m sure there are lots more), please let me know in the comments or by sending me an email. Thank you very much!
BOM 2019: January

Hello! I’m really excited to start the Block of the Month 2019 with templates for not one but two tiles. My thinking behind this is that first of all people are usually most enthusiastic about a project at the beginning of it and secondly you then have the whole of December to finish off the quilt.

First up are these two tiles:

To download the templates for the first two blocks click on the links below.

Template 1a, Template 1b

Template 2aTemplate 2bTemplate 2c

You need to print out each template four times. However, for tile 2 you can then discard three of the centre pieces as you only need one. When you’re printing, make sure your printer is set to 100% rather than ‘fit to page’ or any other setting as the tiles otherwise may end up different sizes.

If you’d like to print out the whole tile so you can colour it in and try different options you can click on the links below.

Tile 1

Tile 2

I’ve printed out my templates and can’t wait to start. I’m still dithering about fabrics and colours, though, which makes it rather difficult. I love scrappy, colourful quilts and I’ve already done a few so I’m wondering if this time I should go for a more uniform look. One of my ideas is to go for a black, white and grey theme, maybe with some colour thrown in for the background.

If you’re joining in and are on social media, could you please add the hashtag #sharksdinnerbom2019 to your pictures? It’ll make it easier for me to find your pictures and enjoy your progress. Thank you!

If you need any tips and tricks for EPP, check out my next blog post. The templates for the next tile will be uploaded on February 1st 2019. Get sewing!

BOM 2019

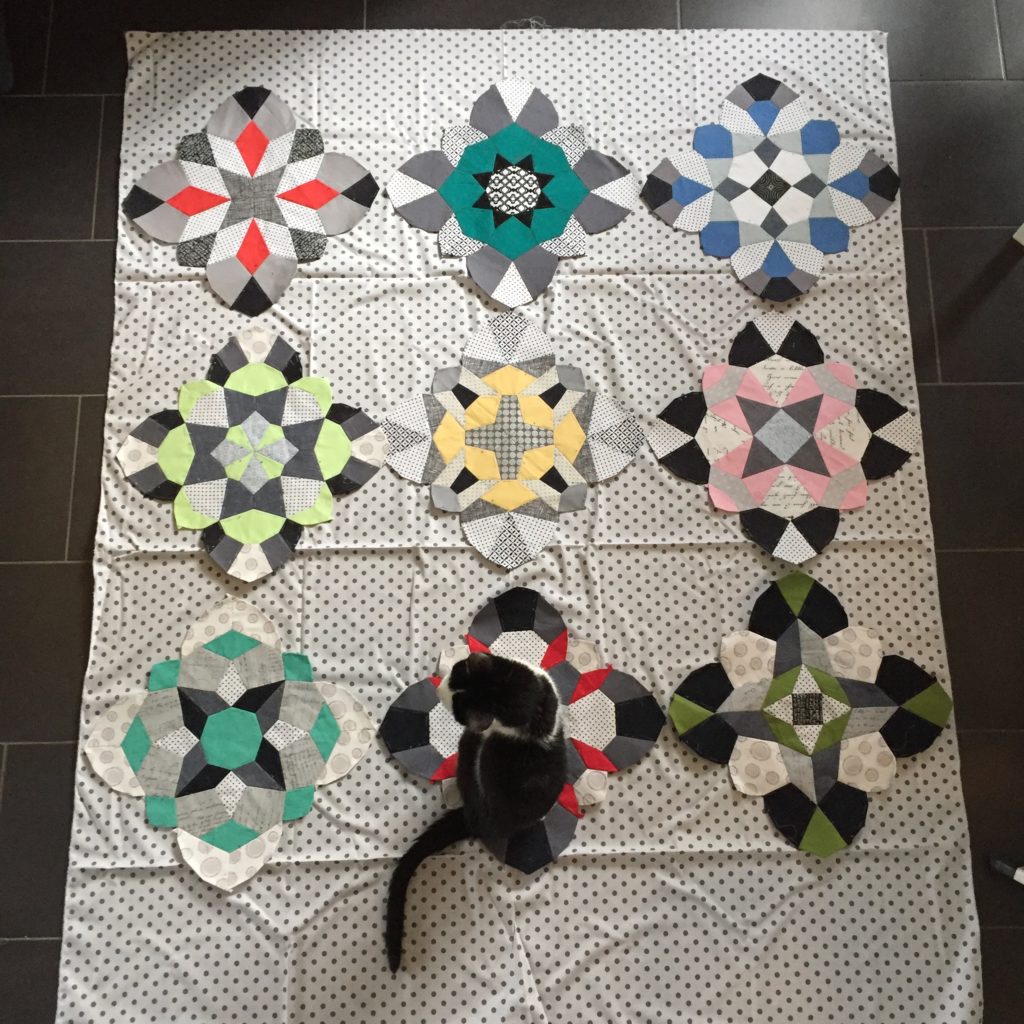
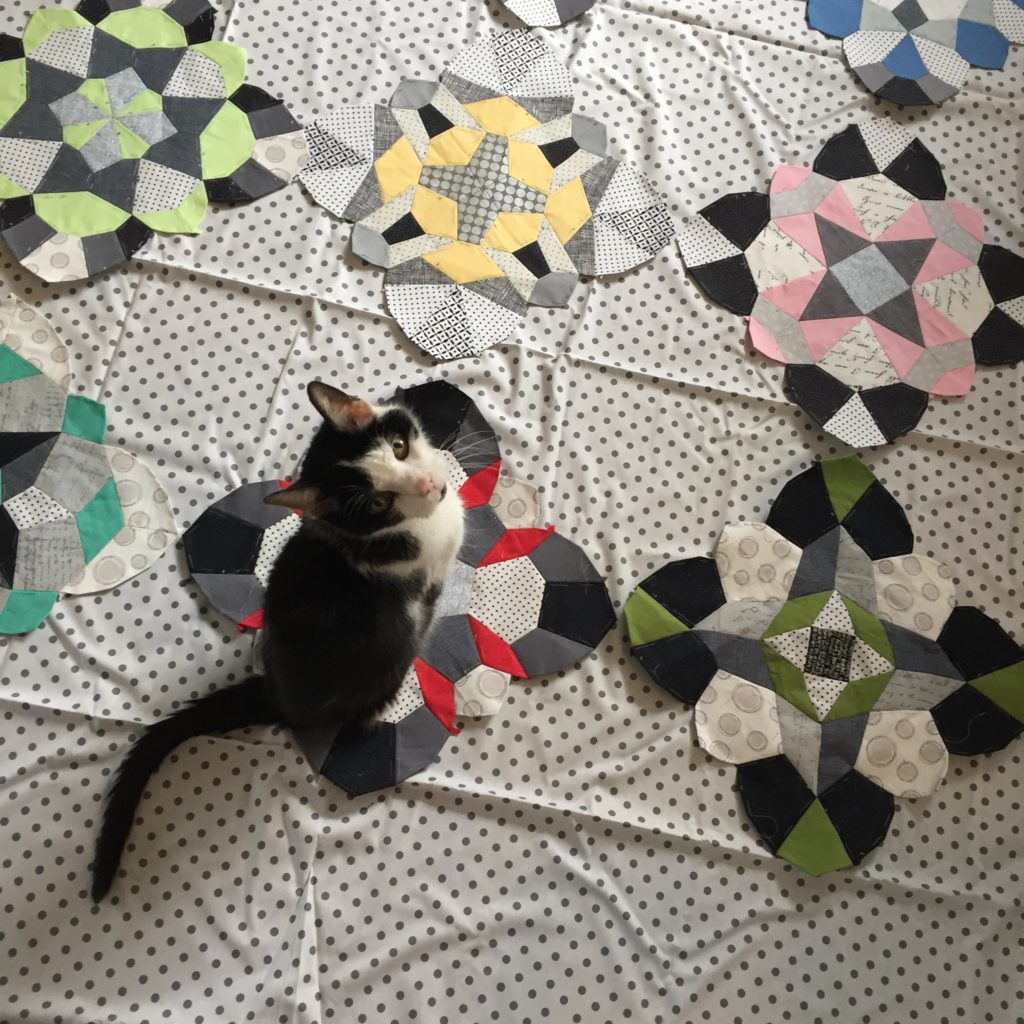
I love EPP (English Paper Piecing) and have lots of WIP (works in progress) so what in the name of the quilting gods has made me think it’s a good idea to start another quilt? I have no idea but I’ve designed a quilt based on my ‘Three’ quilt which Missy has claimed:

I’ve designed twelve tiles which include the three first one. I’m thinking of actually doing this one as a sort of quilt-as-you-go. I find it tedious to quilt a big quilt on my domestic machine so doing twelve quilted squares which I then sew together sounds like a really great idea right now.

The templates for the tiles will be posted on here every first of every month, so if you’d like to sew with me I’d love to see your version of this quilt.


Doughnuts

Do you like doughnuts? I do, although since I’ve started reducing sugar in my diet the last couple of years I haven’t had many. However, I don’t really mean the edible kind but rather the quilty one. I’ve started sewing a new quilt which I call the positive doughnut (#SDpositivedoughnutquilt on Instagram).

This block is, I believe, called the Greek Cross, but to me it looks a bit like a doughnut. The difference is that the hole in the middle looks like a plus sign. I’m using blue and low volume fabrics from my stash.  Sometimes I’m not sure whether I have enough of one fabric for a whole doughnut or the background of one quilt so to help me with that problem I’ve cut the pieces from paper which I can lay on the fabric to check.
I’m enjoying these blocks tremendously as they are big (12.5″ unfinished) and easy. There are no corners and no points that need to match and no bulky seams. In fact, I believe this is the perfect block for a beginner or a quilting bee.

Since taking this picture I’ve made another three blocks which means I’m halfway there.

I’m thinking of writing a tutorial for this block but that won’t be tomorrow as I’m off to IKEA to buy some more of the numbers fabric for the back. TTFN!


Magical Diamonds

I like having an EPP (English Paper Piecing) project on the go at all times and I am constantly designing new ones in TouchDraw on my iPad. This summer I went off to Norway and decided to start ‘The Big One’, a quilt for me which Little Miss Bossy-Boots has named ‘Magical Diamonds’. It’s going to fit my queen size bed and I’m using some of my all time favourite fabrics, Denyse Schmydt’s Florence and Oakshott shot cottons in blues and greens.

Magical Diamonds

I wasn’t sure at first how to place the fabrics but then decided to use the Oakshotts as a sort of frame for the prints. I was so excited about this project that I started before travelling and ended up with two very quickly. Each segment is 10″ x 14″, so they’re quite big.

Once I arrived in our cabin in Norway I set up my little work station outside. I was blessed with the most wonderful weather.

img_6765

I continued sewing a little every day if I wasn’t reading or cycling to the shops or the beach.

img_6789-1

This is what they are going to look like: 48 of those segments sewn together like this. I’m still thinking about colour placement but as I have a few more – 41 to be exact- to do, I have some time to think about it.

img_6764

This, by the way, was my view while sewing. I have to admit that I was distracted every now and again. Especially when big boats were passing.

It was a most wonderful and relaxing holiday. I managed to sew five segments which was less than I had hoped for but I also read four books and cycled quite a few kilometres. Bliss!


Oakshott Lipari Blog Hop

Hello! Today is my day on the Oakshott Liparis Blog Hop organised by Lynne from Lily’s Quilts. I feel very flattered that I was chosen to be part of this and would like to thank both Lynne and Michael from Oakshott for letting me play with these beautiful fabrics.

Lipari2016_range_ruched1

The Oakshott Liparis are absolutely gorgeous and can’t truly be described, they have to be seen. Each of the eighteen colours are woven with black thread to give a dark and rich palette. They are 54″ wide so go a lot further than regular quilting cottons which is great as you get quite a lot of fabric in a Fat Eighth bundle. Find out more about the inspiration for this collection here.

The minute I realised that I was going to be part of the blog hop I sat down and designed a quilt.

Persimon QuiltObviously there was no chance of making it with a Fat Eighth bundle so I thought I’d just miniaturise it and make a mini quilt. However, when the fabrics arrived and I started playing with them, I came back to the same colour combination again and again, blue, green and orange, red. I then found it difficult to cut the beautiful Liparis into small strips so decided to keep all the stripes at the same width and make the wallhanging quite big. Because it ended up as a wallhanging, not a quilt as planned it has a backing, some lush Lipari Marina, but no batting and no quilting. I was worried that the batting and quilting would make the wallhanging too rigid and that it then wouldn’t shimmer in the light as much.

This is what I ended up with:

Persimon Quilt 'Heaven and Earth'

The stylised ‘persimon’ are English paper pieced and then appliquéd onto the quilt.

Persimon Quilt 'Heaven and Earth'

This quilt/wallhanging is quite striking but easy to make. I will give you the measurements I used but it would be easy to resize from small to large.

You will need

8 Fat Eighths of Oakshott Lipari for the background, I used Stromboli, Lisca, Dattilo, Lentia, Porticello, Salina, Scari, Volcano Bleu

3 Fat Eighths of Oakshott for the ‘persimon’, I used Milazzo, Basiluzzo and Pollara

1 m of backing fabric, I used Marina

Persimon Templates

Thread for basting and sewing, I use cheap thread for basting and Aurifil for sewing and appliqué.

  1. Cut a 5.5″strip from each of your background fabrics and sew together. I went from deep red to blue to get my heaven and earth feel.
  2. Cut out the templates for the three ‘persimon’, you will need twelve of each shape
  3. Pin the templates onto your chosen fabric, cut out with a 0.25″ seam allowance and thread baste onto the paper template. P1020327
  4. Sew the small triangular shapes onto the big wedge shape, then sew the wedge shapes together to get a ‘persimon’. Pollara Persimon
  5. Lay the ‘persimon’ onto your background and pin into place. I ironed a line into the background about 8.5″ from the edge and centred my ‘persimon’ on it. Pin into place leaving the papers in.
  6. Appliqué the ‘persimon’ onto the background with small stitches starting with the inside. Once they are sewn on it’s easy to take the papers out of the small and big shape before pinning the outside down again and sewing around.
  7. Trim your top to get nice clean edges. Mine ended up at 25.5″ x 40.5″.
  8. Lay out your backing fabric and lay your top face down onto it. sew around with a 0.25″ seam allowance leaving an 8″ gap so you can turn it inside out. Press well and close the gap with a ladder stitch.
  9. To hang, I sewed a bamboo stick onto the backing.

You could of course also quilt and bind it the traditional way.

Persimon Quilt Heaven and Earth

The Oakshotts look different in different lights, they are absolutely fascinating. I’ve hung my  ‘Heaven and Earth’ wallhanging over my bed and I love how goes from very dark to shimmering like a jewel depending on the time of day.

Persimon Quilt Heaven and Earth

I’ve absolutely loved working with the Oakshott Liparis!

5 May     Allison Dutton       allison-sews.blogspot.com
10 May   Nicholas Ball         quiltsfromtheattic.wordpress.com 
12 May   Helen Purvis          archiethewonderdog.blogspot.com
17 May   Lynn Harris            thelittleredhen.typepad.com
19 May   Kitty Wilkin           nightquilter.com (Now moved to 2nd June)
24 May   Jessica Skultety      www.quiltyhabit.com 
26 May   Karin Jordan           www.leighlaurelstudios.com
31 May   Elisabeth Vaughan  sharksdinner.ch

Hello Fabric!

I used to love buying fabric ‘just because’ but now that money is very tight (the joys of being a single mum) I only buy fabric for specific projects and mostly use my stash. It’s been great, actually, as I realise that there’s always more new fabric that is going to be my favourite and it’s nice to see your old favourites used and out ‘in the wild’.

I’ve signed up for the handpiecedminiswap2 on Instagram as I really enjoyed the first round. It was organised by Jo from A Life in Lists and specified that you had to make a mini that was completely pieced by hand. However, you were allowed to machine quilt and bind. I didn’t; I did everything by hand and had a total blast.

Lantern

I did a little bit of hand quilting around the lantern and added a scrappy binding. I really loved it but I have to assume my partner didn’t as she never got back to me to tell me that she had received it. She also didn’t reply to Jo’s email either. It’s very sad when you put in many hours, design a mini, hand piece it and then nothing. Not even a ‘it’s arrived’. Nada.

This swap wasn’t a complete disappointment though, as I was given the best mini from Paula from Mud, Pies and Pins who’s been a real life friend for the last fifteen years and who lives only a few minutes from my house.

Paula's Mini

She used some of my all time favourite fabrics and even though we were talking about the swap every time we met I never realised that it was for me. Sneaky! And can I just say “Jackpot!”

Anyway, I was talking about the second round. My partner likes fabrics that I haven’t got so I decided to order some Cotton & Steel from Westwood Acres. I chose Bandana by Alexia Abegg as I really love the colours and prints. Some half yard cuts fell into the basket too. Compared to prices here in Switzerland they were a real steal. Service was fantastic and so quick. It was my first time ordering from them but it definitely won’t be my last.

Bandana

I can’t wait to start stitching with these gorgeous colours. And did you see those two bits of fudge in the middle of my circle? I think I need to order more fabric in the hope of getting more as they were absolutely yummy.

The Purple Quilt

Worst blogger ever, I forgot to take a picture of the quilt before I gifted it…

The Purple Quilt

I did remember to put a label on it, though. I simply couldn’t think of a good name for it and I didn’t want to put the name in my head (Purple Sucks) on there as a lot of people love purple. So in the end it I named it The Purple Quilt. The Aurifil I used, purple 2581 in 50wt, shows up beautifully on the back.

Here’s a picture my sister sent me of it in situ:

Kristine's Quilt

Doesn’t look too bad, does it? It crinkled up nicely in the wash and I hope she’ll use it lots.

The next quilt is already in planning, although it’s only a mini for a swap I’m in. Templates have been drawn, fabrics chosen, thimbles sewn (I make my own leather thimbles) and the Aurifil’s ready. The only hiccup: my fabric is still in America. I’m hoping that it’ll arrive soon as I’m looking forward to this one.