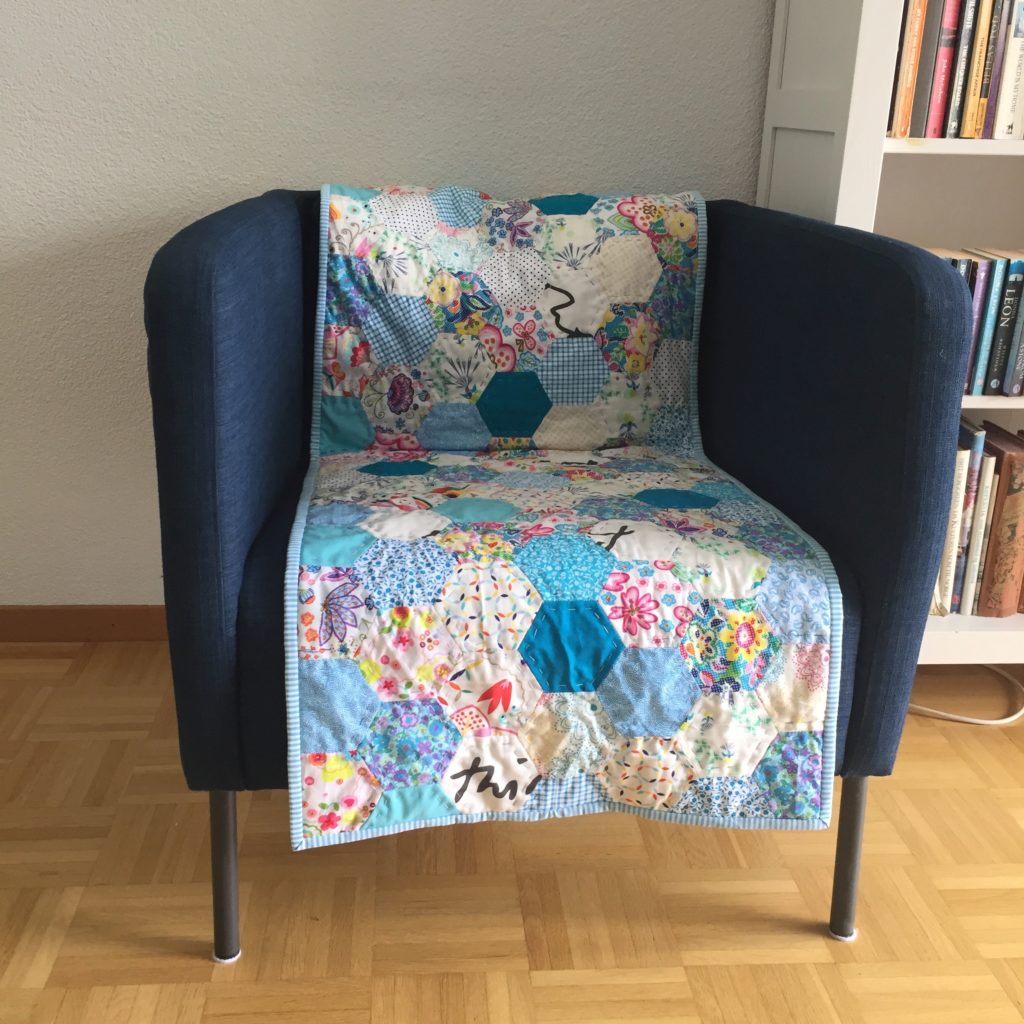
Last one! That’s right, it’s the last tile for this block of the month. Then it’s time to appliqué the tiles onto a background, quilt and bind. And all this before the end of the year.
I’ve started with the appliqué but have only managed one tile so far. This month has whizzed past at an extraordinary pace and I have to admit that I haven’t finished my October tile. Shame on me, I know. I’ve just had lots of other things to think about and the BOM has sort of faded into the background. The main reason for my inability to sit down and concentrate on my sewing have been the raging hormones in my pre-teen daughter. I’ve simply been too exhausted to sew after all the ups and downs every day has brought.
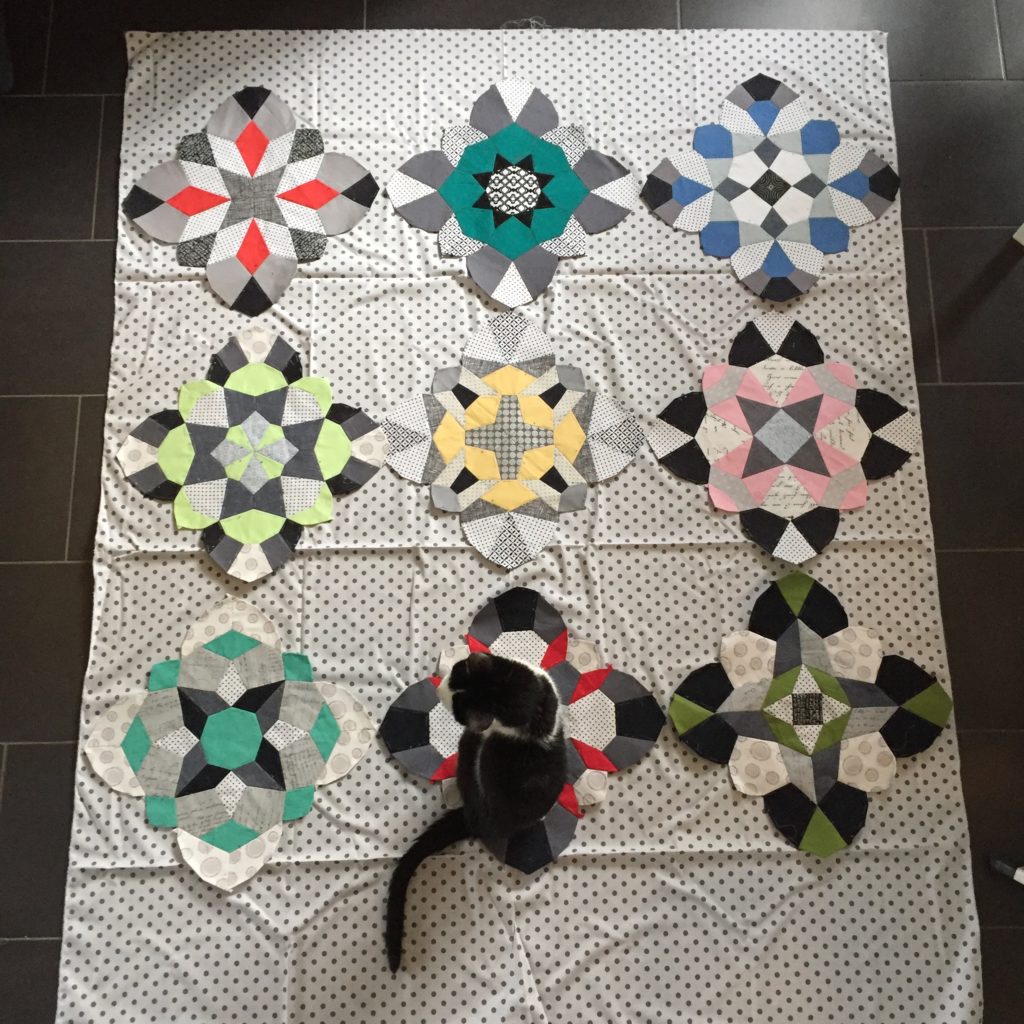
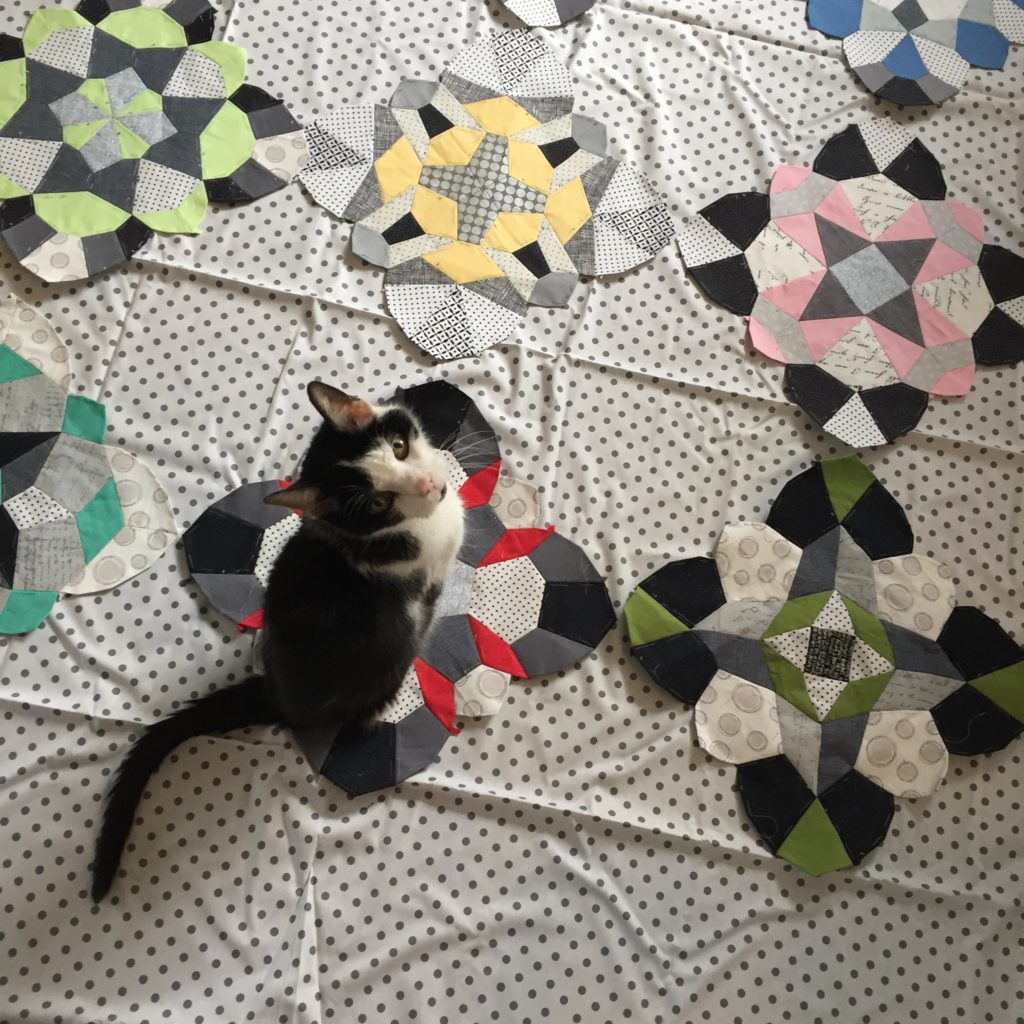
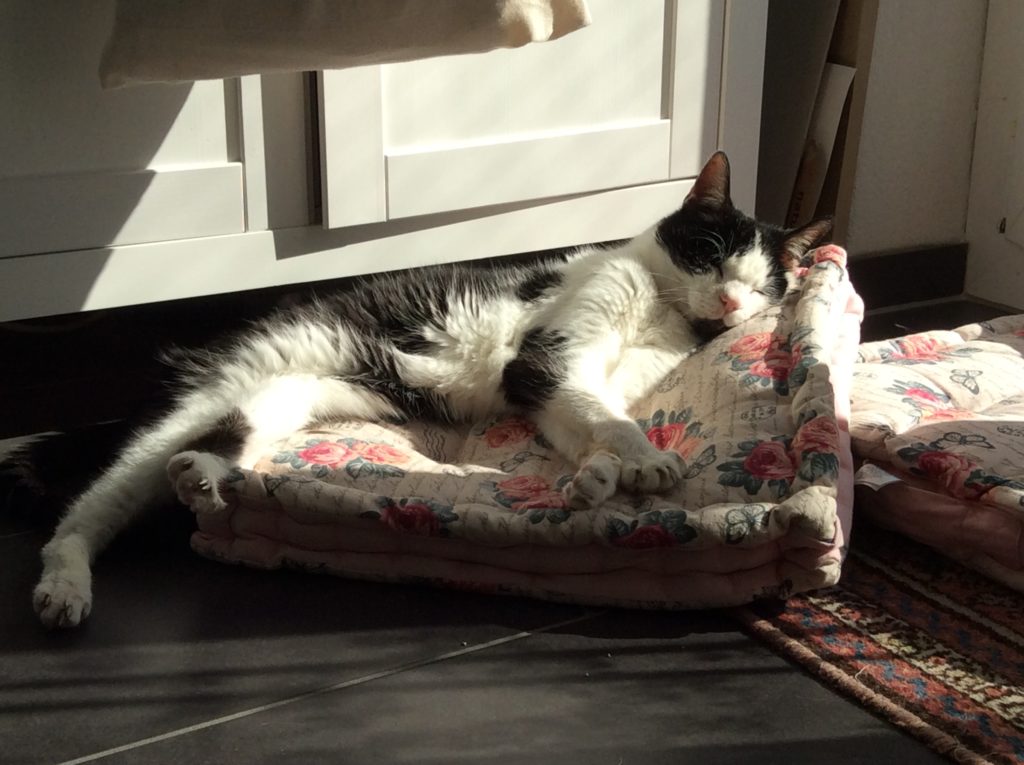
As a blog post without at least one picture is rather boring I thought I’d post one of my little ‘helper’ Blue looking adorable.

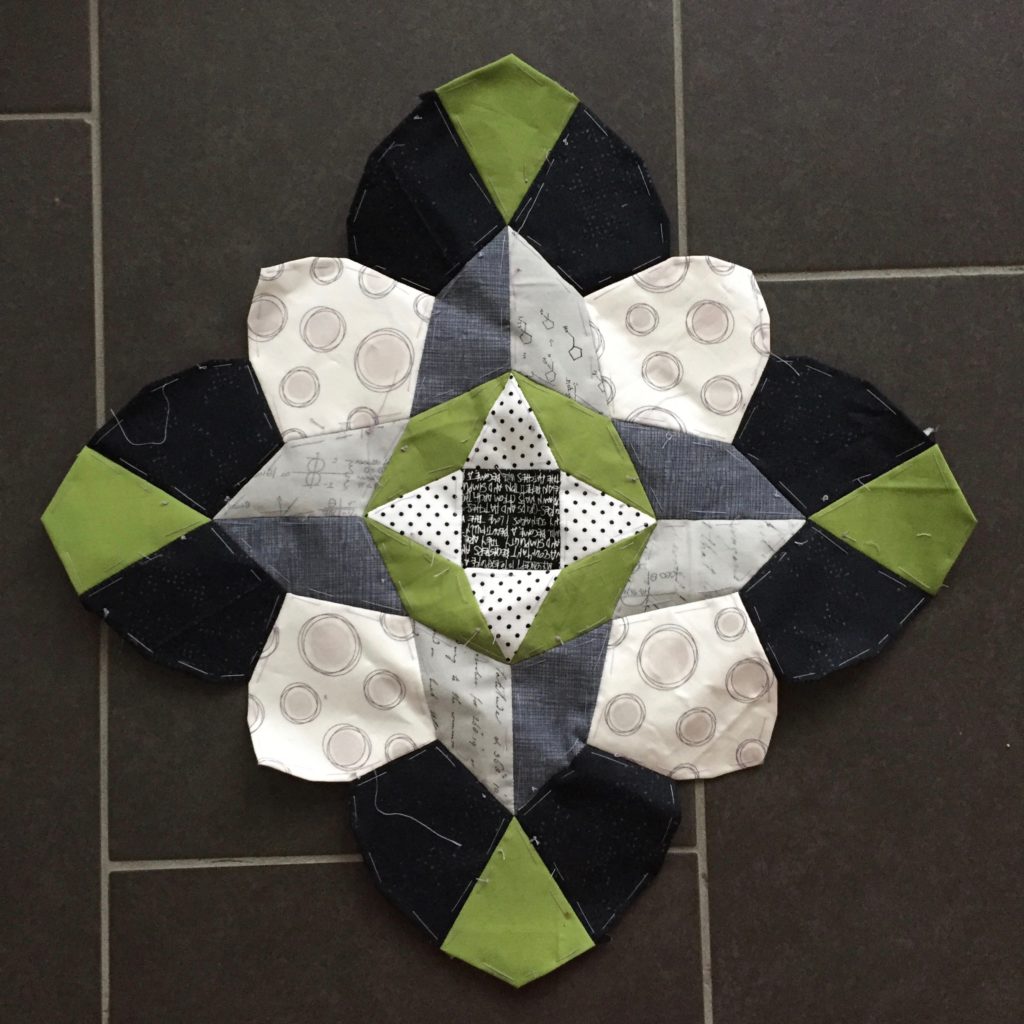
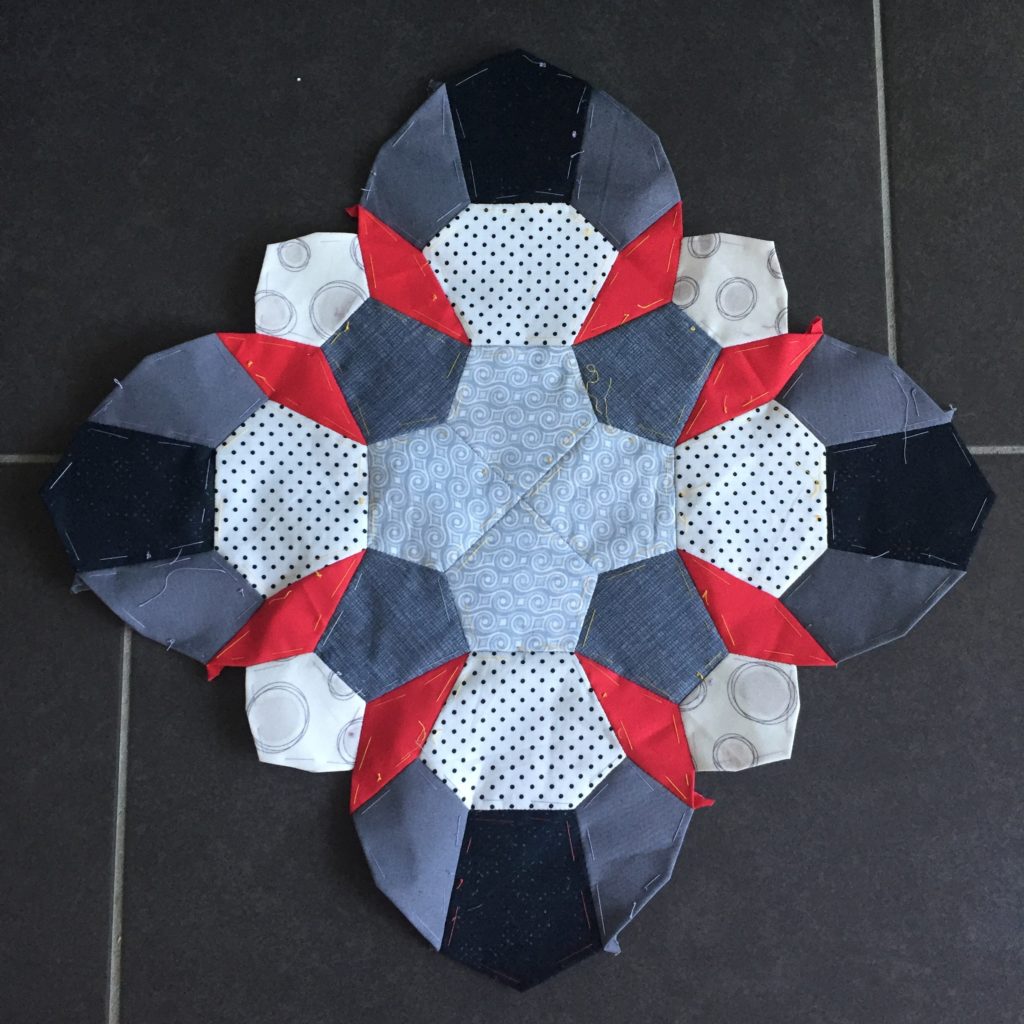
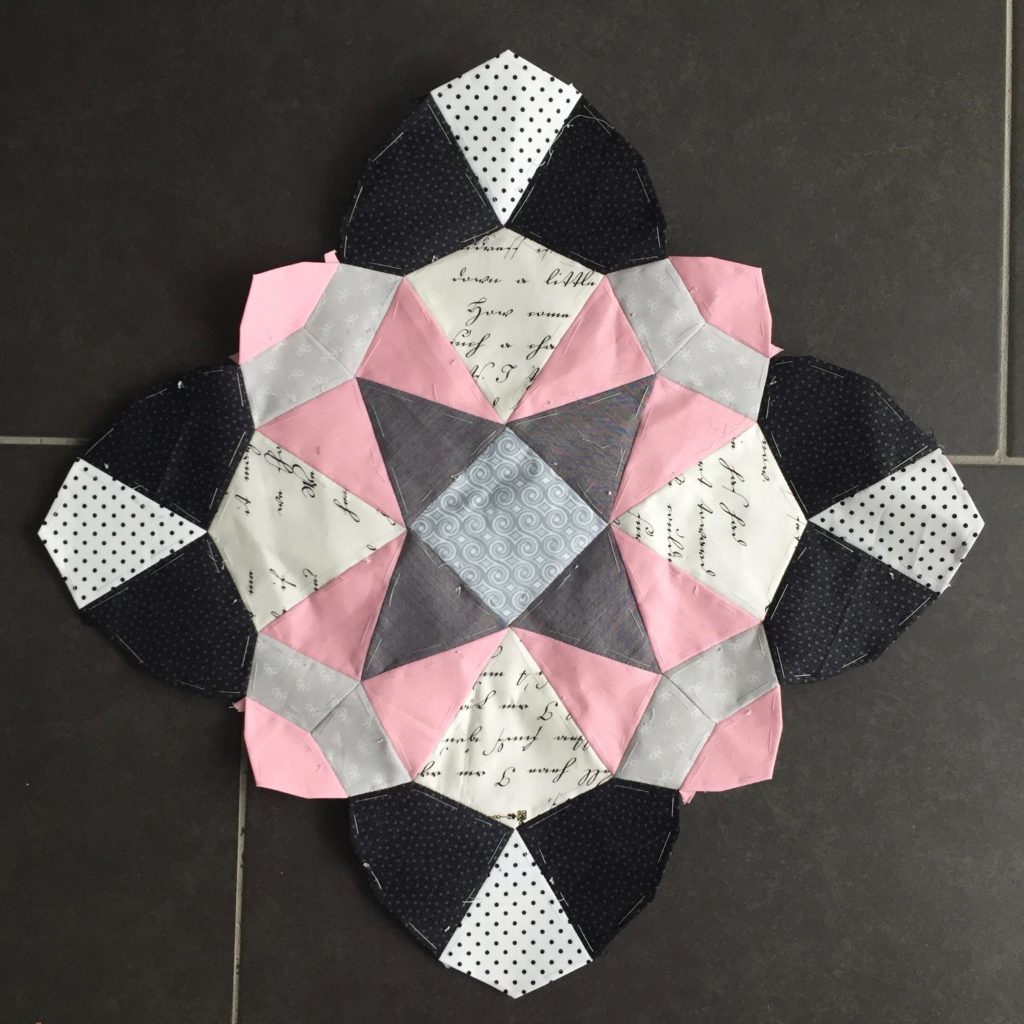
Right, here’s the last tile:

I’m really curious about this one. I’ve had to think quite a bit about where to put my coloured accents but I think I’ve got the perfect placement now. The placement of the coloured fabric is actually the only thing I plan in advance, all the other fabrics are chosen as I sew and I never really know what the tile is going to look like until it’s finished.
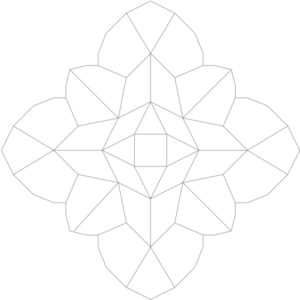
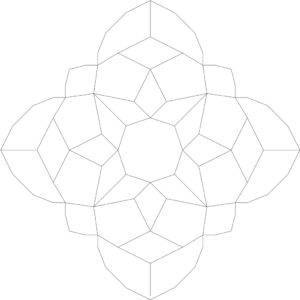
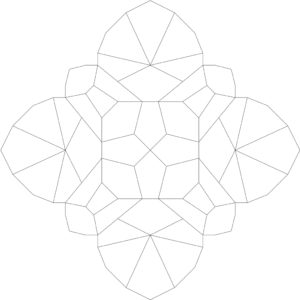
Here are the templates:
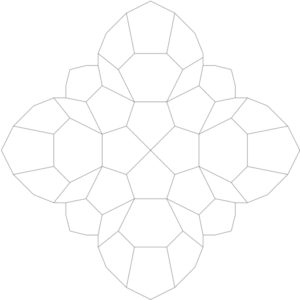
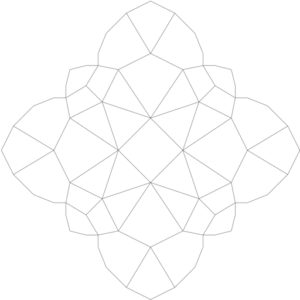
And here’s the whole tile so you can plan your fabric placement:
I’m going to have to knuckle down, finish my October tile and get on with this one as soon as possible. I have to take things a little easy at the moment as I’ve been diagnosed with shingles. I see quite a bit of hand sewing and tv watching in my future.
Happy sewing!