I’ve shown you my newest pin cushion earlier and now I’m giving you a little tutorial on the improved version (or take three, as I call it). I have to apologise for the quality of the pictures; it was a dark and rainy day today. I wonder where the summer scampered off to as it most definitely has skipped Switzerland this year.
1. Decide on the size you would like your pin cushion to be. I wanted mine to be a little bit narrower than the width of my machine which is about 4.5″ so I settled for 4.25″. I also wanted my pin cushion to not take up too much space and decided that I wanted it to be 2.5″ high. I then added 0.5″ seam allowance and ended up with a rectangle 4.75″ x 5.5″ (4.25 + 0.5 = 4.75 / 2.5 x 2 + 0.5 = 5.5).

2. I pieced my pin cushion but that isn’t necessary. I’m sure it would look great made in one print too. If you are piecing your pin cushion remember that you won’t be able to see the back so don’t put a treasured scrap at the top or bottom of your rectangle (guess how I know?!).

3. Sew the short sides together leaving a gap in the middle so you can turn your pin cushion inside out later.
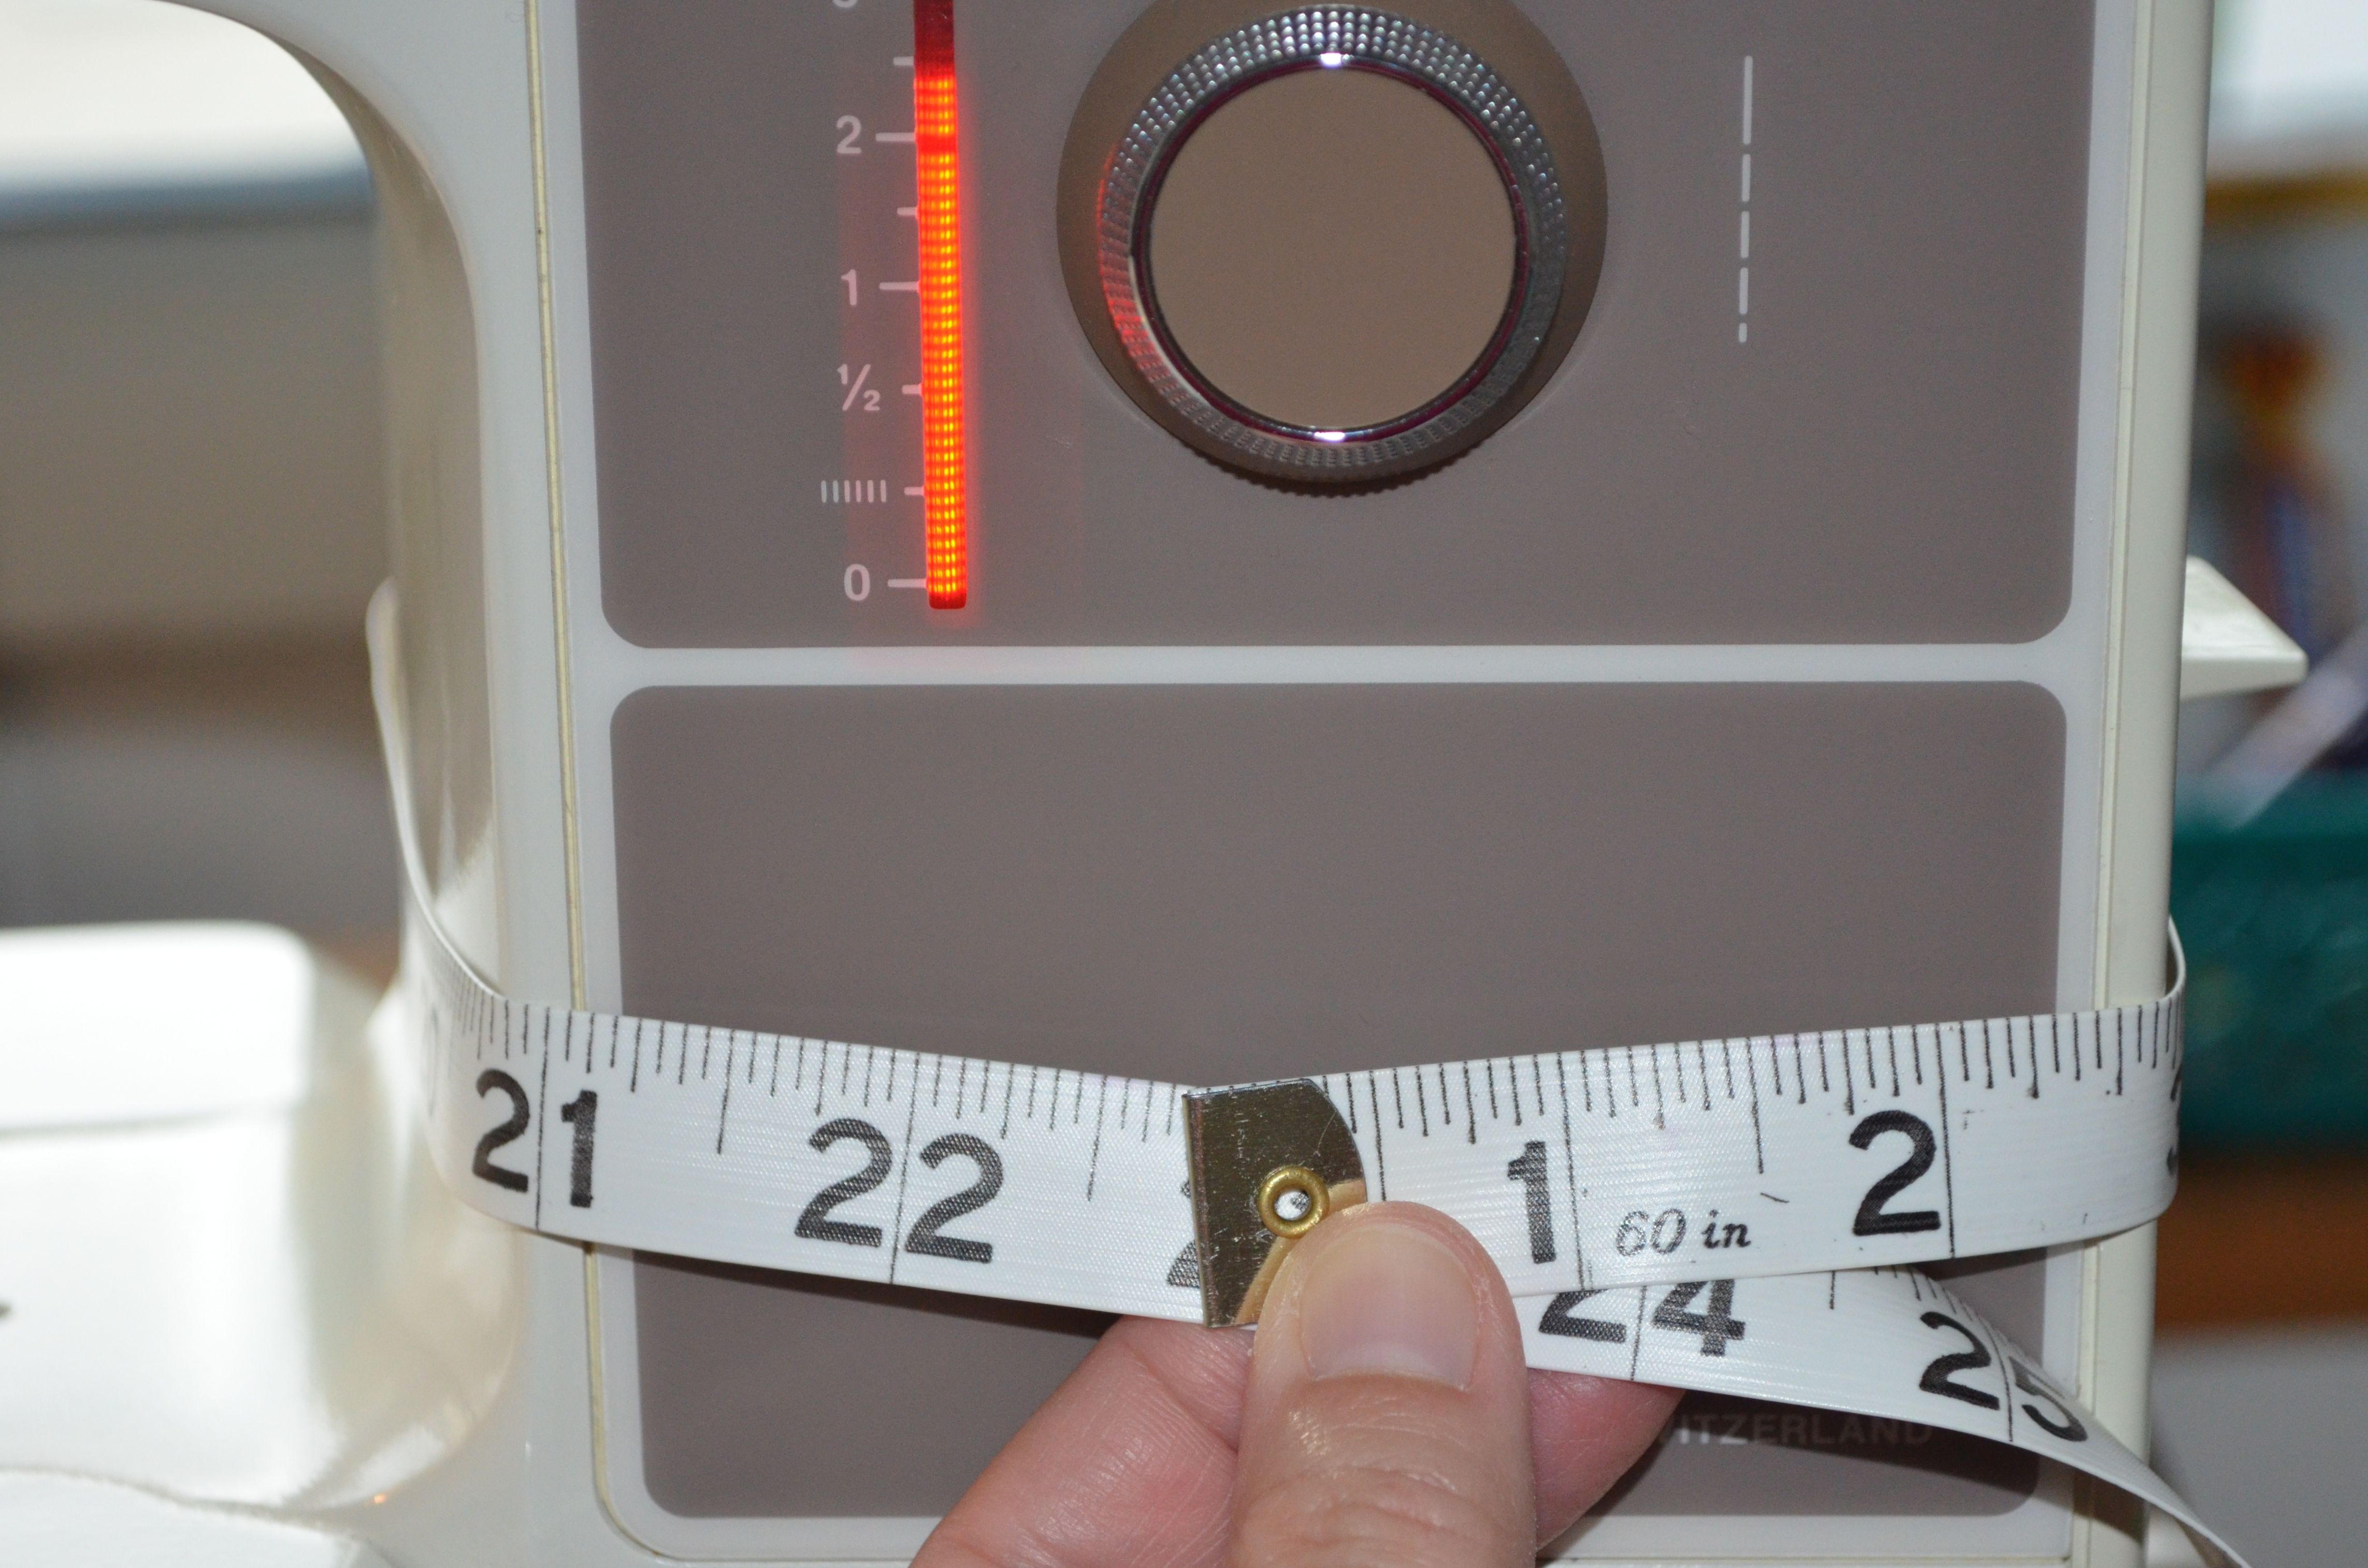
4. For the ties measure around the side bit of your machine. As you can see my total is 22.5″. Now subtract the width of your pin cushion, then add 3″ for seam allowance and overlap then divide all of it by two. In my case that is (22.5 – 4.25 + 3 ) : 2 = 10.625. I decided to round up to 11″. I cut the fabric for my ties 2″ x 11″, folded in 0.5″ on one side, then folded it lengthwise in half and pressed it well. Then I folded the outer edges into the centre crease and pressed again giving me a tie which is 0.5″ wide. Top stitch close to the edge.

5. Pin the ties onto the sides of your pin cushion about 0.5″ from the top.

To make sure that you don’t catch the ties in the seam poke them through the gap in the back of your pin cushion.

6. Sew down the sides of your pin cushion. Clip the corners and turn it inside out.

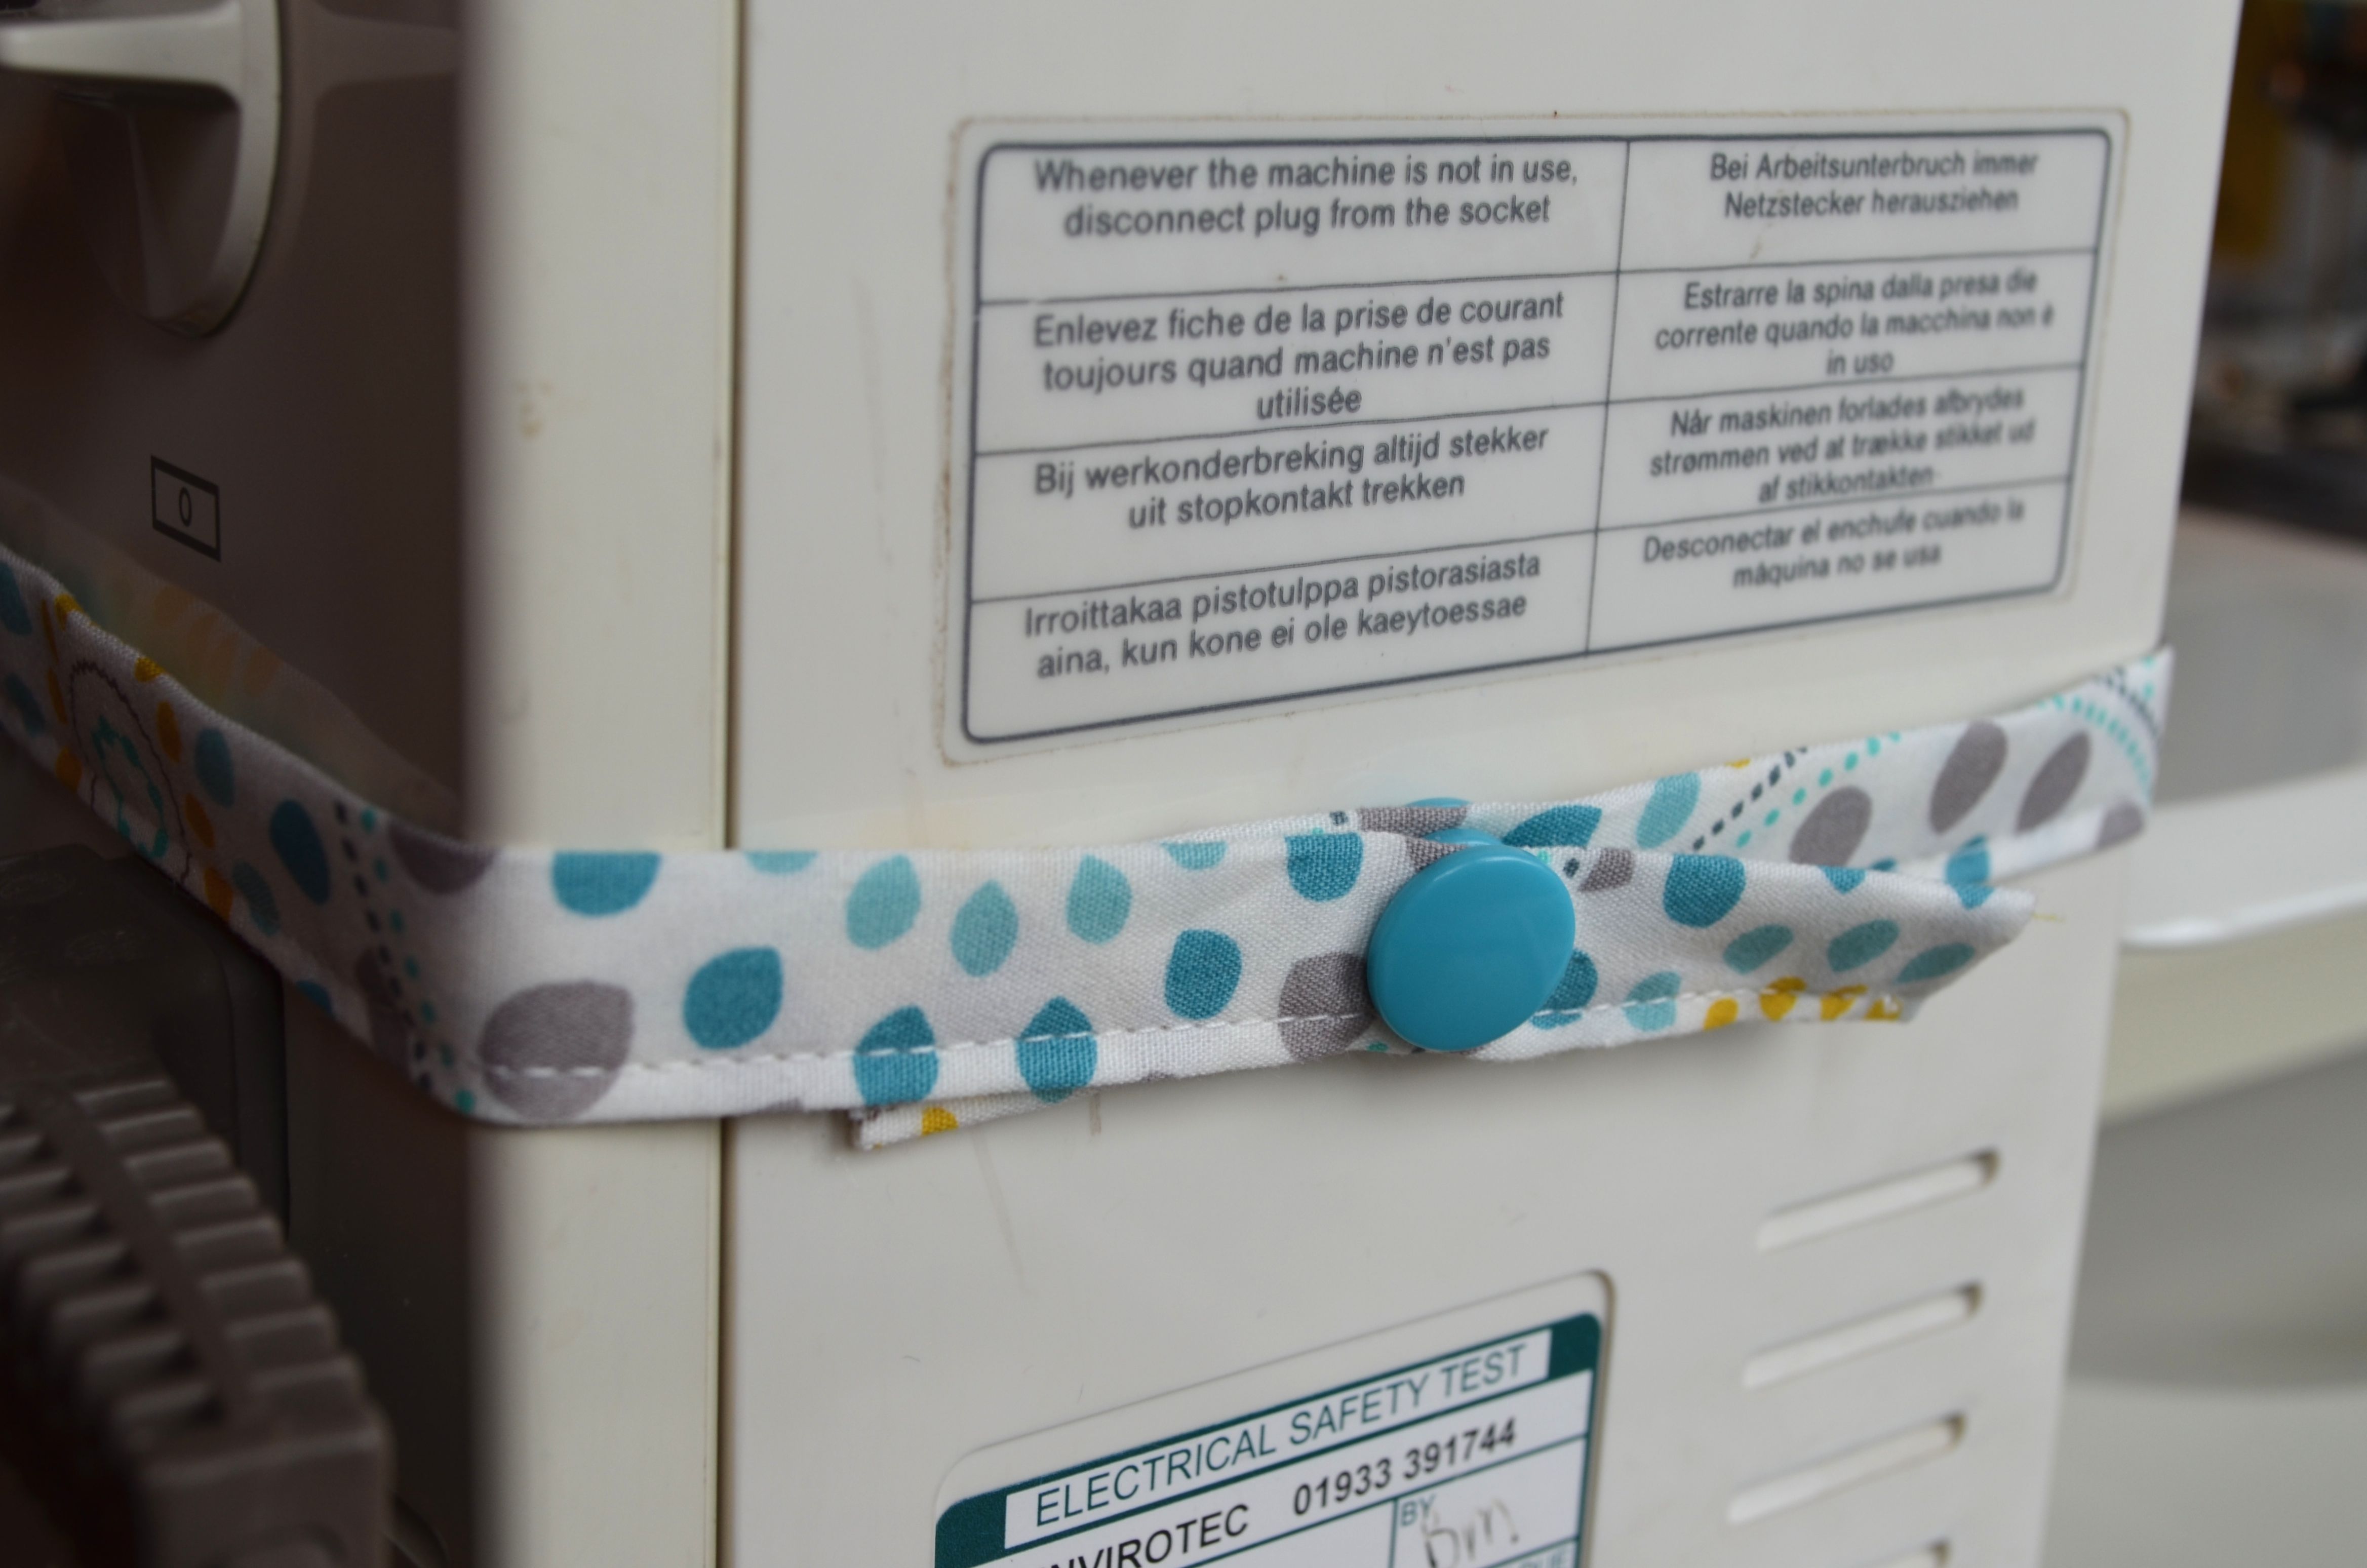
7. Fill your pin cushion with poly fill and sew the gap closed with a whip stitch or ladder stitch.  8. Hold your pin cushion in place and mark where you need to put your popper or velcro to give a nice tight fit. I used a turquoise popper.
 I added 4″ when I calculated the length of the ties but realised it was more than I really needed and this is why I changed it to 3″ in this tutorial.
9. If you’d like to add a little scissor holder, you need to mark where on the tie you’d like to put it.
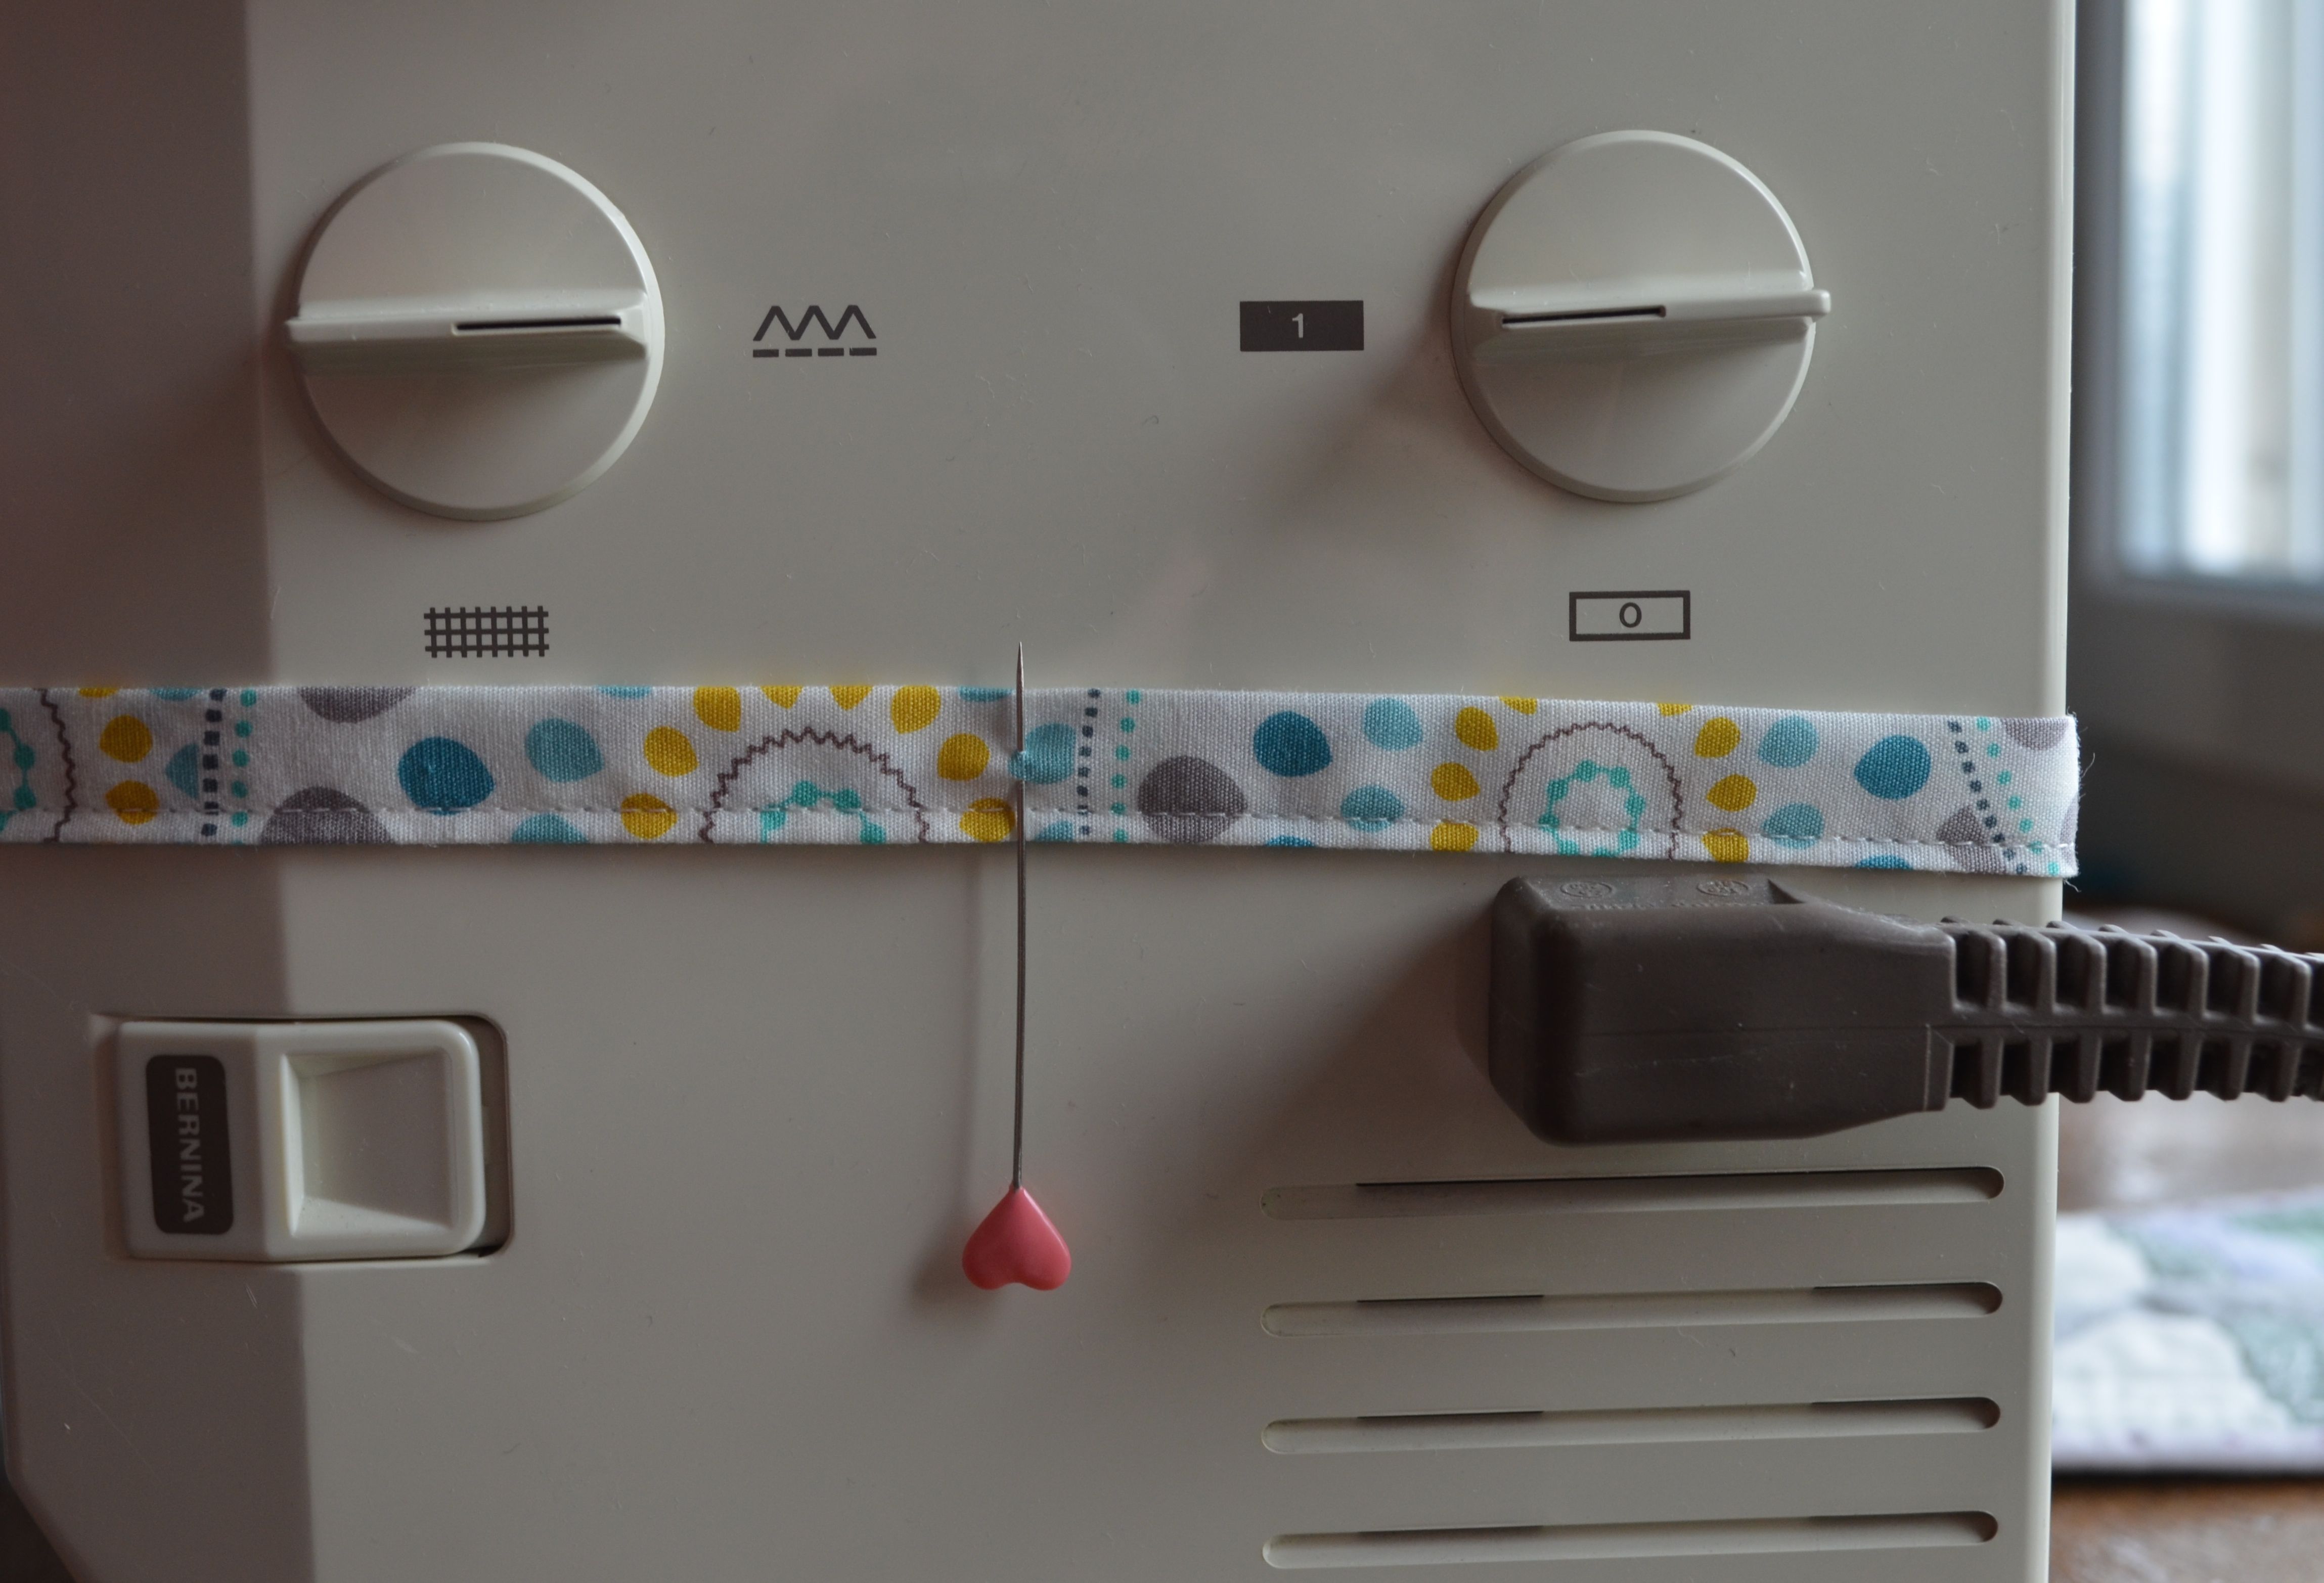
10. Cut a piece of fabric 1.5″ x 2″. Fold it in half, press, then fold the edges into the centre and press again to give you a piece that is 0.5″ x 1.5″ big. Top stitch close to the edge. Fold about 0.25″ in on both sides, pin onto your tie and sew close to the edge.

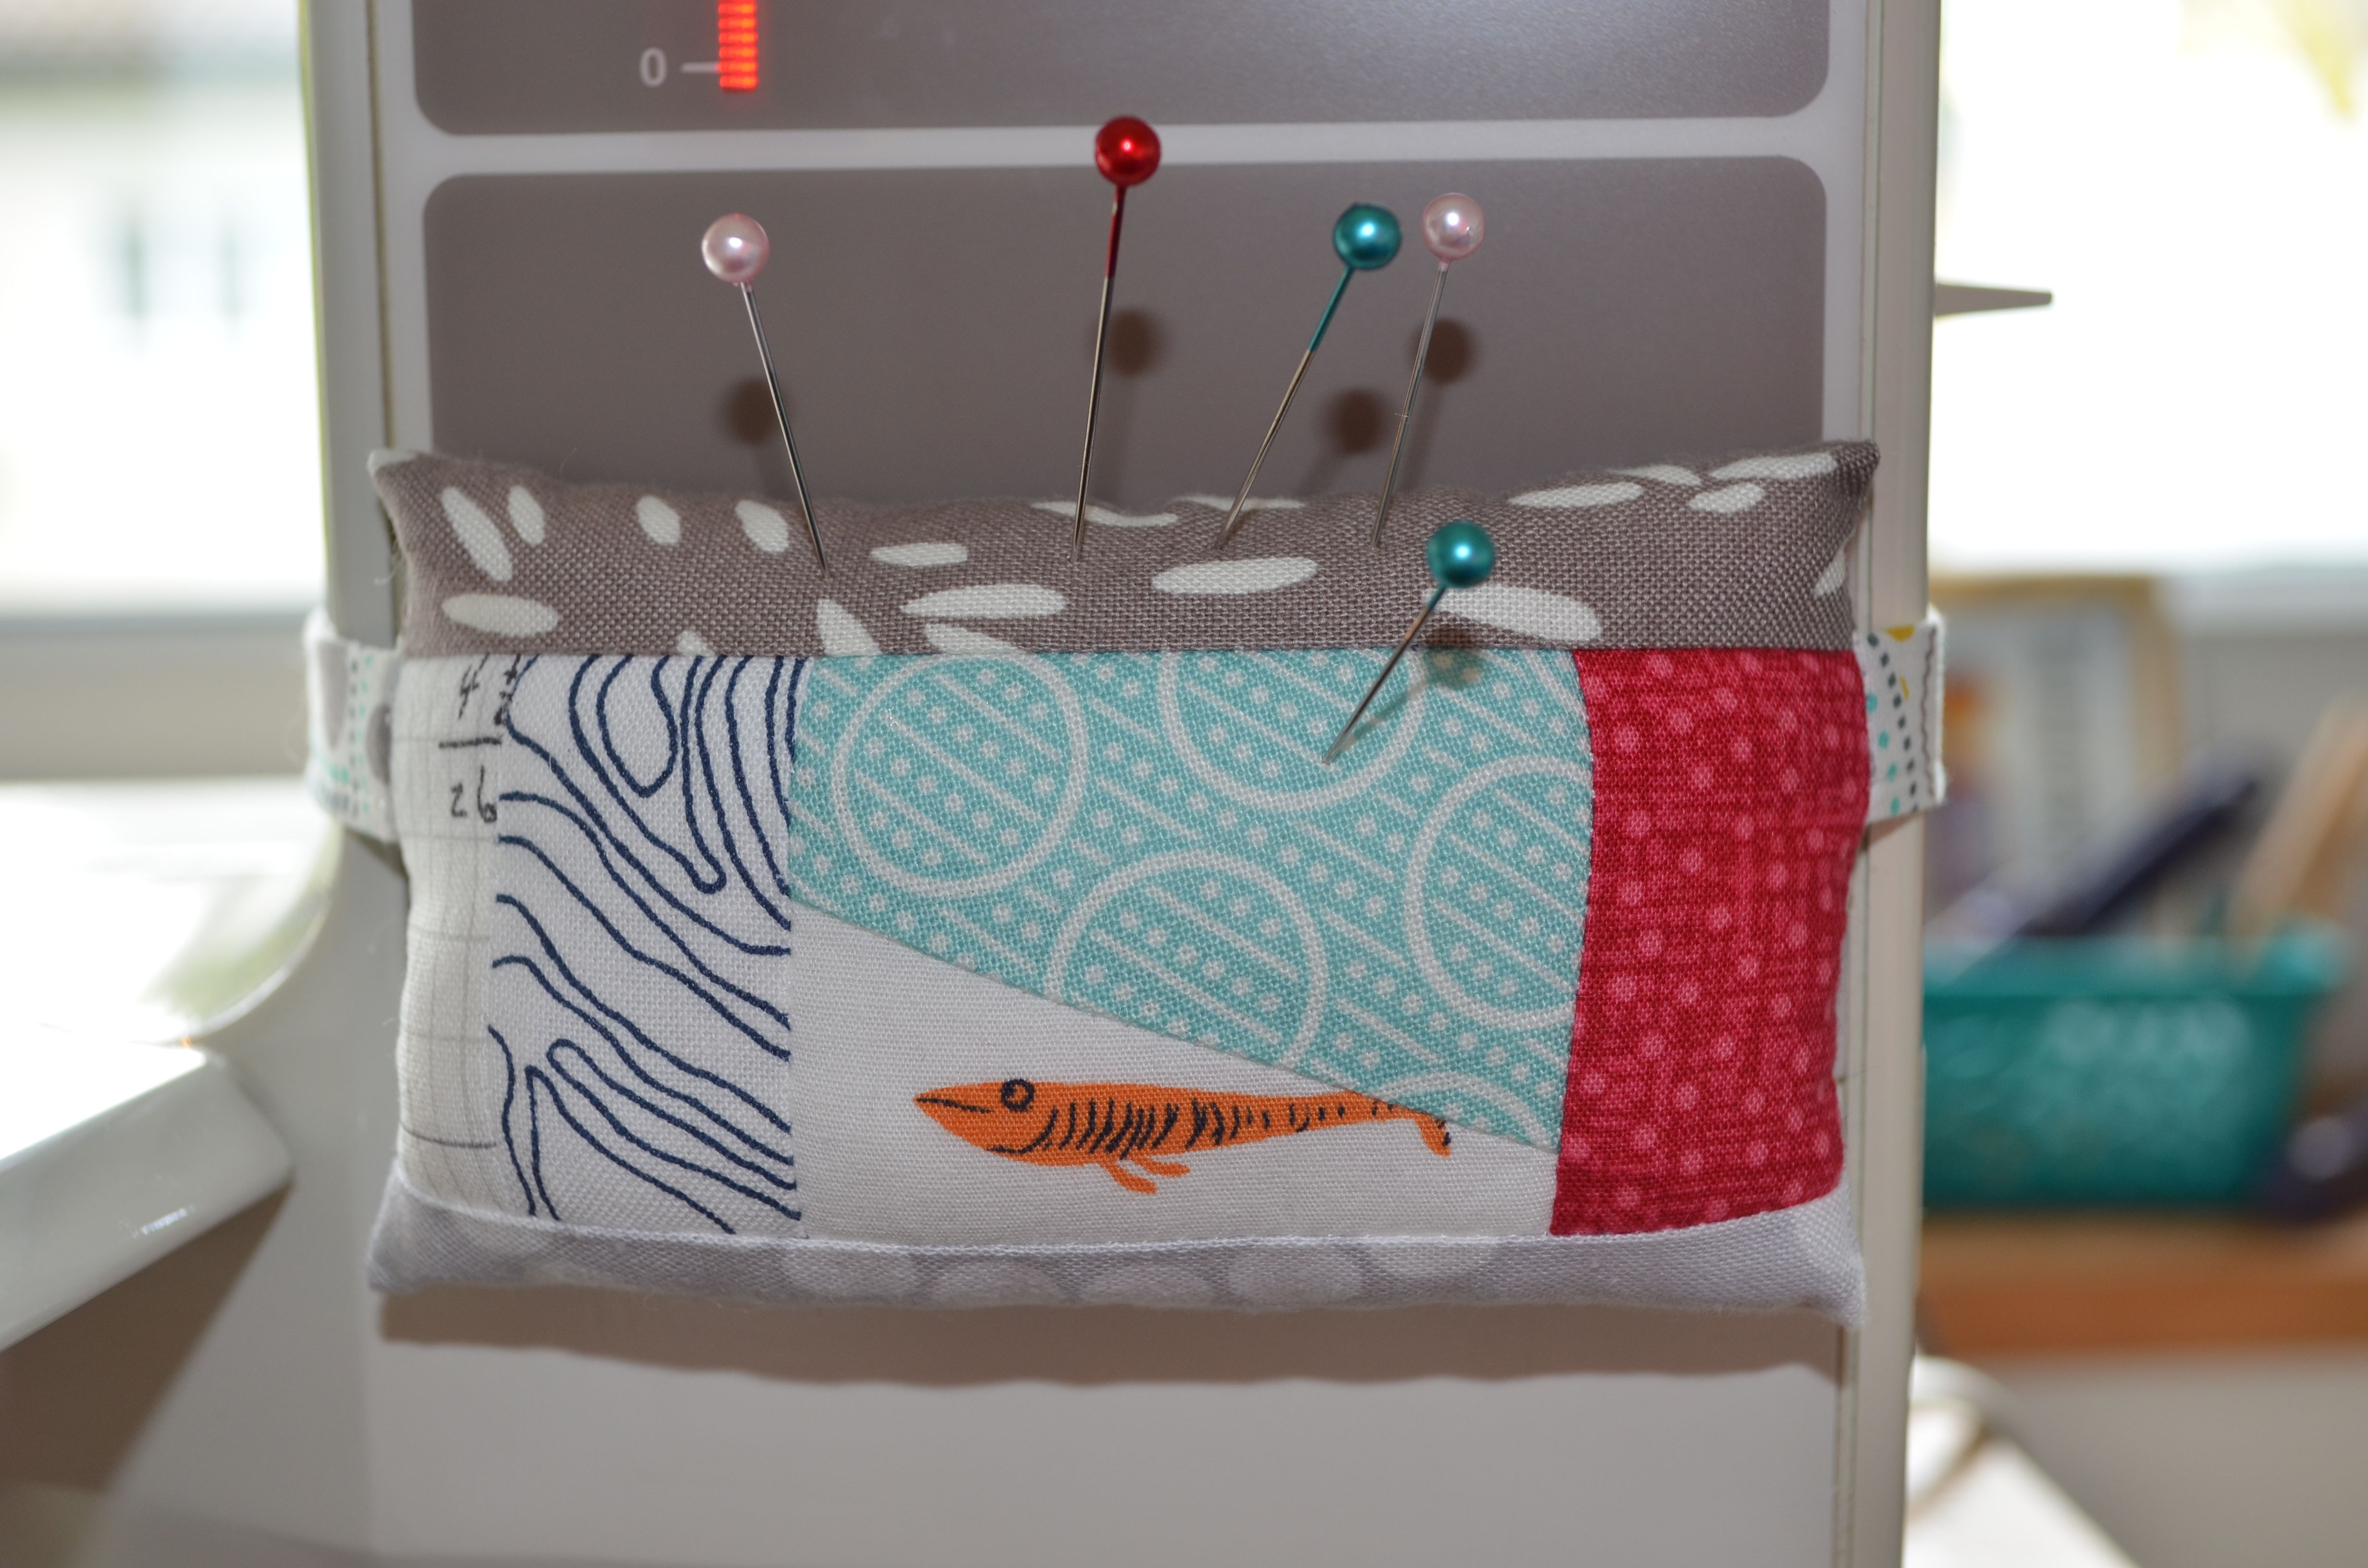
Attach your pin cushion to your machine and get sewing.
If you have any questions regarding this tutorial, please don’t hesitate to ask (This tutorial was written while I was sitting on the sofa with a nasty cold feeling very sorry for myself and not thinking clearly so I might have to edit it a bit once I’m feeling better).


