The Bloomsbury Bag

During my long non-blogging break due to my health problem (sounds worse than it is), I couldn’t resist answering a plea for pattern testers by Florence of Flossie Teacakes. Florence’s blog was the first one I discovered and followed on a regular basis. So imagine how I excited I got when she sent out a request for people who would like to help her test the pattern for her Bloomsbury bag which comes in two sizes. Quick as a flash I sent off an email and within minutes (that’s how it felt anyway) I got an answer telling me that I had been chosen!

Florence sent me the pattern and some supplies, so all I had to do was choose some fabrics from my stash for it. I quickly decided to use some of the Liberty scraps I’d ordered from Ali’s shop and pair them with Master’s torn trousers that were lying on the recycling pile.

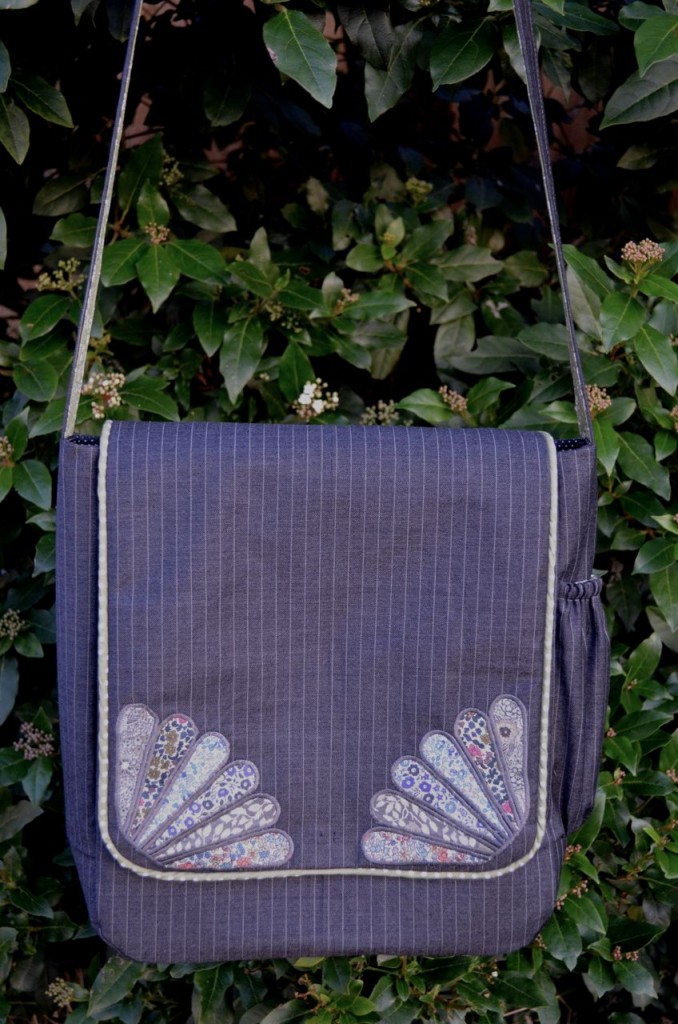
Because I couldn’t really sit at the machine for a whole day I sewed the bag in three sessions. I took my time trying to forget I’d ever made a bag, going through every step of the pattern to make sure the instructions were clear and easy to follow. They were and I ended up with a beautiful bag which, by the way, is the bigger version:

Please excuse the quality of the pictures. The light outside makes it rather difficult to take pictures that aren’t washed out.

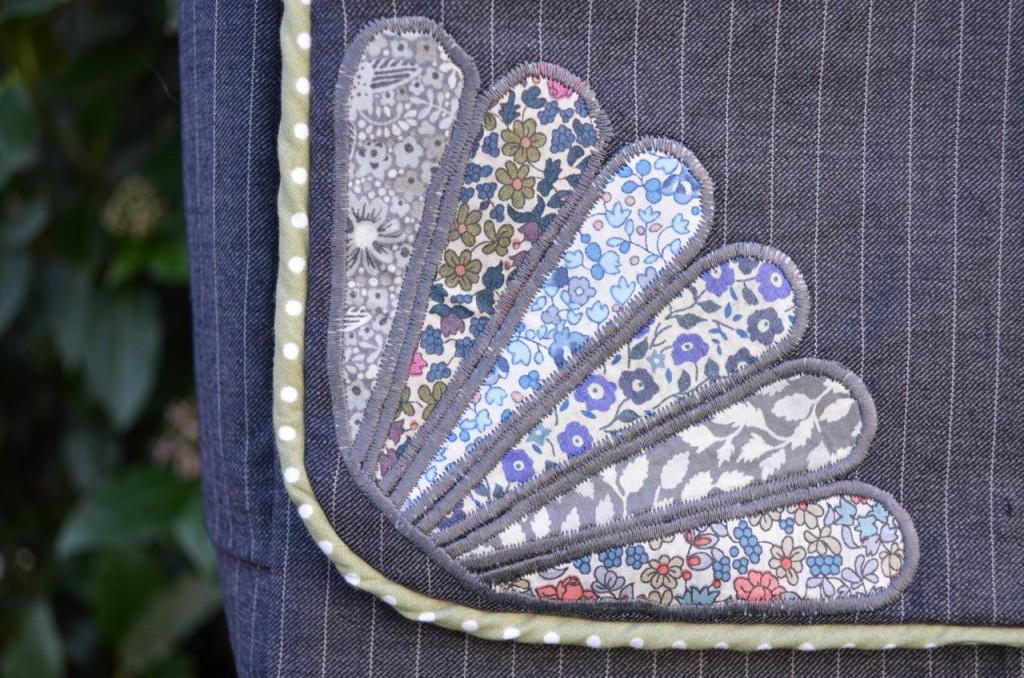
The bag came together quickly and easily and I love all the gorgeous details such as the elasticated side pocket in which you could keep a bottle of water, tissues or your mobile. The Dresden petals and piping look sophisticated

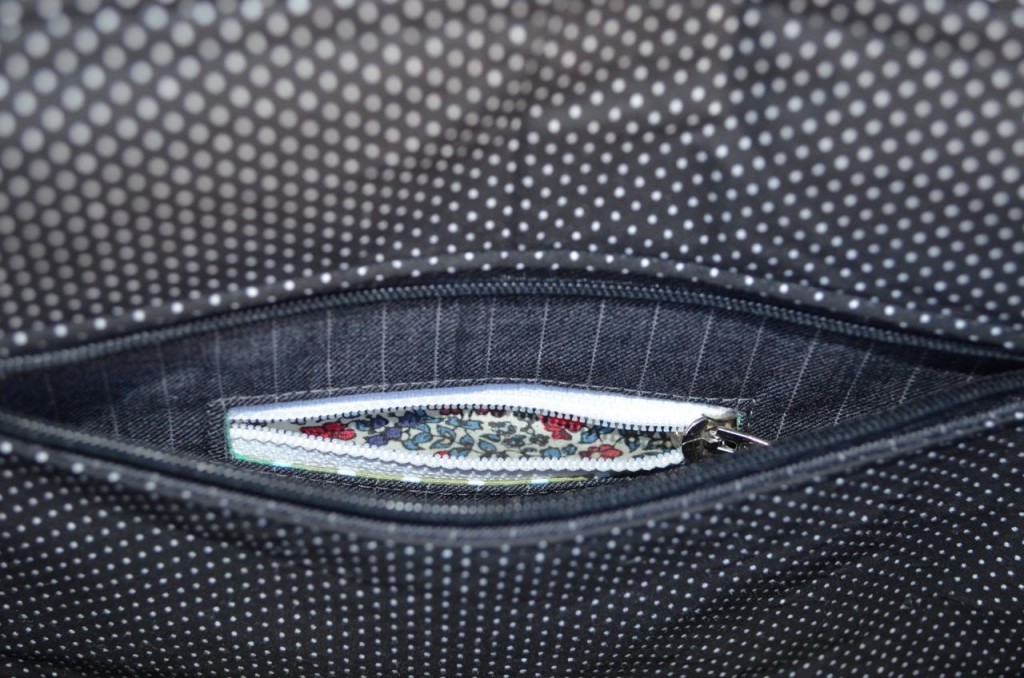
and the little zippered pocket inside a zippered pocket is simply adorable.
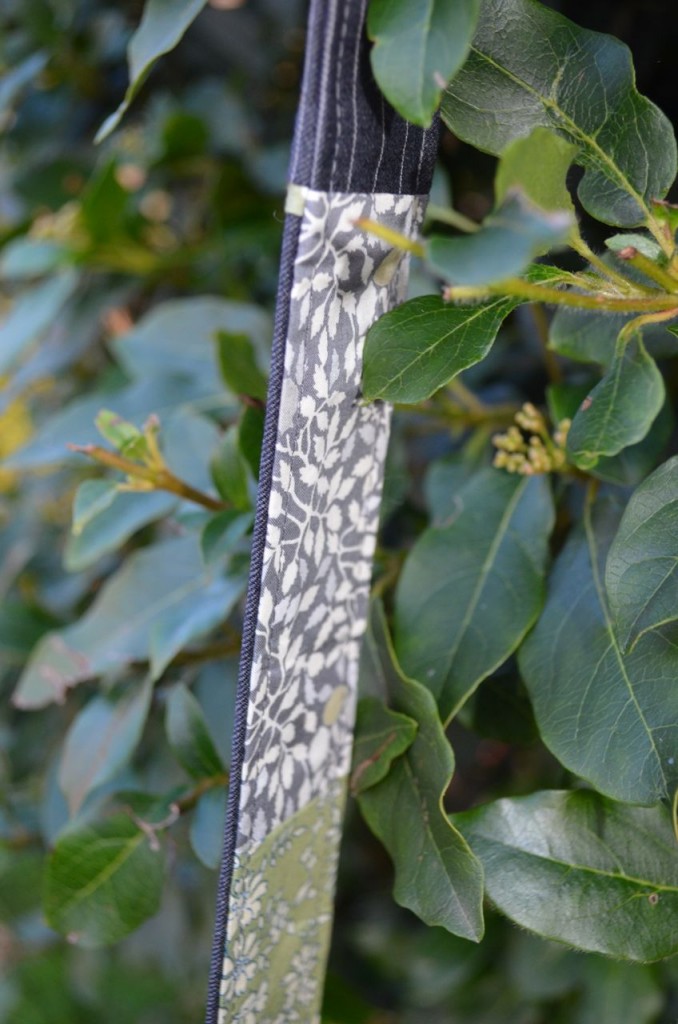
I wanted quite a long strap as I wanted to be able to wear the bag over my winter coat. Master’s legs are long but the trousers weren’t quite long enough for this job, so I had to piece the strap. This is now my favourite part of the bag.

I love the extra glimpses of Liberty.

Now I have to admit that not everything went according to plan. However, none of the problems I encountered had anything to do with the pattern and everything to do with my lack of patience and rubbish cutting skills.

First, the Dresden petals are supposed to follow the curve of the flap exactly and if you look at Florence’s beautiful example bags they do. I found the Liberty Tana lawns really slippery and awkward and as I wasn’t feeling my best I decided after a while of cutting, checking and swearing to just make do with what I had and leave the petals the way they were.

Second, my machine did not enjoy making the piping. I don’t own a piping foot so made do with my zipper foot. The piping is quite wrinkly but again I didn’t feel inclined to faff about and try to get it perfectly smooth. I’m hoping Santa will put a piping foot in my stocking so that I can try again and make perfect piping.

Despite these little problems I love the bag. It’s so practical with enough pockets for everything to have its place. I’m sure I will make another version for the summer, maybe even two. The smaller size would be perfect for walking the dog while the bigger one is great when I’m about and about with Little Miss Bossy-Boots.

If you would like to make a Bloomsbury Bag pop over here and have a look at Florence’s beautiful bags with perfect Dresden petals and piping. Once you scroll to the end of her blog post you can buy her pattern and get sewing.
 

Another Bag

Just before Christmas I had a request to make a bag for a little girl as a Christmas present. I delivered the bag on Christmas Eve (oh, yes, it was a bit of a tight squeeze but I managed) but in the rush I completely forgot to take pictures of it. Maybe Charlotte’s mummy will take a picture or two for me if I ask very nicely.

Anyhoo, that bag led to another order and this time I didn’t forget to take pictures!

I used my messenger bag pattern (the Jacqui Bag, as I call it) to sew it. The outside fabric is a really lovely denim while the lining is Gryffith Butterfly by Alexander Henry Fabrics.

There are two pockets for the mobile phone, keys or other things and one for a pen.

As for the name, I went for the slightly rougher looking free motion sewn/embroidered look. I had a lot of fun with the name but also one of the most embarrassing situations ever: I miss-spelled the name! I had been practicing writing “Sarah” without setting my pen down the day before but wasn’t quite sure about it. In the end I decided to go for every letter individually. I sat down at the machine did a few practice letters to see how I liked it and to get in the flow. Then I wrote the name with an air erasable pen and started sewing. I was happy with the look of the name and proceeded finishing the bag. I didn’t have time to sew on the butterflies but thought that was a quick job which I could do the following day. Luckily, I showed Master the bag before calling Alison to tell her the bag was finished as he commented on the funky spelling: S a h r a.

Mortified, I took the bag apart again and redid the name. Catastrophe averted, phew.


Here Kitty!

I’m sorry I missed a blog post for yesterday. My day started at 5.20am when Little Miss Bossy-Boots woke me up and the early start turned me into a brainless zombie. I couldn’t even get myself to go anywhere near the computer. Hopefully it’ll be a one off.

Little Miss Bossy-Boots started pre-school again a few weeks ago and I had promised her a new bag and lunchbox. We went into town and picked out a new lunchbox, Minnie Mouse this time. She insisted on getting a matching plastic Minnie Mouse bottle and I gave in even though she has lots of good quality aluminium bottles which I think are easier to keep clean. It is nice to start the year with all new things, though, so I let her have the bottle too.

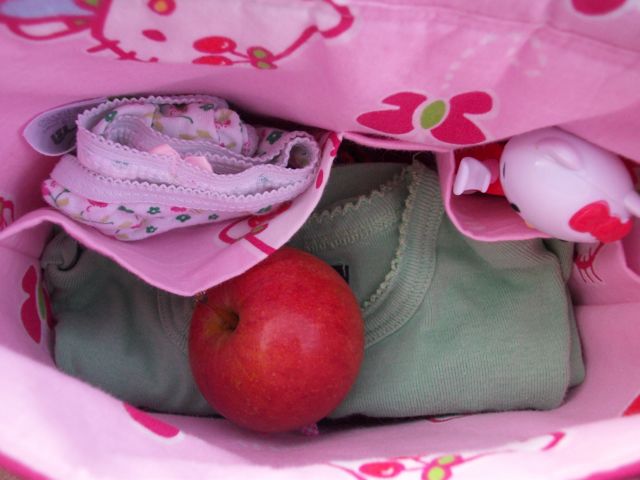
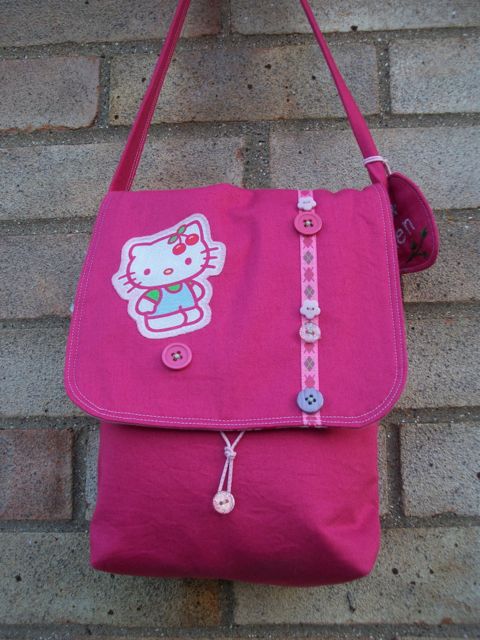
The bag, however, was always going to be made by Mummy. Last time I was in Switzerland I picked up some pink twill and light pink “Hello Kitty”cotton fabric. I also picked up a pink ribbon with an Argyle pattern in the same colours as the “Hello Kitty” fabric. I made a messenger bag with flap (the pattern is one that I have made numerous times before; quick and easy) and inside pockets for all the small stuff. I even made one for a pen in the hope that she will keep this bag for a while.

The little outside pocket is for her lunch money.

The embellishments on the flap were all chosen and placed by Little Miss Bossy-Boots. It’s a little busy for me but she loves it. She placed all the buttons on top of the ribbon except one which made me laugh. It seems so random but I’m sure she had a reason for it. When she went through my buttons she took out about 40 pink and purple buttons (oh yes, I have lots and lots and lots of pink buttons. I have no clue as to how they made it into my house. Honest!) In the end, however, she only went for a few and only one glittery one which surprised me no end.

Little Miss Bossy-Boots loves her new bag and I’m sure part of it is the fact that she had total control over the ribbon, appliqué and buttons. I have high hopes that she will one day sit next to me on the sofa crafting.

another pink bag

Are you ready for it? Yes?

Here’s the last of three pink and girlie bags for three little girls. I didn’t have time to go fabric shopping before Megan’s birthday. My solution was to make a patchwork bag. I took all my pink scraps, added a few girly blue heart scraps and cut them all 10cm high. I varied the width to make sure it wasn’t too uniform. To calm the busyness of the bag I added a pink panel and a pink flap (Kona baby pink). And just because I can, I added a fabric flower made from a long, gathered strip of the pink fabric I used for the lining and handle.

Continue reading another pink bag