Snowdrop

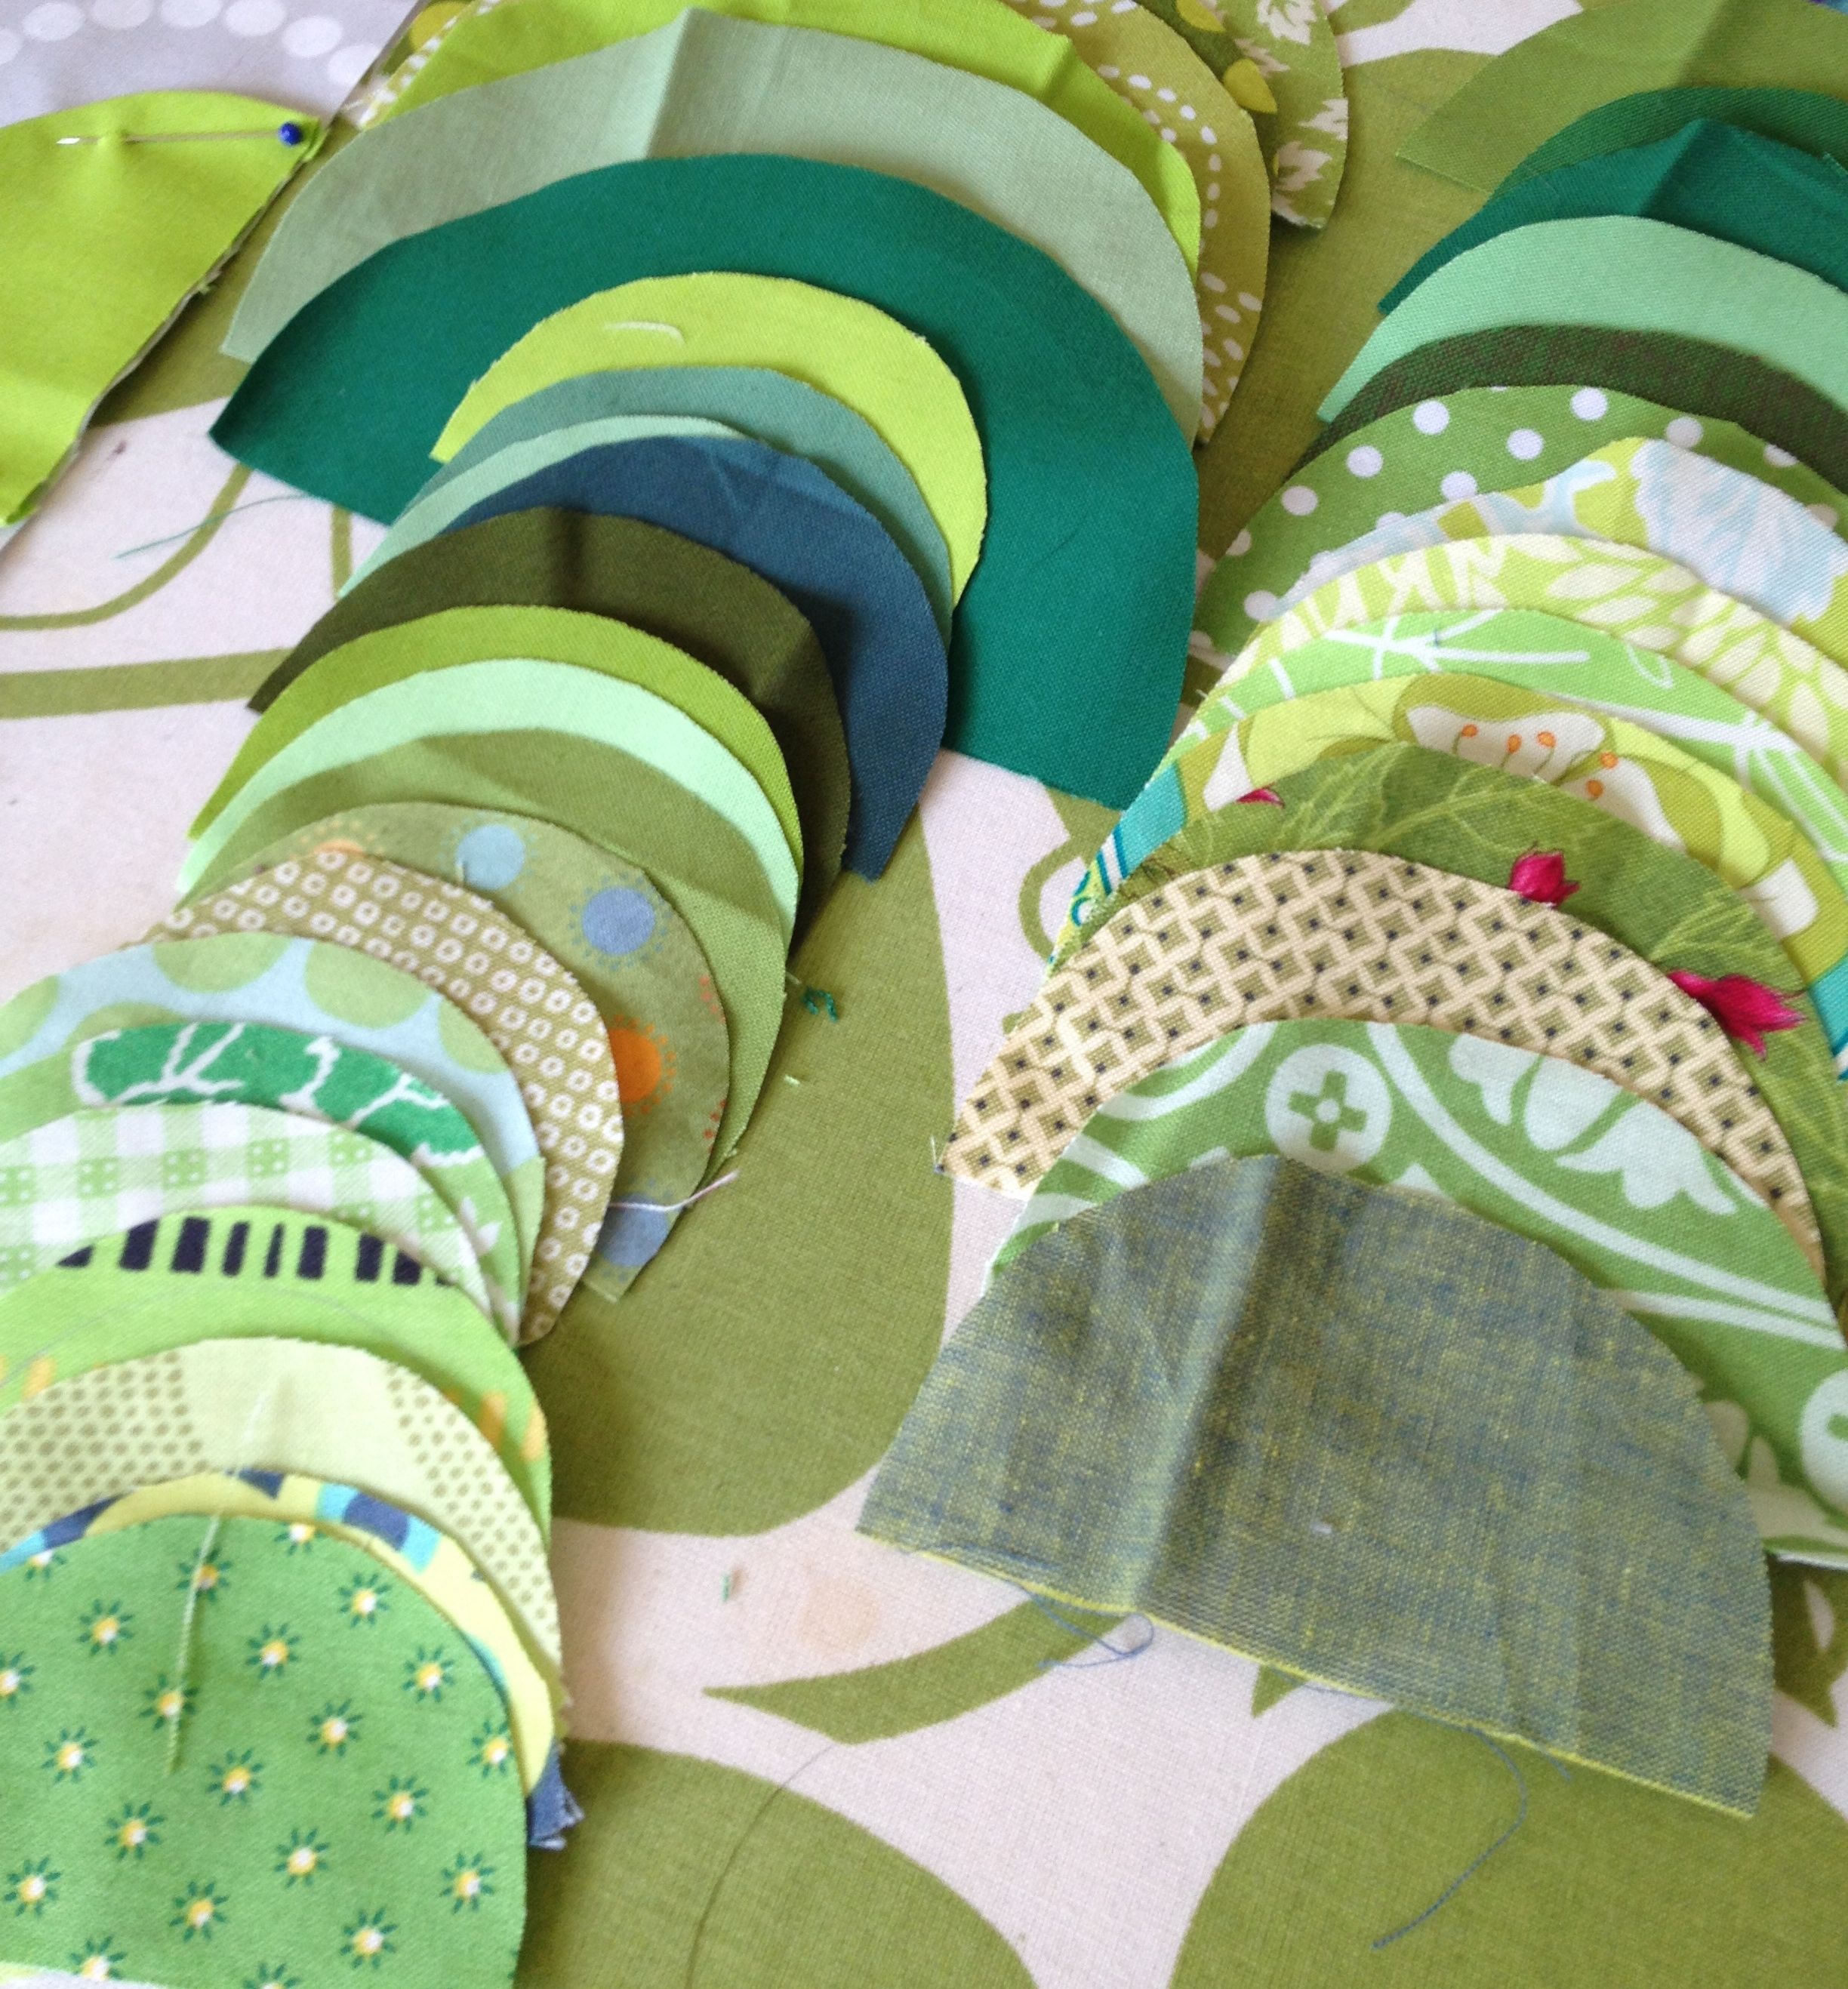
Snowdrops are a sure sign that spring is coming and I really love seeing them. So when a lovely friend of mine asked for contributors to make a quilt for the Snowdrop Festival I quickly agreed to help. I sat down after Christmas and appliquéd a snowdrop onto the fabric Trash (yep, that’s her name) had sent me. It wasn’t my first time doing appliqué but the first time I did nothing but appliqué and it definitely whetted my appetite. As soon as I’m finished with the two commissions I’m working on I’m going to embark on a needle turn appliqué project which I’ve already designed. Before I get ahead of myself would you like to see the snowdrop?

Snowdrop

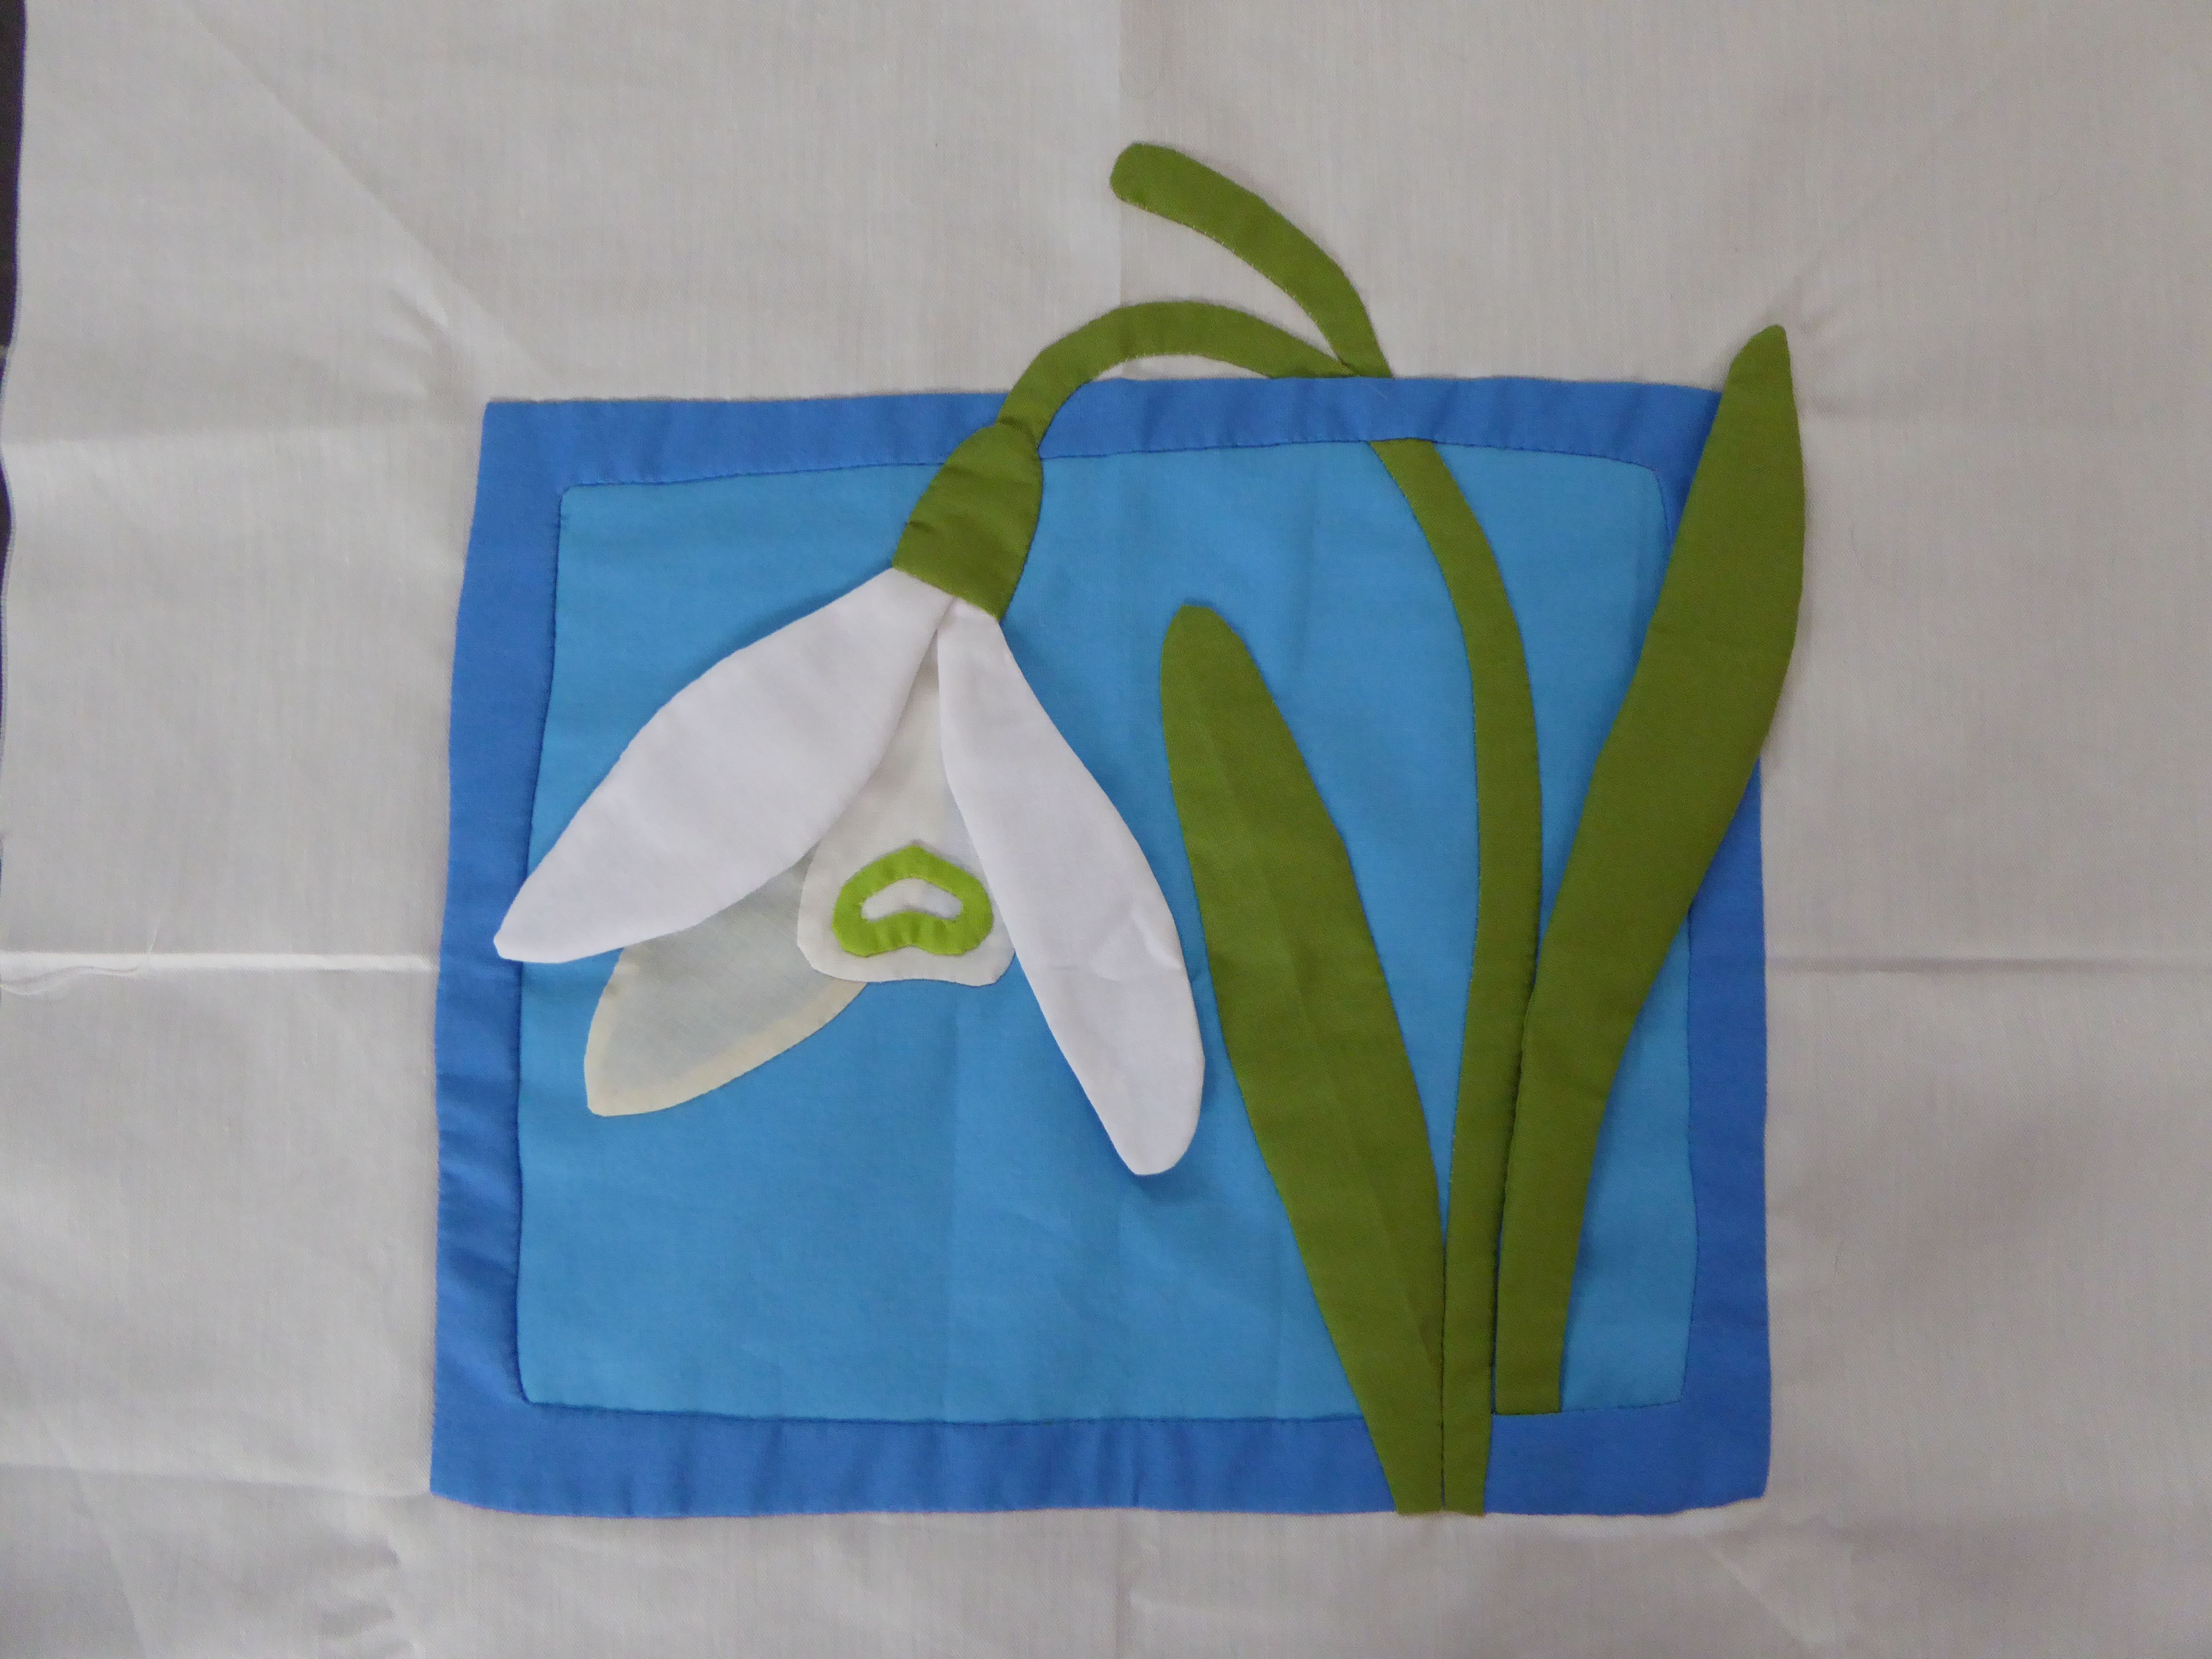
While I was stitching on the first leaf and the stem I suddenly thought it would be fun to actually make it a 3D snowdrop so I did the second leaf and the two outer petals in that technique. The snowdrop festival will be on soon and I’m looking forward to showing you pictures of the finished art quilt soon. I’ve seen pictures of it on Instagram and it looks fabulous.


Hurty Finger

That’s what I have after appliquéing many green half circles onto the background without a thimble. I’ve finally gone to find my thimble and am continuing the task with more pleasure. Only six more to go and then I’m finished.

I had to sew together two strips just to see whether it would really look the way I imagined it.

Green

It does.

A Little Bit of Green

I have signed up for another swap despite vowing never to enter a swap ever again after the last one’s disappointment*. Anyway, I couldn’t resist the Schnitzel and Boo Mini Quilt Swap and signed up. My partner likes green so I’ve hunted down almost every green scrap I own (ok, who am I kidding, about half of them) and have cut half circles in three different sizes. 40 different fabrics have been used and I still have more if I need them. I’ve always known that I like greens but didn’t realise that I had quite that many different ones.

40 half circles

Now all I have to do is appliqué them onto the low volume background. I may be a while.


*I wasn’t in the least disappointed in what I received; oh, no, I absolutely love the mini I received and enjoy looking at it every day as it’s hanging on my sewing room wall. No, it was the fact that after sitting for hours hand sewing and really putting my heart in it my partner didn’t even say ‘thank you’ or let me know that the parcel had arrived.

Shining Bright

I’ve finished my Pantone 2013: Emerald Quilt Challenge mini quilt and I’m very happy with it.

Réalt Glas Finished

As it’s name Réalt Glas means Green Star in Gaelic, I decided to quilt some wandering clover on the grey Essex linen. It’s not my first time free motion quilting but it’s still rather wobbly and I realise that I have to practice a lot more. I used the same grey Aurifil 50wt  (2605) that I used for piecing.

Réalt Glas Finished

Except for the centre, the star (stars?) itself isn’t quilted. I did stitch in the ditch around the grey pieces but left the green pieces alone. I could tell you it was because I wanted them to stand out but in reality it’s because the inner star was too pouffy and I was worried that I would have lots of little pleats if I quilted it.

Réalt Glas Finished

The pattern tweaking is still going on for this but I should be finished by this weekend. All I need then is a little help from Master to turn it into a PDF file.


Here Kitty!

I’m sorry I missed a blog post for yesterday. My day started at 5.20am when Little Miss Bossy-Boots woke me up and the early start turned me into a brainless zombie. I couldn’t even get myself to go anywhere near the computer. Hopefully it’ll be a one off.

Little Miss Bossy-Boots started pre-school again a few weeks ago and I had promised her a new bag and lunchbox. We went into town and picked out a new lunchbox, Minnie Mouse this time. She insisted on getting a matching plastic Minnie Mouse bottle and I gave in even though she has lots of good quality aluminium bottles which I think are easier to keep clean. It is nice to start the year with all new things, though, so I let her have the bottle too.

The bag, however, was always going to be made by Mummy. Last time I was in Switzerland I picked up some pink twill and light pink “Hello Kitty”cotton fabric. I also picked up a pink ribbon with an Argyle pattern in the same colours as the “Hello Kitty” fabric. I made a messenger bag with flap (the pattern is one that I have made numerous times before; quick and easy) and inside pockets for all the small stuff. I even made one for a pen in the hope that she will keep this bag for a while.

The little outside pocket is for her lunch money.

The embellishments on the flap were all chosen and placed by Little Miss Bossy-Boots. It’s a little busy for me but she loves it. She placed all the buttons on top of the ribbon except one which made me laugh. It seems so random but I’m sure she had a reason for it. When she went through my buttons she took out about 40 pink and purple buttons (oh yes, I have lots and lots and lots of pink buttons. I have no clue as to how they made it into my house. Honest!) In the end, however, she only went for a few and only one glittery one which surprised me no end.

Little Miss Bossy-Boots loves her new bag and I’m sure part of it is the fact that she had total control over the ribbon, appliqué and buttons. I have high hopes that she will one day sit next to me on the sofa crafting.

Swimming!

Yes! It’s the last swimming bag. I’ve finally managed to finish it.

The colours didn’t come out right in the photos. The purple fabric is a Kona solid, which is a little darker than in the picture. The red fabric is a deep red cotton/linen mix which was a dream to work with. I just completely loved the texture and feel of it and am so happy that I have some left over.

The appliqué fish was a silvery fabric I had in my stash. I believe it was used for a costume I made for our theatre group at uni. However, I cannot for love or money remember which play it was for. A sure sign of the passing time, isn’t it? Anyway, ramblings aside, the fabric has a lovely sheen to it and reminded me of sardines. Hence the longish body of this fish. There isn’t a lot of detail on the fish, which honestly was because I didn’t have the time. Looking at it now, I actually really like the simplicity of it. I feel a new trend coming on…

The eye of the fish are two buttons, a small blue one on top of a dark grey one. The brief for the bag was purple and red with a glittery fish and the letter “C”. As the fish is more shimmering than glittery, I thought I’d add a sequin “C” for the bling effect.

As with the two other swimming bags I added an inside pocket for goggles, hair ties and other bits and bobs.

In this picture you can also see the bright red zip that closes the bag. I used to be quite scared of zips before I got the “Bag Making Bible” by the lovely Lisa Lam. Her book is just so fantastic I cannot praise it enough. It is packed with tips and tricks for making fabulous bags and although I haven’t made one of the bags in the book yet, I cannot wait to find some time to make a bag for myself. I even have some fabric for the lining ready.


Shark!

Here are some pictures of the second swimming bag I made. I forgot to get more pictures of the first one, all I have is the fish from the previous post but I hope that Julie will be so kind to take a picture or two for me. The bag is for a little boy, Richard, and I think I might have missed the mark a bit. After I finished the bag I did think that maybe the colours were a little girly. A quick word with Master confirmed that the bag could not be called boyish. In fact, he thought the only thing that saved it (just about) was the shark. Well, I told Julie that if she or, more importantly, Richard didn’t like it I would make a new one in more manly colours.

Right here are the stats. The bag is 45cm by 40cm with a zip closure and one long handle (86cm). I used two of my favourite colours from the Kaufmann Kona solids range, spring and delft, which was probably why it ended up more girly than it should have.  Next time I make something for a boy I’ll get Master to chose the fabric. The lining is an off-white fabric that I had in my stash. I like using light materials as lining because it is easier to find things in the depths of your bag when the lining isn’t too busy or dark.

I took the pictures minutes after I finished the bag and literally seconds before I handed it over to Julie hence the midday, dappled shade pictures.

There is an embroidered letter “R” in the same grey colour that I used for the shark. There’s also a handy inside pocket for goggles and stuff.

I love this bag and I secretly hoped that Julie would say that it was too girly and that she wanted me to make another one that was more boyish. All I would have had to do is take the “R” off and use it myself. She didn’t.

I think I might have to make another bag in these colours…once I’ve finished all my other projects.

I’ve almost finished the last swimming bag but have to first get another zip as the one I have is too short. Hopefully I’ll have another reveal tomorrow.

Aimee’s Bag

Yes, it’s another pink bag!

Isabelle’s mum asked me to make bags for her nieces too and here is the first one:

It’s pink with a big butterfly appliqued on the flap. It’s a fairly bright pink that might not always be perfect. No problem! the bag is reversible and here’s the more muted side:

I had a bit of a problem getting the pattern change on the flap and the body to line up properly and in the end just had to give up. I don’t like wasting material and therefore didn’t want to make another flap. I don’t think it is bad enough to warrant that.

The flowery side has two pockets for all the small things girls carry about.

And, of course, an embroidered name.

I just hope the birthday girl loved her bag.

Ballet Bag

As promised yesterday, here’s the ballet bag I finished the day before:

I made a ballet bag similar to this one for the daughter of a friend of mine last year. Imagine my pleasure when Julie came up to me and asked if I could make a bag “like Florence’s” for her daughter Evelyn. Of course, I can. Sadly, I don’t have a picture of Florence’s ballet bag to show you. I forgot to take pictures, doh. On Julie’s request I made the bag a little bigger as Florence’s really is on the smaller side. I also closed it with a flap rather than just a button to make sure things don’t fly out when the bag is thrown about.

Continue reading Ballet Bag