It’s amazing what can inspire you. I was once inspired by some quilted toilet paper. This time inspiration was a knitted jumper. There’s a fabulous magazine in Norway called Hjemmet, which my mother has subscribed to for as long as I can remember. As I was reading one of their knitting supplements on classic Norwegian jumpers designed by Dale Garn for the Olympic Games throughout the years I fell in love with the jumper designed for Grenoble in 1968.

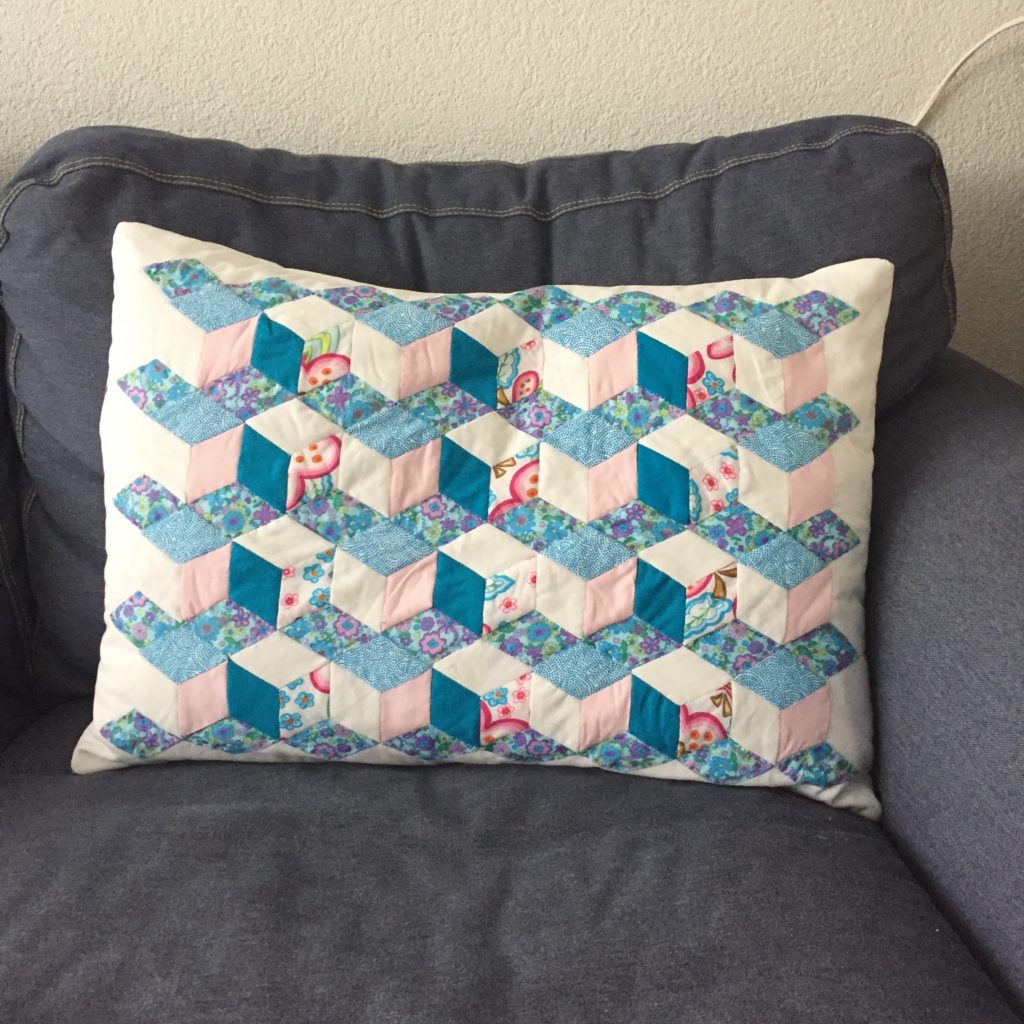
I’m not a knitter, in fact all my Norwegian jumpers and cardigans have either been knitted by my grandmother or my mother, but I am a quilter. So I turned the Grenoble jumper into a Grenoble quilt. I changed very little in the snowflake as I think its beautiful the way it is but replaced the stripes with a zigzag as I loved the zigzag at the bottom but knew I didn’t have space for it in this quilt.
It’s going to be a long term project. I’ve decided to go for 1.25″ squares as this means this quilt will end up being 61.25″ x 73.75″. I think that’s a good size for a single bed. I might make it bigger but I think it’s good to start with a manageable size.
I’ve calculated that I need 2891 squares for this quilt, 1753 for the background and 1138 squares for the pattern. I haven’t calculated how much fabric I need exactly but I think it’ll be about 1.50m for the background and about 1m for the coloured fabric. I’m still pondering a few things before jumping in and starting this new project:
- should I have one fabric for the background or go scrappy?
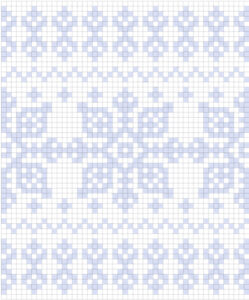
- what colours to use. In the picture I used light blue but I’m wondering if I should go for greens as I’ve just made two blue and white quilts. Or maybe use reds, pinks and oranges for a modern look? I’m definitely going scrappy for the coloured squares.
- I have a rule for this year: to finish three projects before I start a new one as I have a million WIP’s cluttering up my sewing room. I’m trying to find the ones that take the least effort and are finished the quickest…
If you would like to make this quilt, you can download the graph and use as a guide.
Happy sewing,
Elisabeth