BOM 2019: August

It’s a new month which means it’s time for a new tile for the block of the month. I loved last month’s block.

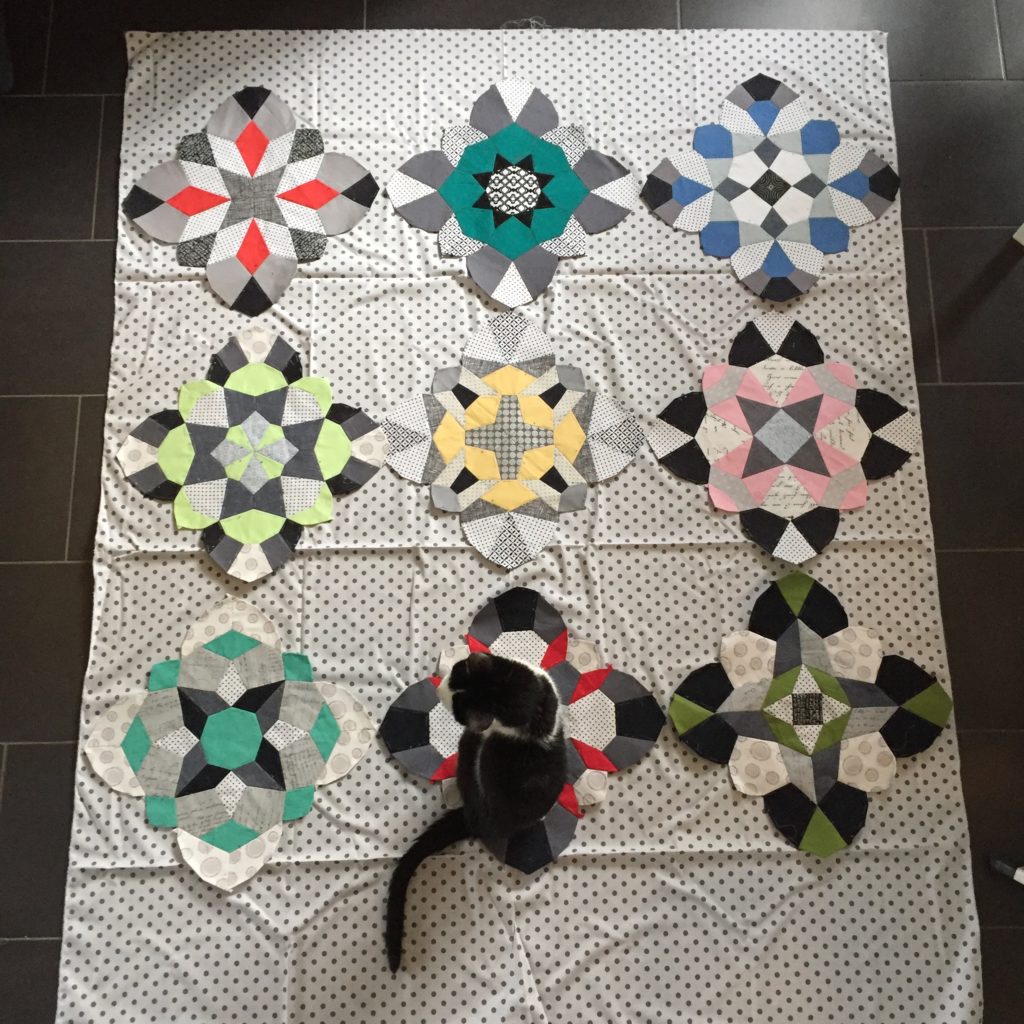
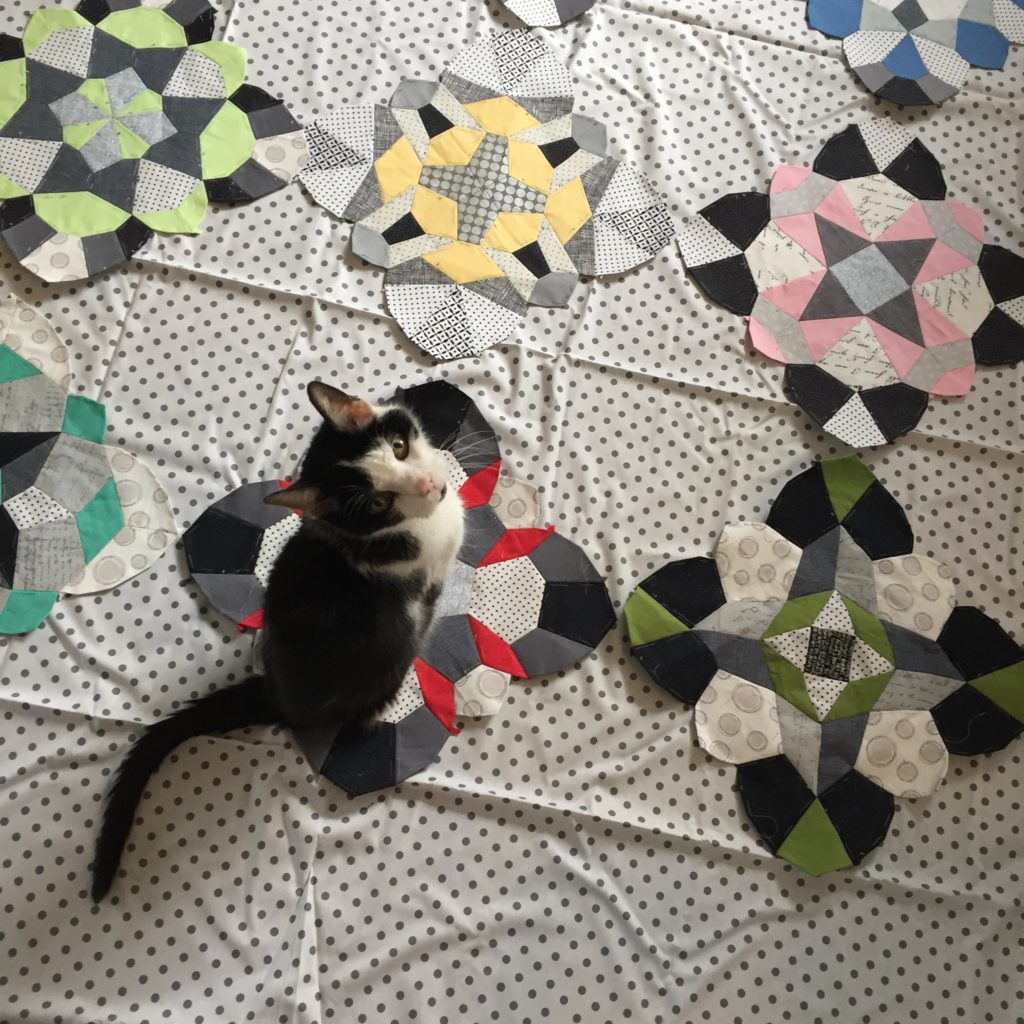
I was going to do the pentagons in red too but used the grey sketch by mistake and didn’t want to change it when I realised it. I rather like the way it looks and am really happy with how it fits in with the others.

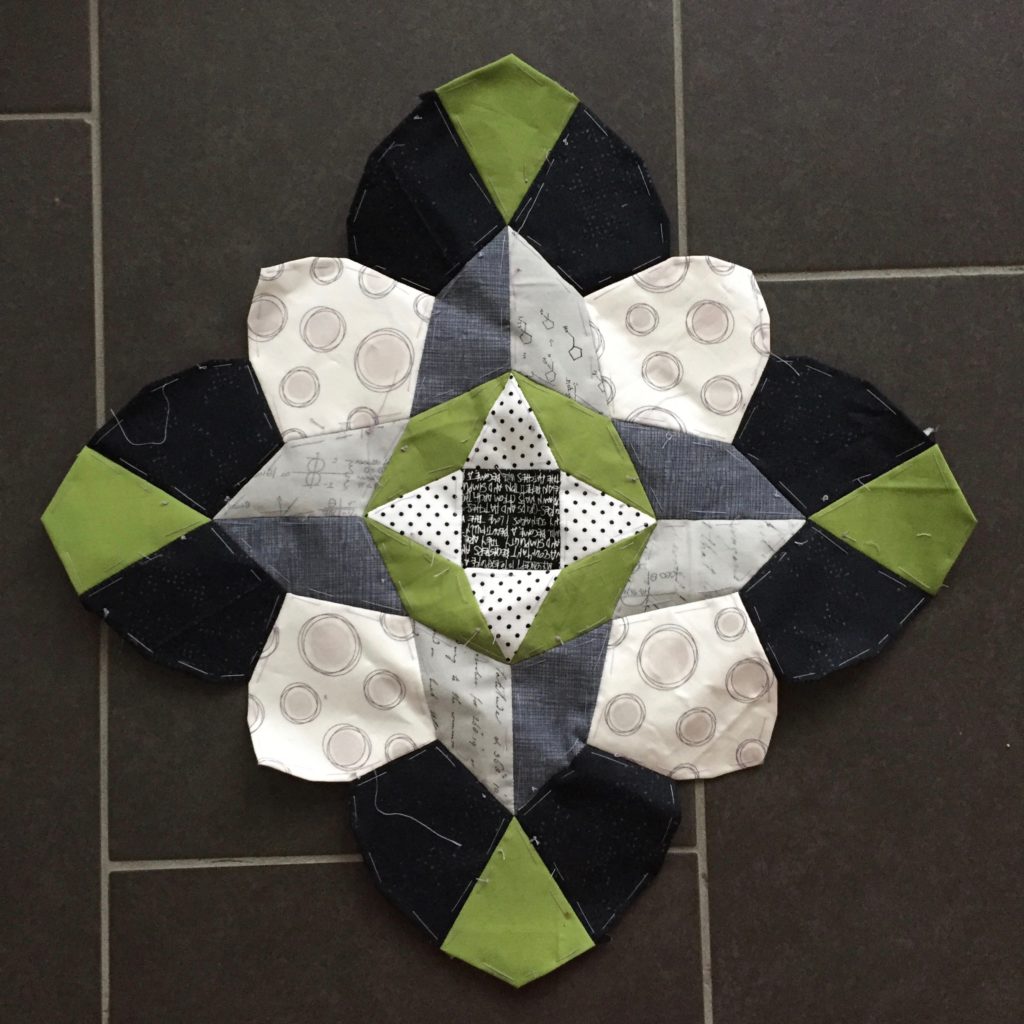
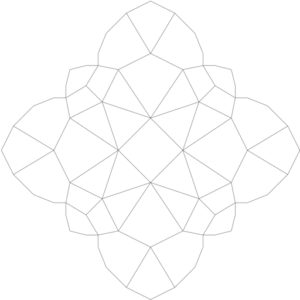
Right, here’s the August tile:

I think this one is a really interesting shape and I’m very excited to start this one and see everyone’s versions. I’m going to use a nice green for this tile, I think.

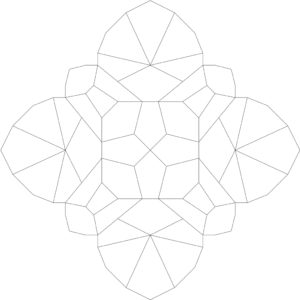
If you’d like to make it, here are the templates:

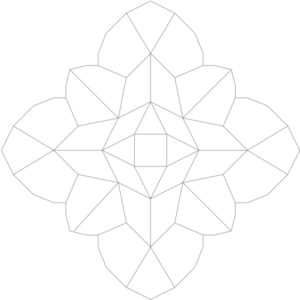
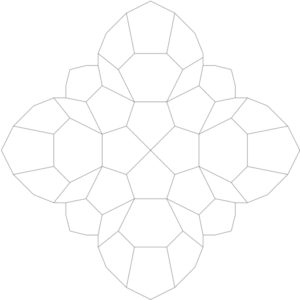
And here’s the whole tile for your fabric planning:

Well, I hope you enjoy this block of the month as much as I do.

BOM 2019: July

Time is flying when you’re having fun and I sure hope you’re having fun sewing with me.

I loved the June tile and thought it looked great half finished too.

Every evening I sit in my sewing room which is also my rat room to let my ratties Bailey, Blue and Quentin roam free for an hour or so. So far this has been no problem at all as they all thought that the floor was lava. This meant that they mostly climbed on the cage and on me. However, this week Bailey has discovered that the floor doesn’t swallow her up when she walks on it and has started exploring. Add to this the fact that she’s a little hoarder and suddenly nothing is safe from her. I was sitting on the floor sewing when she swooped in and tried to steal my Aurifil thread. She also tried to get my scissors but they were too heavy for her.

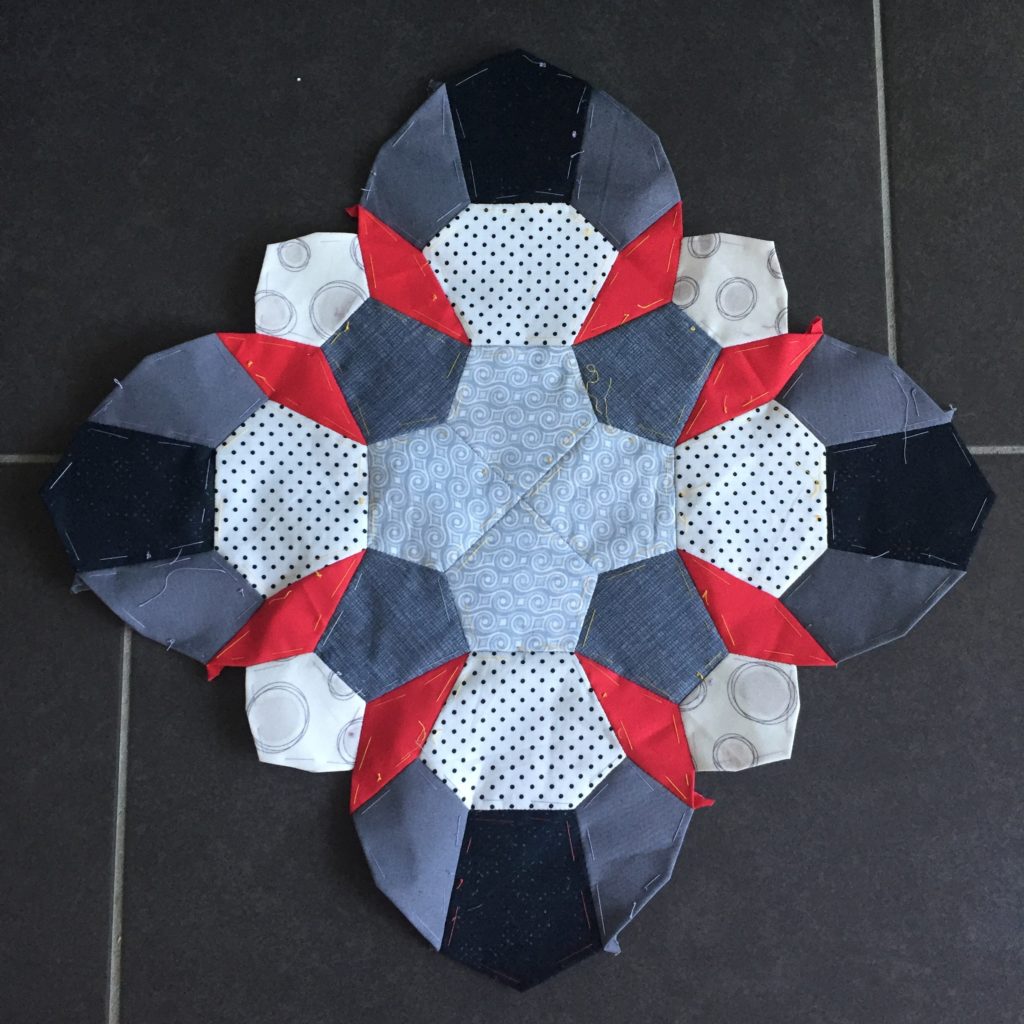
Anyway, here’s the new tile:


This one looks like it’s got little cat faces in it and I might try and play with this a little. This month’s colour for me is red. Once again I have to dive into my stash to see what I can find as I really don’t want to have to buy more fabric. Rather the opposite, I’m trying to lighten my load and use up as much as I can. The problem is, that EPP doesn’t really use up that much fabric at least not when you use lots of different fabrics or scraps.

Right, here are the templates:

And here’s the whole tile so you can plan your block:

BOM 2019: JUNE

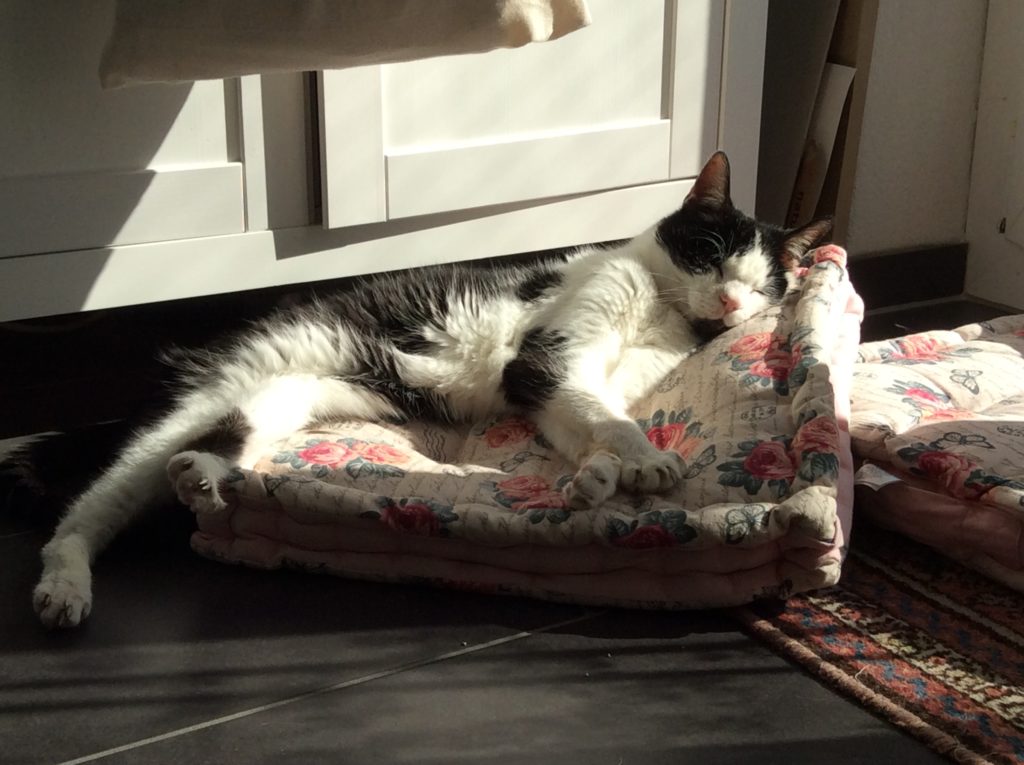
I can’t believe it’s June already. My daughter and my cat Charlie have their birthdays on two consecutive days and it’s always very busy at the end of May. I managed to finish May’s tile quite quickly and was looking forward to June’s tile for the last three weeks as it’s one of my favourites.

My little old man enjoying the sunshine (he’s 19 years old)

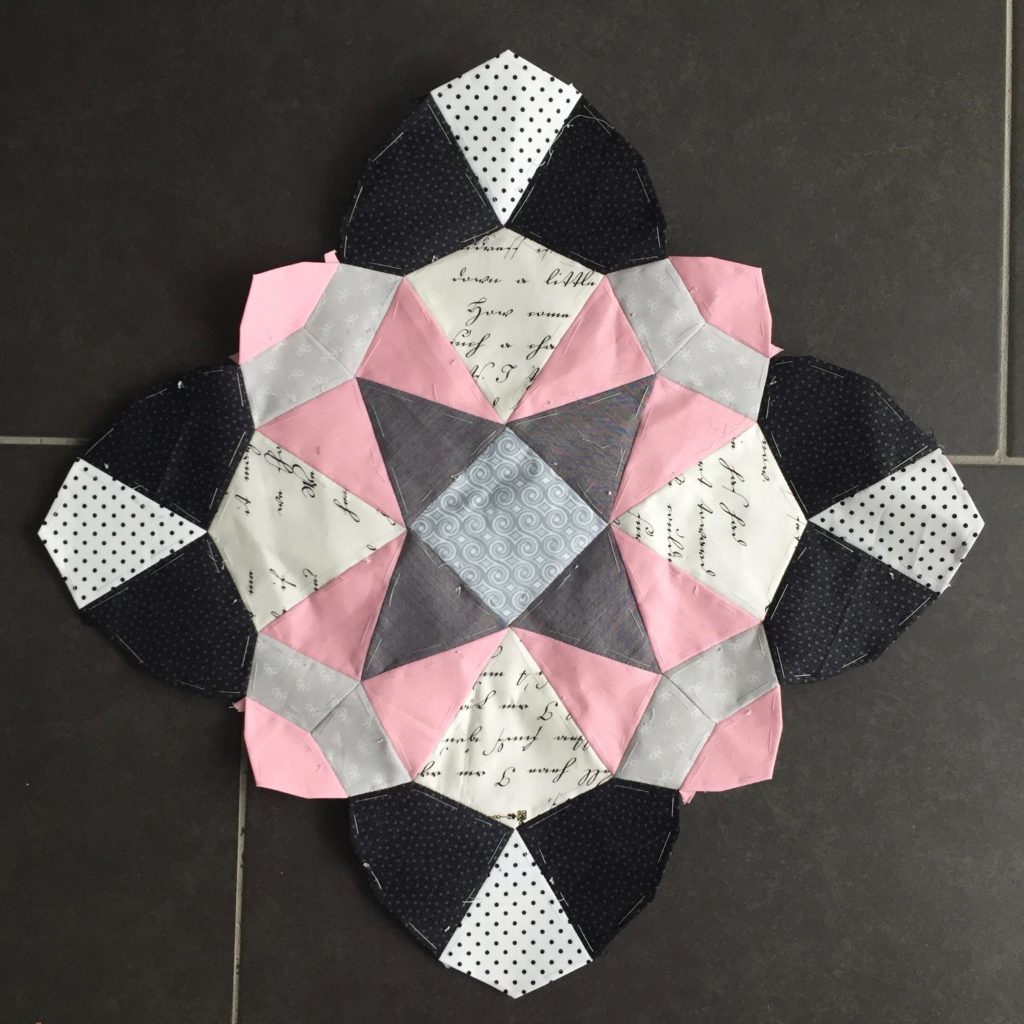
Before I post the June tile I’d like to show you last month’s tile:

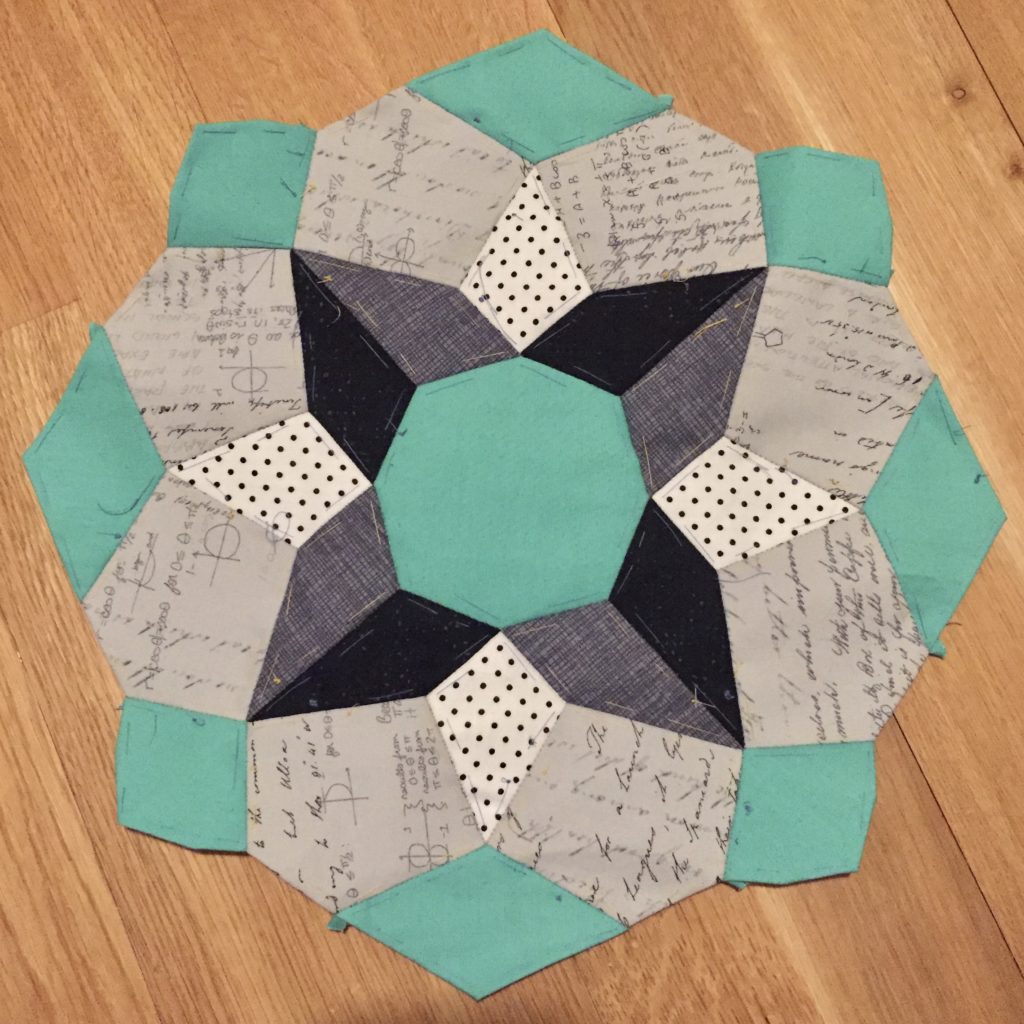
I found it a real struggle to find the right fabrics for April’s tile and I was a little worried that I was setting a trend but that didn’t happen. Once I picked the solid and the grey swirls for the centre square I was off and finished the tile in no time at all. I did, however, feel that I was always using the same black fabric and therefore went and bought a couple of fat quarters. You’ll see them in the next tiles, I’m sure.

Right, let’s get printing:

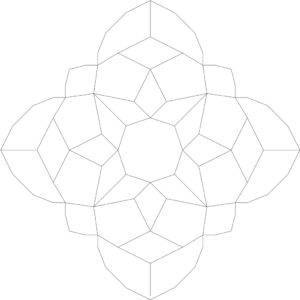
And the whole tile for fabric planning:

This month I’m going for a sea green or turquoise accent. I have to go through my stash first to see if I have enough of one colour for this block as I’ve just cut lots of 4.5″ squares for a quilt. If not, I’ll have to buy some more fabric. The horror…

Happy sewing!

BOM 2019: MAY

I can’t believe we’re already half way through this Block of the Month once we’ve completed this last tile.

I quite like my last tile which was made with Kona banana:

I did find this tile quite difficult. I have no idea why, but I found it really difficult to choose the fabrics for this one. However, I got there in the end and am rather happy with how this one looks with the others.

This month I’m going for a light pink accent fabric. I have to check which colour it is exactly as I don’t always write down the name. It’s definitely a Kona, though.

Ok, here are the templates for the month of May:

Print out four of each. You can discard three of the center squares from templates 6a.

And here is the whole tile, so you can plan your fabric and colour selection:

I can’t wait to get started and see all your beautiful versions. Happy sewing!

BOM 2019: APRIL

Wow, it’s already the fourth month of my BOM and I’m really hoping that everyone who’s still sewing with me is having fun.

I’ve found last month rather difficult as I couldn’t sew or type as I was suffering from tendonitis. Everything’s more or less alright now, although I still have to be a little careful and take enough breaks. I just about managed to finish my March tile in March, finishing it on the 31st.

I love my last block which I did with Kona Honeysuckle, one of my favourite Kona colours. I’m already looking forward to this month’s colour which is Kona Banana, another firm favourite. I think the four blocks look quite good together, although I’m not sure if I’m going to keep the emerald block the way it is. I feel that the colour is too solid. However, I won’t do anything about it until I have a few more blocks and can judge it properly.

So without much ado, here are the templates for April’s block.

And here is the PDF for the entire tile, so you can do some planning.

Happy sewing!

By the way, I’m preparing a blog post about layouts. I’m using a very simple 3 x 4 layout as I’ve always said that I want to use the quilt-as-you-go method. I haven’t started quilting yet as I wasn’t sure about the background fabric. There are so many different possible layouts, though, that I thought it might be fun to show them here on the blog.

As for the background fabric I have now narrowed it down to two, one white with grey polka dots and one grey and white striped one. The second I’m sure which one to choose I’ll start working on appliquéing the tiles and quilting the first few blocks.

BOM 2019:March

This is what the next tile looks like:

And here are the templates for it:

Here you can download a pdf of the entire tile so you can colour it in and play with your fabric placement.

I hope you’re enjoying this Block of the Month as much as I am. Keep sewing!

Like to Read?

I love to read and although I have a Kindle that I absolutely love, I also still enjoy a ‘proper’ book. My sister and I (and a few friends) like to swap books and I also often go to the secondhand shop to get books. There isn’t a great choice in English books but I usually find one or two and I never have a problem finding a few good German ones.

Over the years I have used lots of different bookmarks: bought bookmarks, photos, scraps of paper, paperclips, pencils and miscellaneous bits and bobs that are lying around. One thing most of them have in common is that they fall out when you chuck your book in a rucksack or bag. So I decided to make bookmarks that wouldn’t fall out. I used fabric scraps and a bit of elastic to make my first ones.

I sort of liked it and didn’t like it. So I thought it might be the elastic that was bothering me and went off to get some wider elastic. These are the next two bookmarks I made:

One in green for myself and one in blue for my daughter.

Although I really liked those I felt that they were a little difficult to get right. Some books were just too big to fit the bookmark and we soon stopped using them.

So I thought I needed to go back to the thin elastic which is super stretchy and fits easily around lots of the books. I just needed to hide the ugly knot.

This was the result. I really love these bookmarks. They stay in the book if it falls on the floor or is rudely thrown into a bag. They’re fun and colourful and I love the little beads around the edge. The best thing is that you can easily use up your favourite scraps.

Would you like to make one too? I’m going to show you how I make a round one (which is my favourite) but it’s easy to adapt the shapes. I’ve made ovals, hearts, circles and even a slightly wonky exclamation mark.

Materials:

scraps of fabric

16″ of thin elastic

pelmet (e.g. Vliesline S320) or some thin cardboard

batting

beads

scissors, needle and thread

First, draw the shape you have decided on -I’ve gone for a circle- onto your pelmet or thin card. Cut out twice. Do the same with the batting. I like to use wool batting as it’s got a high loft but in this tutorial I’m using some cotton batting.

Lay the pelmet on your piece of fabric and cut out twice with a 1/4″ seam allowance. You can also make a template with some paper or card to fussy cut the fabric.

Sew a running stitch around the edge of your fabric piece, then lay first the batting and then the pelmet on top and pull on the thread. Secure the thread once you’re happy that your fabric is taut. Don’t pull too hard as you don’t want to bend your pelmet or card. Do that twice.

I realised that I made a mistake and had the batting on top of the pelmet rather than the other way around. Don’t make the same mistake as it makes the bookmark very flat. Luckily I realised it before I finished the bookmark and was able to rectify my mistake but it’s still wrong in the picture.

Now, take your elastic and knot it together. Attach the elastic to the back of one of your shapes with a couple of stitches. Then lay the second shape on top and sew together with a ladder stitch or whip stitch.

Next, sew the beads on the edge of the shape. I like to use a back stitch to attach them all on a quarter of the circumference and then go through all the beads so they line up beautifully.

Done. Now, go and enjoy a cup of tea and a good book!


BOM 2019: February

Hello! I finished my January blocks way too quickly and have been longing to continue with February’s tile. I did go for the black, grey and white with a pop of colour and I’m loving it so far. This is totally not what I would normally go for and it’s so nice to challenge myself in this way.

Here are the templates for February’s tile:

You only need one of the center squares from template 3a so you can discard the other three.

And here is the picture of the entire tile so you can colour it in and play with your fabric placement:

I hope you’re enjoying this Block of the Month as much as I am. Happy stitching!

Tips and Tricks

I love EPP and have over the years found lots of little tips and tricks that have helped me get more enjoyment out of sewing and I thought this is the perfect opportunity to pass some of them on.

RESIZING: It’s fairly simple to resize your templates if you feel that they are too big for your project. The tiles of my Block of the Month are 18.5″ from tip to tip because I wanted twelve large blocks for a large quilt. If I wanted them at 14.5″, for example, all I need to do is divide 100 by 18.5 and multiply the result by 14.5. This will give me the number, in this case 78,5, which I need to enter into my printer to scale the design down.

So if I wanted to scale the templates down to 12.5″ I would need to do the following: 100 : 18.5 x 12.5 = 67.5. For some reason my printer didn’t like the 67.5 and changed it to 68.

You could of course also scale the design up to 24.5″ by doing the same: 100 : 18.5 x 24.5 = 132.5. When you want to make your templates larger be aware that they may not fit on your A4 sheet anymore and you might have to glue them together.

PAPERS: I prefer to use paper that isn’t too thick; 80g/m3 is my go-to weight. Now, I like to thread baste my shapes going through the paper with the needle and therefore don’t like to have paper that is too thick.The thinner paper also makes it easier to fold shapes so as to slot them into the right place.

However, if I were glue basting I would use a heavier paper 100g/m3 or even 120g/m3 to be able to get the fabric off the paper more easily. For easy paper removal you can also punch a hole in the middle of your template.

TEMPLATES: As I often have various shapes in my designs where it’s not clear which way they need to be sewn, I like to mark my templates. You can do this before you cut the templates apart and it makes it easy to then sew the pieces together. Just make sure your marks are a little longer than your seam allowance.

THREAD: To baste I just use any old thread I have lying around, usually some colour I can’t see myself ever using again. To sew my shapes together I always use Aurifil 50wt. I find that it melts into the fabric and can hardly be seen once you’re finished.

Aurifil now also has a 80wt thread which I love for appliqué but find too thin for EPP. I’m quite a brutal thread tugger and have found that I get a lot of thread breaks when I’m using the finer thread. Having said that, I have friends who swear by Aurifil 80wt for EPP so I think the most important is to find the thread you are most comfortable with.

I like to use thread in different colours as this also helps the stitches to disappear. If you haven’t got the right shade of thread but have one that is lighter and one that is darker, always go with the darker one as that one will blend in better. If you haven’t got a specific colour, use grey thread as that will blend in with most colours.

If you’re using multiple colours to sew together two or three shapes, thread as many needles as you have colours. It’ll save thread and make your life a lot easier as you can simply switch needles rather than having to re-thread all the time.

NEEDLES: I use the Clover black and gold needles, a size 9 for thread basting and a size 11 or 12 for sewing the shapes together. They are very sharp and as I have problems with my thumbs due to hypermobility I need all the help I can get to make sewing as gentle as possible on my hands.

I’ve also heard that some quilters love Tulip needles but I haven’t tried them and can therefore not comment on them. Like with the thread I think the most important thing is to find a needle you’re happy and comfortable with.

THREAD BASTING: To make it easier for me to take the threads out once I’m finished I like to have the knot on the right side and finish off the basting with a backstitch that leaves the tail on the right side. When basting the same shapes I also try to start in the same place every time.

Once you start pulling out your threads it’s easy to find the knot, pull out the backstitch and continue pulling on the threads or when it’s a fairly small shape just pull on the knot to get rid of the thread. I use a pointy implement to pull out the basting stitches, either a crochet hook, knitting needle. a Purple Thang or one of my whittled sticks.

STITCHES: I like to use a whip stitch to sew together my shapes. I don’t mind if stitches can be seen on the front.

However, if you prefer not to see any stitches you can use a ladder stitch or lay your shapes next to each other on a flat surface and whip stitch them together like that.

I always start sewing by doing two back stitches in the seam allowance, then a quilter’s knot and finish sewing by making another quilter’s knot and two back stitches in the seam allowance. I also make a quilter’s knot every time I go around the corner. This may be complete overkill but I have never had a piece come undone and my cushions are used daily and washed a lot.

SEWING: I usually start sewing from the point to make sure my points stay pointy. I also like to sort smaller shapes into bigger ones that are easy to sew together.

If you find yourself with two shapes that don’t fit together perfectly, i.e. one edge is slightly longer than the other, make sure the shorter one faces you, then gently curve both edges around your thumb as you sew. As the longer edge has to fit around your thumb and the shorter one, they should start fitting together nicely.

FUSSY CUTTING: I usually use template plastic to fussy cut. I copy the shapes onto it, then add the quarter inch seam allowance. I then place it on the fabric and draw on the template with a pencil if I want to re-use the template or with a marker if I don’t.

If I can’t find my template plastic I use some card or a cereal box. I copy the shape onto the card, add the seam allowance then cut out the shape so I only have the seam allowance left. I then draw on the seam allowance.

These are the materials I like to use and a few tricks I’ve picked up along the way. If you have any questions or can think of more tips and tricks (I’m sure there are lots more), please let me know in the comments or by sending me an email. Thank you very much!