I’ve had a very long break from this blog as I found it very difficult to navigate a new job (not so new anymore, I’ve worked there for more than a year), menopause and a complete lack of sewing mojo.
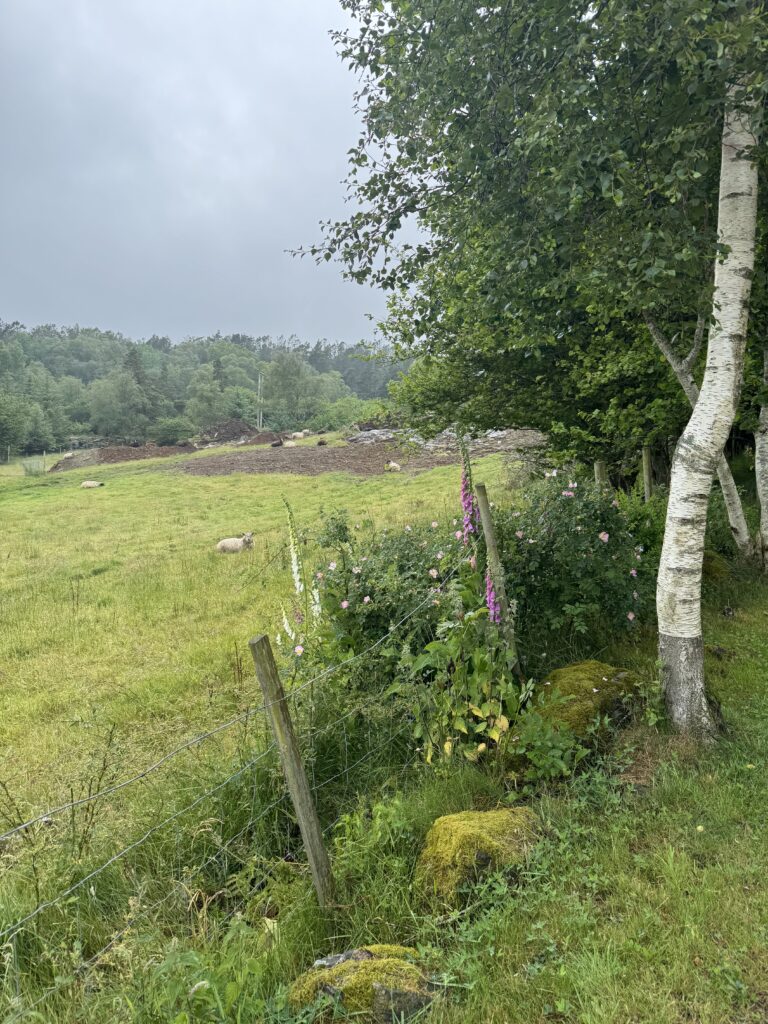
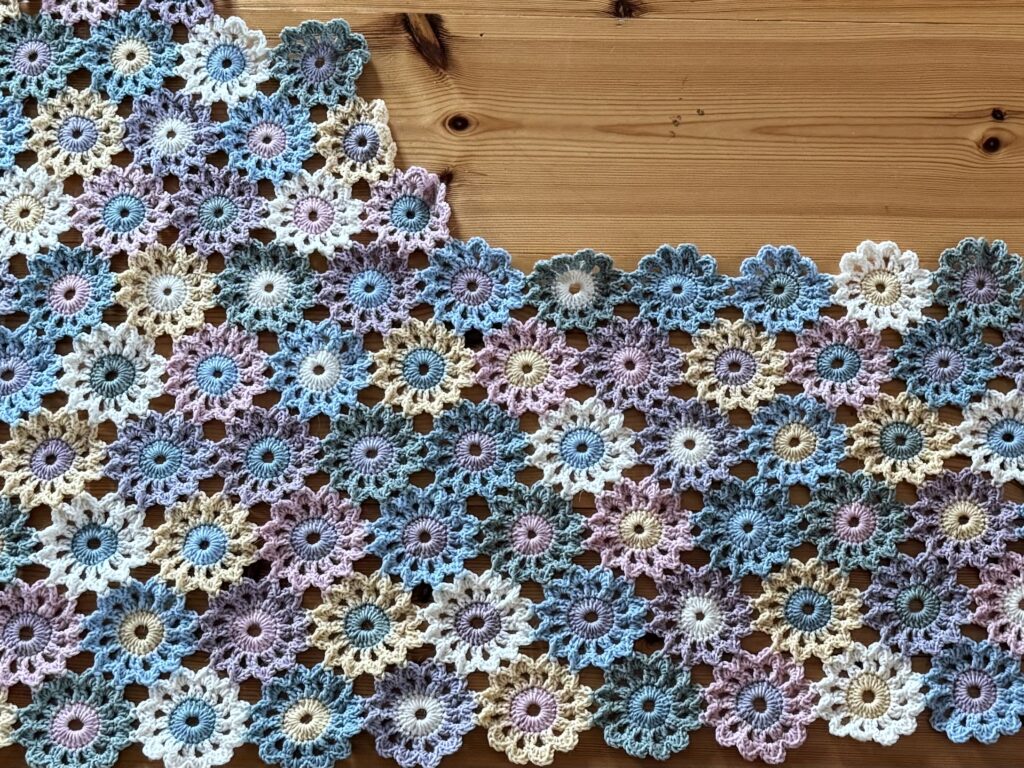
I’ve just come back from our little cabin in Norway, where I sat and crocheted every single day until I ran out of wool. It was a rather wet holiday so I was happy to sit by the fire and make progress on this blanket.
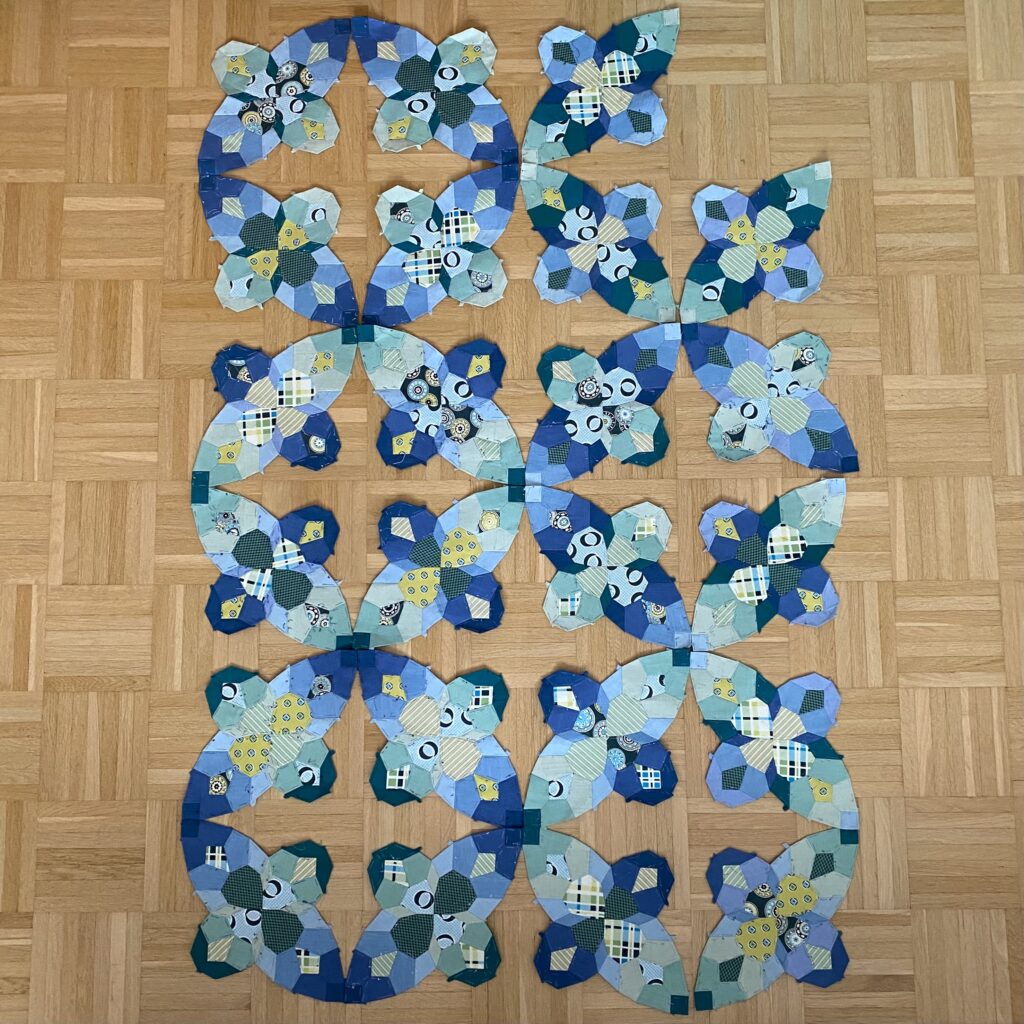
I then turned to my English paper piecing project that I only work on when I’m in our cabin but only managed half a section. However, it was enough to rekindle my love of sewing and I’m looking forward to my next trip, when I hope to finish redoing all the sections that were printed out in a wrong size…. Here’s your reminder to always check your printer settings when you’re printing out EPP patterns. The first ones I printed out were printed slightly smaller (97%) and when I printed out more I checked the 100% box, not realising that that was wrong. The sections ended up 1/4″ bigger than the others and didn’t fit. You can imagine how devastated I was when I realised what I’d done. As I have more of the smaller ones, I’ve decided to unpick all the bigger sections, iron the fabric and remake them. The picture below is of all the sections I have made so far, but nine of them are too big.
I’m grateful that I’m slowly starting to feel a bit more creative again. I’ve missed the feeling of wanting to sit at the sewing machine rather than having to sit at the sewing machine because I have to shorten a dress or fix a jeans pocket. First up a pair of hiking shorts and a linen dress. I’ll let you know how it goes.