As you all know I love my English Paper Piecing (EPP) as it’s portable and small. I can follow Little Miss Bossy-Boots around the house and bring it on outings and holidays. When I baste the fabric onto the paper templates I use one pin and one needle and I’m forever sticking them into my trousers or the arms of my sofa; and then I’m looking for them as I’ve moved again.
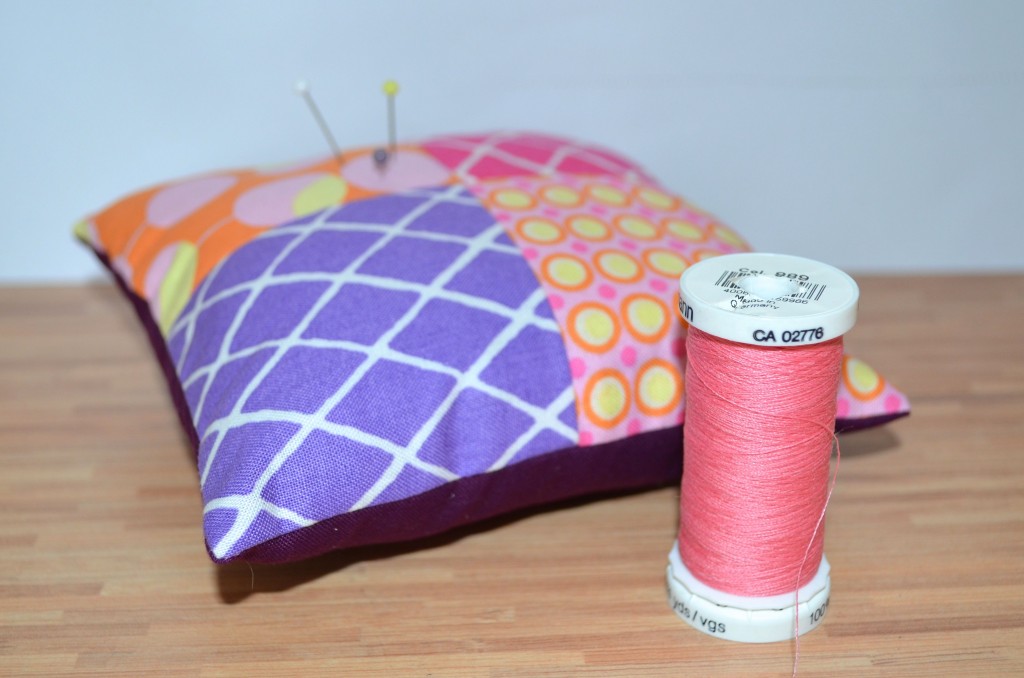
When I showed a picture of my latest EPP you might have noticed a small pincushion in the foreground. Just in case you haven’t here it is again:

I made it literally ten minutes before leaving the house and although it’s incredibly practical and has been used lots already it’s not very pretty (the hot glue shows on the side as I was a bit generous, the button is vintage and quite heavy and the elastic….what’s not wrong with the elastic).
Last Sunday I went to the craft section of our local garden centre and when I saw some big self-cover buttons inspiration struck. So here’s my new and pretty portable pincushion:

The fabric is ‘Good Fortune’ by Kate Spain, which I absolutely love. The button makes sure that my pins don’t end up in my finger (yep, been there, done that).
Would you like to make one of these pincushions? Ok, here goes:
1. Find some big self-cover buttons. Mine are 38mm and cost £1.19 for two. You could, of course, also use smaller buttons for a cute little pincushion.
 2. Find some scraps or use a charm from a charm pack. I used some Good Fortune by Kate Spain for both my pincushions.
3. Cut out a circle that’s 2cm bigger in diameter than indicated in the instructions. In my case the circle I cut out was 8,5cm rather than 6,5cm. The extra 2cm are needed to accommodate the stuffing. If you’d like a bigger pincushion just make the circle a bit bigger again.

4. Gather your circle with small running stitches.

5. Take a small ball of stuffing and place in lightly gathered circle. I like to roll the stuffing in my hand so that I get quite a dense ball. Gather your circle and before the hole gets too small place your button inside.

6. Tighten the circle, checking that the gathers are fairly regular and fasten off your thread making sure that your stitches don’t come undone. If you are worried about your fabric fraying and your pincushion falling apart this is the time to put on some fray check or fray stoppa. Then put on the back of your button. It was a bit of a squeeze to get mine on so I didn’t worry about it coming undone again. If yours is a bit loose just add some hot glue.

7. Now let’s make the ring. First measure your finger, in my case 6cm.

8. Add 2cm to this measurement and cut some elastic; mine was 1.3cm wide, which is really comfortable. Then cut out a strip of fabric which is one and half times the length of your finger measurement plus 2cm seam allowance and three times the width of your elastic. My strip of fabric ended up being 11cm x 4cm. If you’d like the ring to be more gathered just double your finger measurement but leave the width the same.

9. On the short sides fold in 1cm, then fold in 5mm on the long sides. I whip stitched the long sides together but you could also machine stitch the long sides (still folding in 1cm on each short side) to create a tube, which you will then have to turn inside out. I just find it easier to do this step by hand.

10. Once you’ve whip stitched the long side together, lay the tube down so that the seam is in the middle. Take your elastic and thread through with a safety pin, gathering the fabric.

11. Now take your elastic, overlap by 1cm and sew together.
12. Pull your fabric tube over the elastic to enclose it completely and sew together with a ladder stitch.

13. Ok, almost done. Now take your lovely button and sew it onto your ring making sure the seam of the ring is on the inside. I have found that it helps stabilise the button if you go all the way through the elastic to the other side when you sew on the button.

14. Enjoy your pretty and portable pincushion!
Please let me know if you have any questions or queries about this tutorial and I’ll do my best to clarify my instructions.


