A Skein of Geese

Did you know a large group of flying geese is called a skein? Well, I didn’t I but now I can say I’ve learned something new today. The information, by the way, came from here.

Anyway, my double circle of geese cushion has been on my to-do list since last June and I’m so happy to finally be able to put a tick next to it.

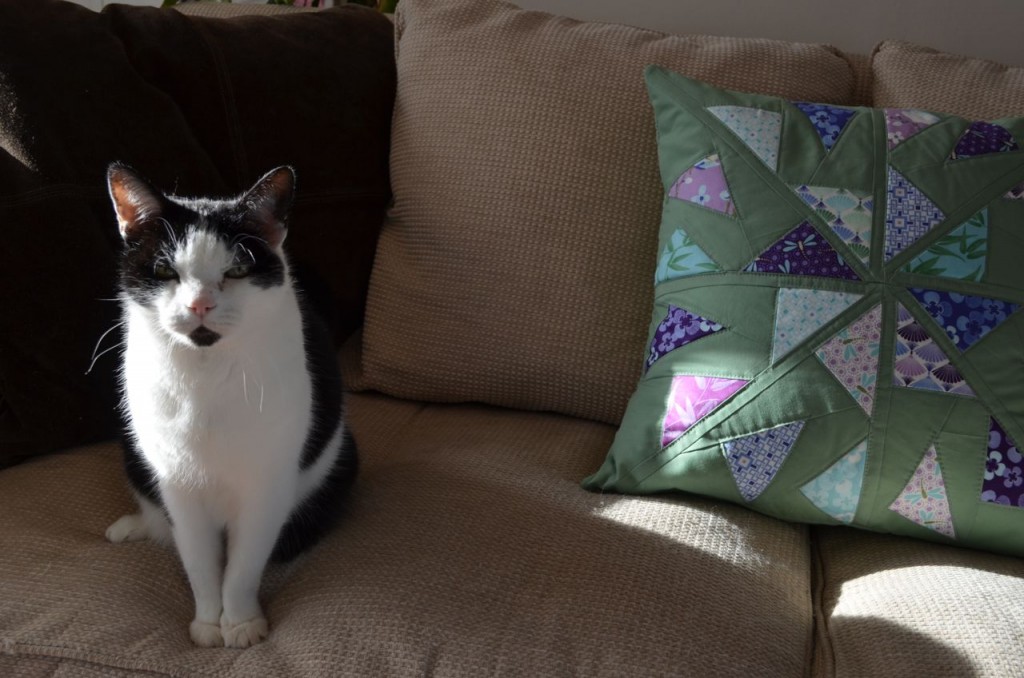
Double Circle of Flying Geese

After I stopped worrying and got on with sewing the cushion came together really quickly. The fabric I used for the geese is “Good Fortune” by Kate Spain, the green solid is one I got from a friend.

I wasn’t sure how to quilt it but decided to simply follow the geese, which meant 24 stops and starts where I had to break thread. I think it took longer to knot the threads and bury the ends than to piece the whole block.

This cushion was made with someone in mind. However, I now don’t think it is right for this person so it looks like this one is up for grabs. Or it might just stay there on the sofa if I can’t find a good home for it; it goes really well with our sage green feature wall.

I didn’t have a pillow form big enough for the cover (it finishes at 20″) so I pinched the insert of Charlie’s bed so I could take pictures. He wasn’t very happy and decided to check out my photo shoot.

Charlie overseeing the photo shoot

The look on his face says it all…

Charlie photo bombing

Another finish for my FAL list. Not quite on a roll but getting there.

she can quilt


First Finish

Hurrah, I can put a tick on my Finish-A-Long list! Yes, that’s right I’ve finished my Hexie Heart Cushion.

Hexie Heart Cushion

Once I had decided to quilt the hexies in a diagonal pattern, as suggested by Leanne from She Can Quilt, it was a very quick finish. I’m happy with how it came out and hope I can raise a bit of money with it for our local cancer treatment centre.


she can quilt

Stellar Fun

Just before Christmas I signed up for the Simply Solids Sew Solids Crew Stash Club and thus became a Sew Solids Crew member. There are different options on how much fabric you want to add to your stash and I went for six fat quarters. Duly, six lovely purple fat quarters arrived on my doorstep in December, which I cut into straightaway to use as binding for my Mindless Flannel quilt.

Purple Stack

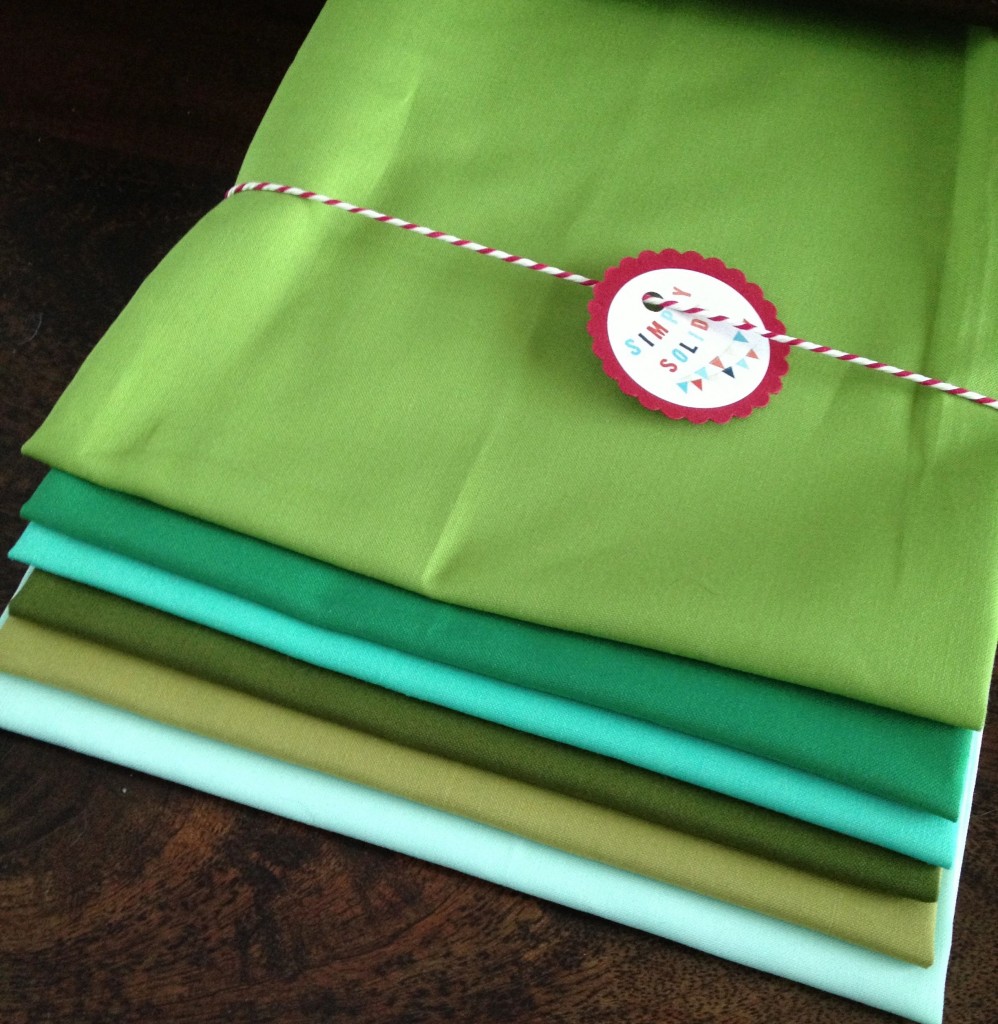
This month six yummy green fat quarters arrived. My favourite colour is green but, to be honest, I wouldn’t have ordered most of the greens that arrived. Now that I have them, however, I’m in love with them all. The colours are from top to bottom: Peridot, Holly, Candy Green, Avocado, Olive and Ice Frappe.

Green Stack

Justine from Simply Solids is a very clever (and lovely) girl and initiated a fun quilt-along. Stellar is a free downloadable pattern by (the equally lovely) Laura Jane Taylor from Needles, Pins and Baking Tins and was especially designed for the Sew Solids Crew Stash Club (quite a mouth full, I have to say, maybe I should call it the SSCSC?). The pattern consists of wonky stars, something I’ve always wanted to try.

Green Wonky Stars

Wonky sewing is not in my nature and I seem to have to work really hard on breathing and relaxing. The first star was the most difficult and I realised once I’d finished it that I was going to cut off three of the points when I sewed the sashing on. I was awake half the night wondering if I should start again but in the end decided not to. Wonky stars with missing points? Hurrah, for giving up control!

I’ve now gone back to the purples for December and they’re all cut and ready to be sewn when I can sneak in a little sewing. First, however, I have to clean the fish tank.

Busy Bee

I’m really pleased as I’ve finished two more Bee blocks. This time the ones for January’s queen, Nicole aka Follow the White Bunny. If you haven’t checked out her blog yet, please do. I’ll wait for you here while you have a little look at all her fabulous embroideries.

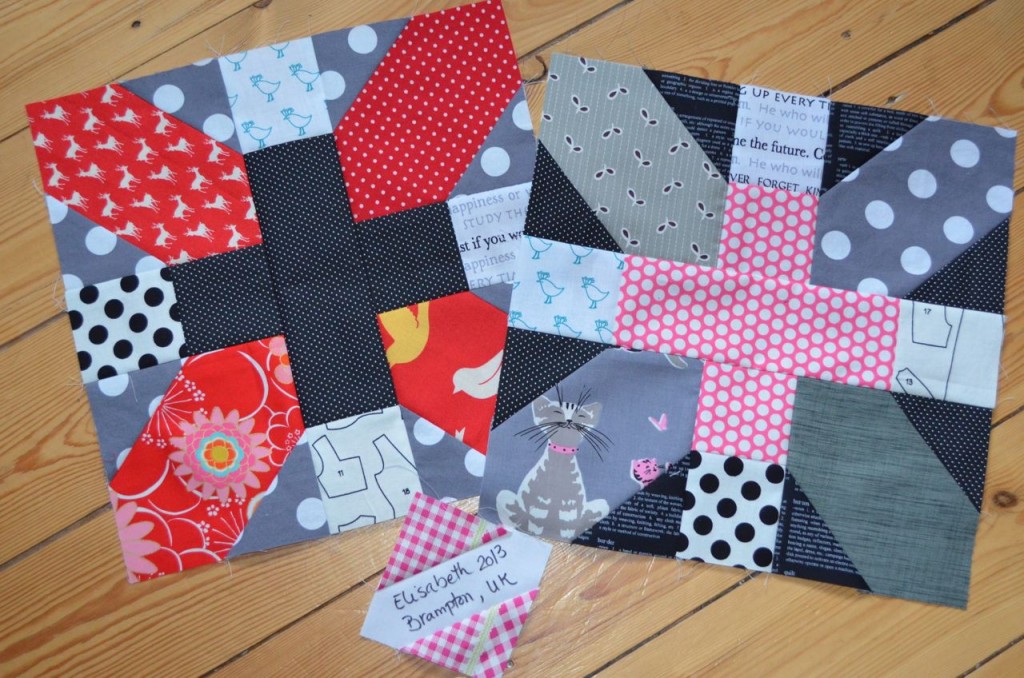
Back already? Ok. Nicole asked for the wonderful x & + block for which there’s a tutorial here. I love this block, especially in a scrappy style, and it was as much fun to make as I imagined. The block in the tutorial is 8″ unfinished but Nicole asked us to make the blocks slightly bigger, namely 11,75″ unfinished. I’m just glad she did all the maths as we all know what happens when I do it….

x & + blocks

I am totally in love with the cat fabric and I meant to have it in the plus of the pink block but had a slight brain fart (excuse my language please) while cutting and ended up with a completely different looking block. Hopefully Nicole will like it anyway.

When I was trimming the triangles for the crosses I just couldn’t get myself to throw away the little triangles but instead turned them into 2″ HSTs (that is half square triangles). These HSTs were then turned into pinwheels and a little mug rug.

Pinwheel mug rugThe binding is Kona pepper, my favourite black (I don’t really like black much but I love Kona pepper).


Noel

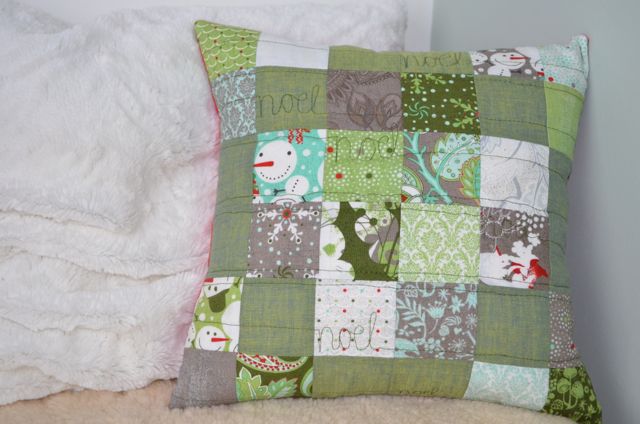
This year I decided not to have a stall at the two Christmas Fairs in our village and I love the fact that I don’t have to sew under pressure. Instead I took out the Blitzen by Basic Grey for Moda mini charms I got at the Fat Quarterly Retreat and started playing. I love simple patchwork cushions and that was what I wanted to make from it. For a while I tried different combinations but it was only when I took out all the red charms and substituted them for a green shot cotton that it started to sing to me.

The quilting is very wonky.

Now, I could say it was done on purpose but I would be lying. I need more practice to pull off FMQ (free motion quilting) but decided to go for it anyway. All in all I’m happy with the result despite the wonkiness. Please excuse the cat’s hairs, Charlie rather likes to lie right next to the sewing machine.

You may have noticed that I take most of my cushion pictures in the same corner. Have you ever wondered why you never really see what the cushions are placed on?

That’s why. Charlie uses the pouf as a scratching post. He also sleeps on it, hence the sheepskin and cushions. I have thought about re-covering it but how am I going to deter him from scratching it again? I think I might try making a lose cover and see how he copes with that. Anything’s better than this tattered disaster.


Post from Australia!

I must have been an incredibly good girl lately as after the great emails I got yesterday I was blessed with two lovely packages in the post today. They both came all the way from Australia!

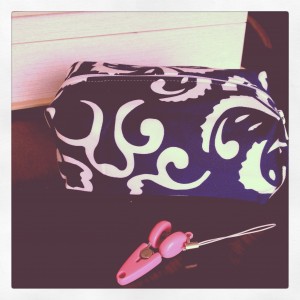
The first one was one of those really kind gestures that make your heart sing. A little while ago Trystan, maidentatters on Instagram, posted a picture of the cutest little pink scissors. When I told her how much I loved them she offered to send me a pair. Now how could I resist such an offer? They arrived today and they are so incredibly cute I can’t stop looking at them. However, that wasn’t the only thing Trystan sent me, she also included a lovely little box pouch in blue and white. It’s absolutely perfect to use for a hand sewing kit. I like to have a few as I usually have about three projects on the go.

Instagram photo

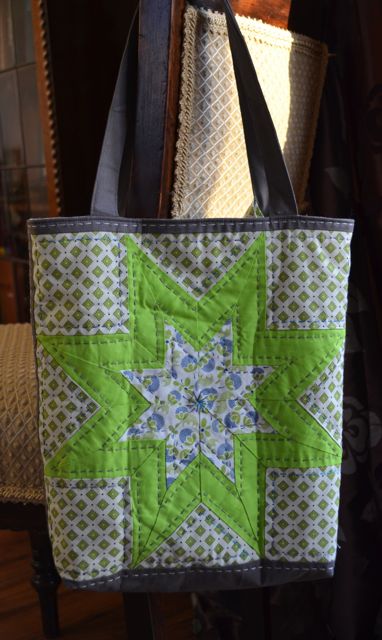
The second package was my Mouthy Stitches tote. The second I saw the name of the sender I knew which one it was and started whooping! Shocking Hocking did incredibly well, picking my favourite colours and making a fantastic paper pieced stars on one side and some patchwork on the other.

Love the little fussy cut deer, bird and car. The hand quilting is beautifully done.

The lining is simply gorgeous and there are three great pockets for my phone, tissues and a wallet. Not my keys as they will be put on the fabulous lanyard Kay sent as the key fob.

Swaps are always a bit daunting as you don’t really know if what you’ve made is going to be to your partner’s taste. Furthermore, you might not like what is coming your way very much. So far I’ve been lucky, I absolutely love this tote and am sure that I will use it a lot.

A bit more Liberty

I didn’t have time to do any sewing today but I’ve started pulling fabric for a book bag for one of Little Miss Bossy-Boots’ friends. I’ll show it to you tomorrow.

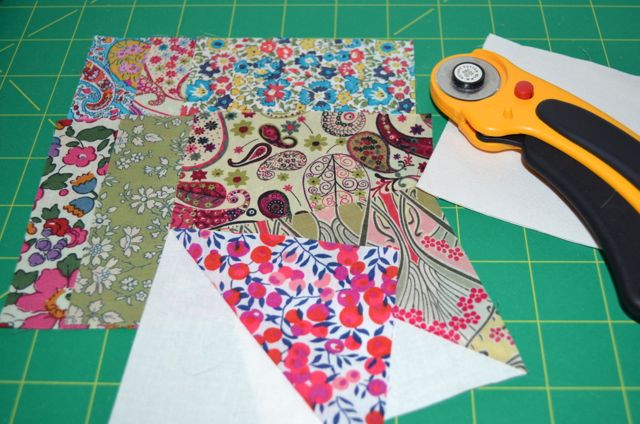
Mostly, however, I’ve been fondling the remaining Liberty 4″ squares, chomping at the bit to start sewing another cushion. Here are the squares I’ve chosen to use:

Lovely, aren’t they? Yes, I did make a start on those yesterday but didn’t get very far before having to pick up Missy from school.

Liberty Done

After my little melt down yesterday I felt a bit silly this morning. Some of my lovely readers suggested I put a cream border on to make it bigger and so I did.

In hindsight I think it’s probably a good thing because it means the corners, which I always find are the first to go, are now in the Klona quilting cotton rather than the wonderfully soft but maybe more fragile Tana Lawn. I kept the quilting to an absolute minimum, I didn’t feel it needed any more.

I like to put zips in my cushion covers but I didn’t have one in the correct colour so instead of waiting for an opportunity to go into town I made a simple envelope closure. With the 1″ cream border it finished at the required 36 x 36cm (14″ x 14″) and is now all wrapped up and ready to wing its way to Switzerland.

I fell in love with it so badly that I’ve started another one for myself with the rest of the 4″ Liberty squares. I might change up the layout a little but then again I might not.

Liberty Squares

Today I cut some Klona cream 4″squares to pair with the Liberty charms I ordered from Ali’s shop. I had decided to make some half square triangles (aka HST) for my aunt’s cushion cover. Everything went really well and I even enjoyed all the trimming.

I quickly decided on the placement…

… and then realised that the size was all wrong. My aunt asked for a cushion cover that’s 36 x 36cm, my cushion cover finishes at 32 x 32cm. Math obviously isn’t my strong point and I made a mistake when I converted the centimetres into inches. Arrgh! What to do? Should I keep this version and make a new one for my aunt in different fabrics? If I do, keep it I mean, should I add another round of HSTs to increase the size? Should I go back to my original plan of making a Dresden plate for her? So many questions.

I think I’ll have to sleep on that one.

More Sea Glass

Today I finally managed to finish the second bee block for Helen. I really loved the process of improv piecing and I can definitely see myself doing some more of it in the future.

The second block came together more quickly, I suppose because I (sort of) knew what I was doing. I used up all the Kona snow Helen sent but still have a few scraps of the green which I think could be Kona spring and some tiny squares of blue and turquoise scraps.

Here they are together. I can’t wait to see the finished quilt.