A Little Bit of Green

I have signed up for another swap despite vowing never to enter a swap ever again after the last one’s disappointment*. Anyway, I couldn’t resist the Schnitzel and Boo Mini Quilt Swap and signed up. My partner likes green so I’ve hunted down almost every green scrap I own (ok, who am I kidding, about half of them) and have cut half circles in three different sizes. 40 different fabrics have been used and I still have more if I need them. I’ve always known that I like greens but didn’t realise that I had quite that many different ones.

40 half circles

Now all I have to do is appliqué them onto the low volume background. I may be a while.


*I wasn’t in the least disappointed in what I received; oh, no, I absolutely love the mini I received and enjoy looking at it every day as it’s hanging on my sewing room wall. No, it was the fact that after sitting for hours hand sewing and really putting my heart in it my partner didn’t even say ‘thank you’ or let me know that the parcel had arrived.

Circle

I have an idea for a quilt. Now, I have a lot of ideas for a lot of quilts and I’ve had to start writing them down as I’m worried I might forget.

This quilt design involves some circles. You may remember that I did some portholes after the first Fat Quarterly retreat and I love this technique but I’m worried it might make a quilt fairly heavy and a bit stiff. I therefore decided to try out some inset circles. What better way than to experiment than making a mug rug.

Mug Rug

I think it turned out really cute. I like the improv circle and the way the circle sits flat. It’s a little fiddly but once you get the hang of it it’s actually quite quick. All you need is a little freezer paper and some glue. Claudia from Machen und Tun München has a great tutorial.

I used some Kona solids and Timeless Treasure sketch and think the mug rug looks sweet in those pastel colours. I’m not normally a pastel girl as they remind me a lot of the 80ies when I was growing up (showing my age here, guys).

Circles Mug Rug

I’m really looking forward to making this quilt. Probably some time in 2075 after I’ve done all the other designs that are on my list.


Blogger’s Quilt Festival: Small

After finding the time and gumption to enter Jewel into the Blogger’s Quilt Festival I’ve decided to go for it and enter another quilt: The Heron Log Cabin.

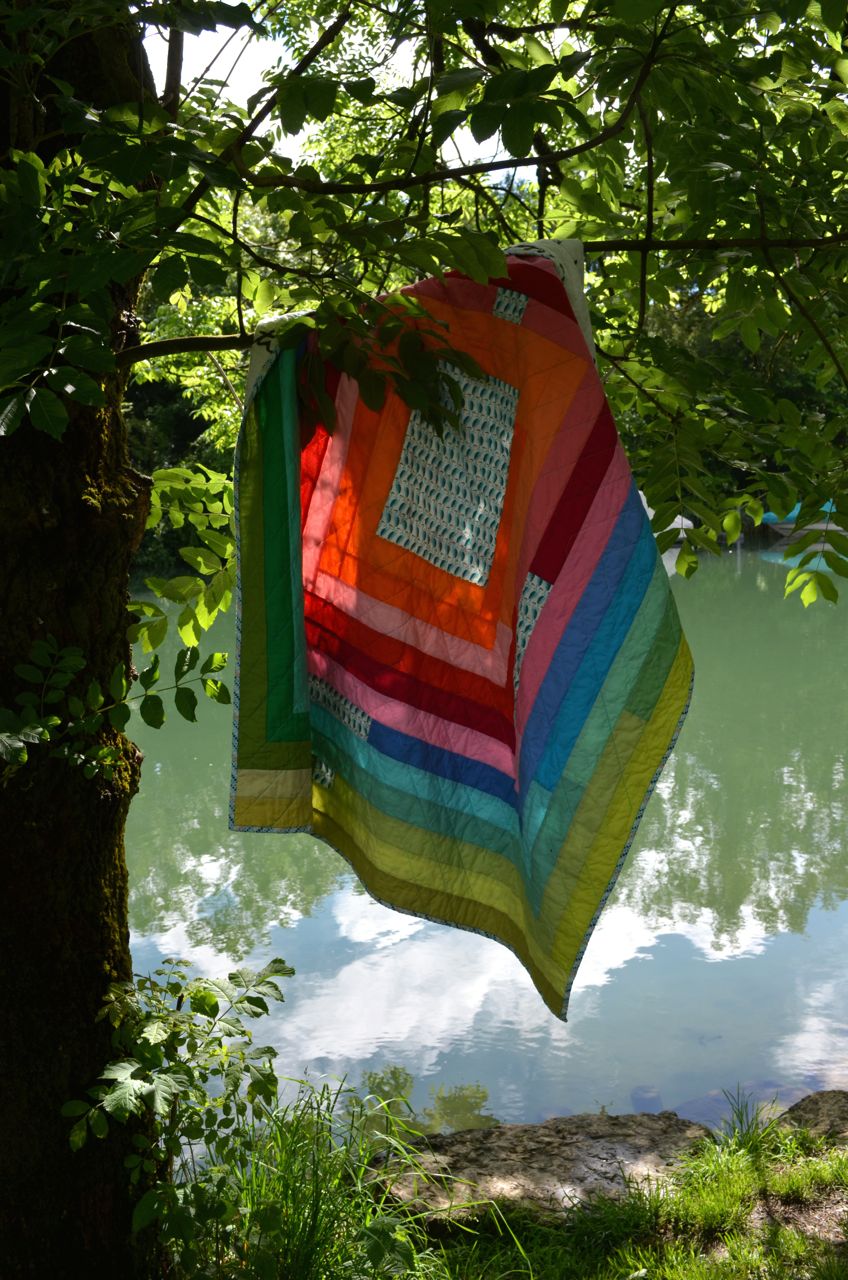
This quilt was made to showcase the Heron print from Across the Pond by Cloud 9. I fell in love with this print but only bought a fat quarter. I have no idea what I was thinking but hey ho it’s nice to surprise yourself sometimes. Anyway, I decided to make a quilt that would be all about this print. Around about the same time I bought a Kona brights jelly roll and when I opened it to take all the purples out to use as binding I realised that the blues and oranges went really well with the Heron print. The idea to make a large log cabin quilt was born.

Heron Log Cabin Centre

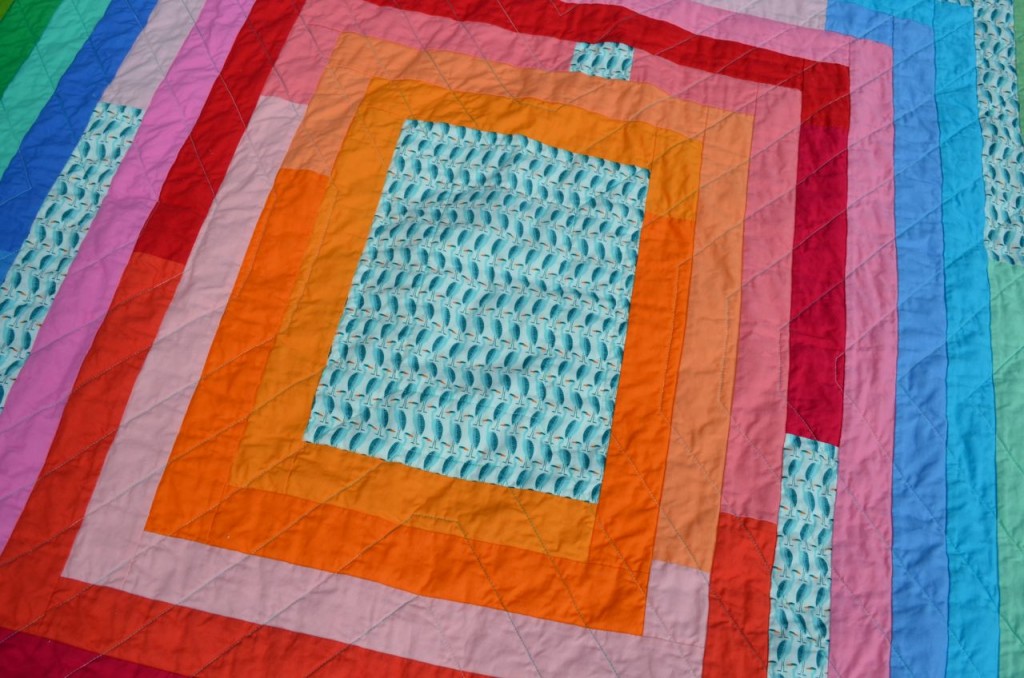
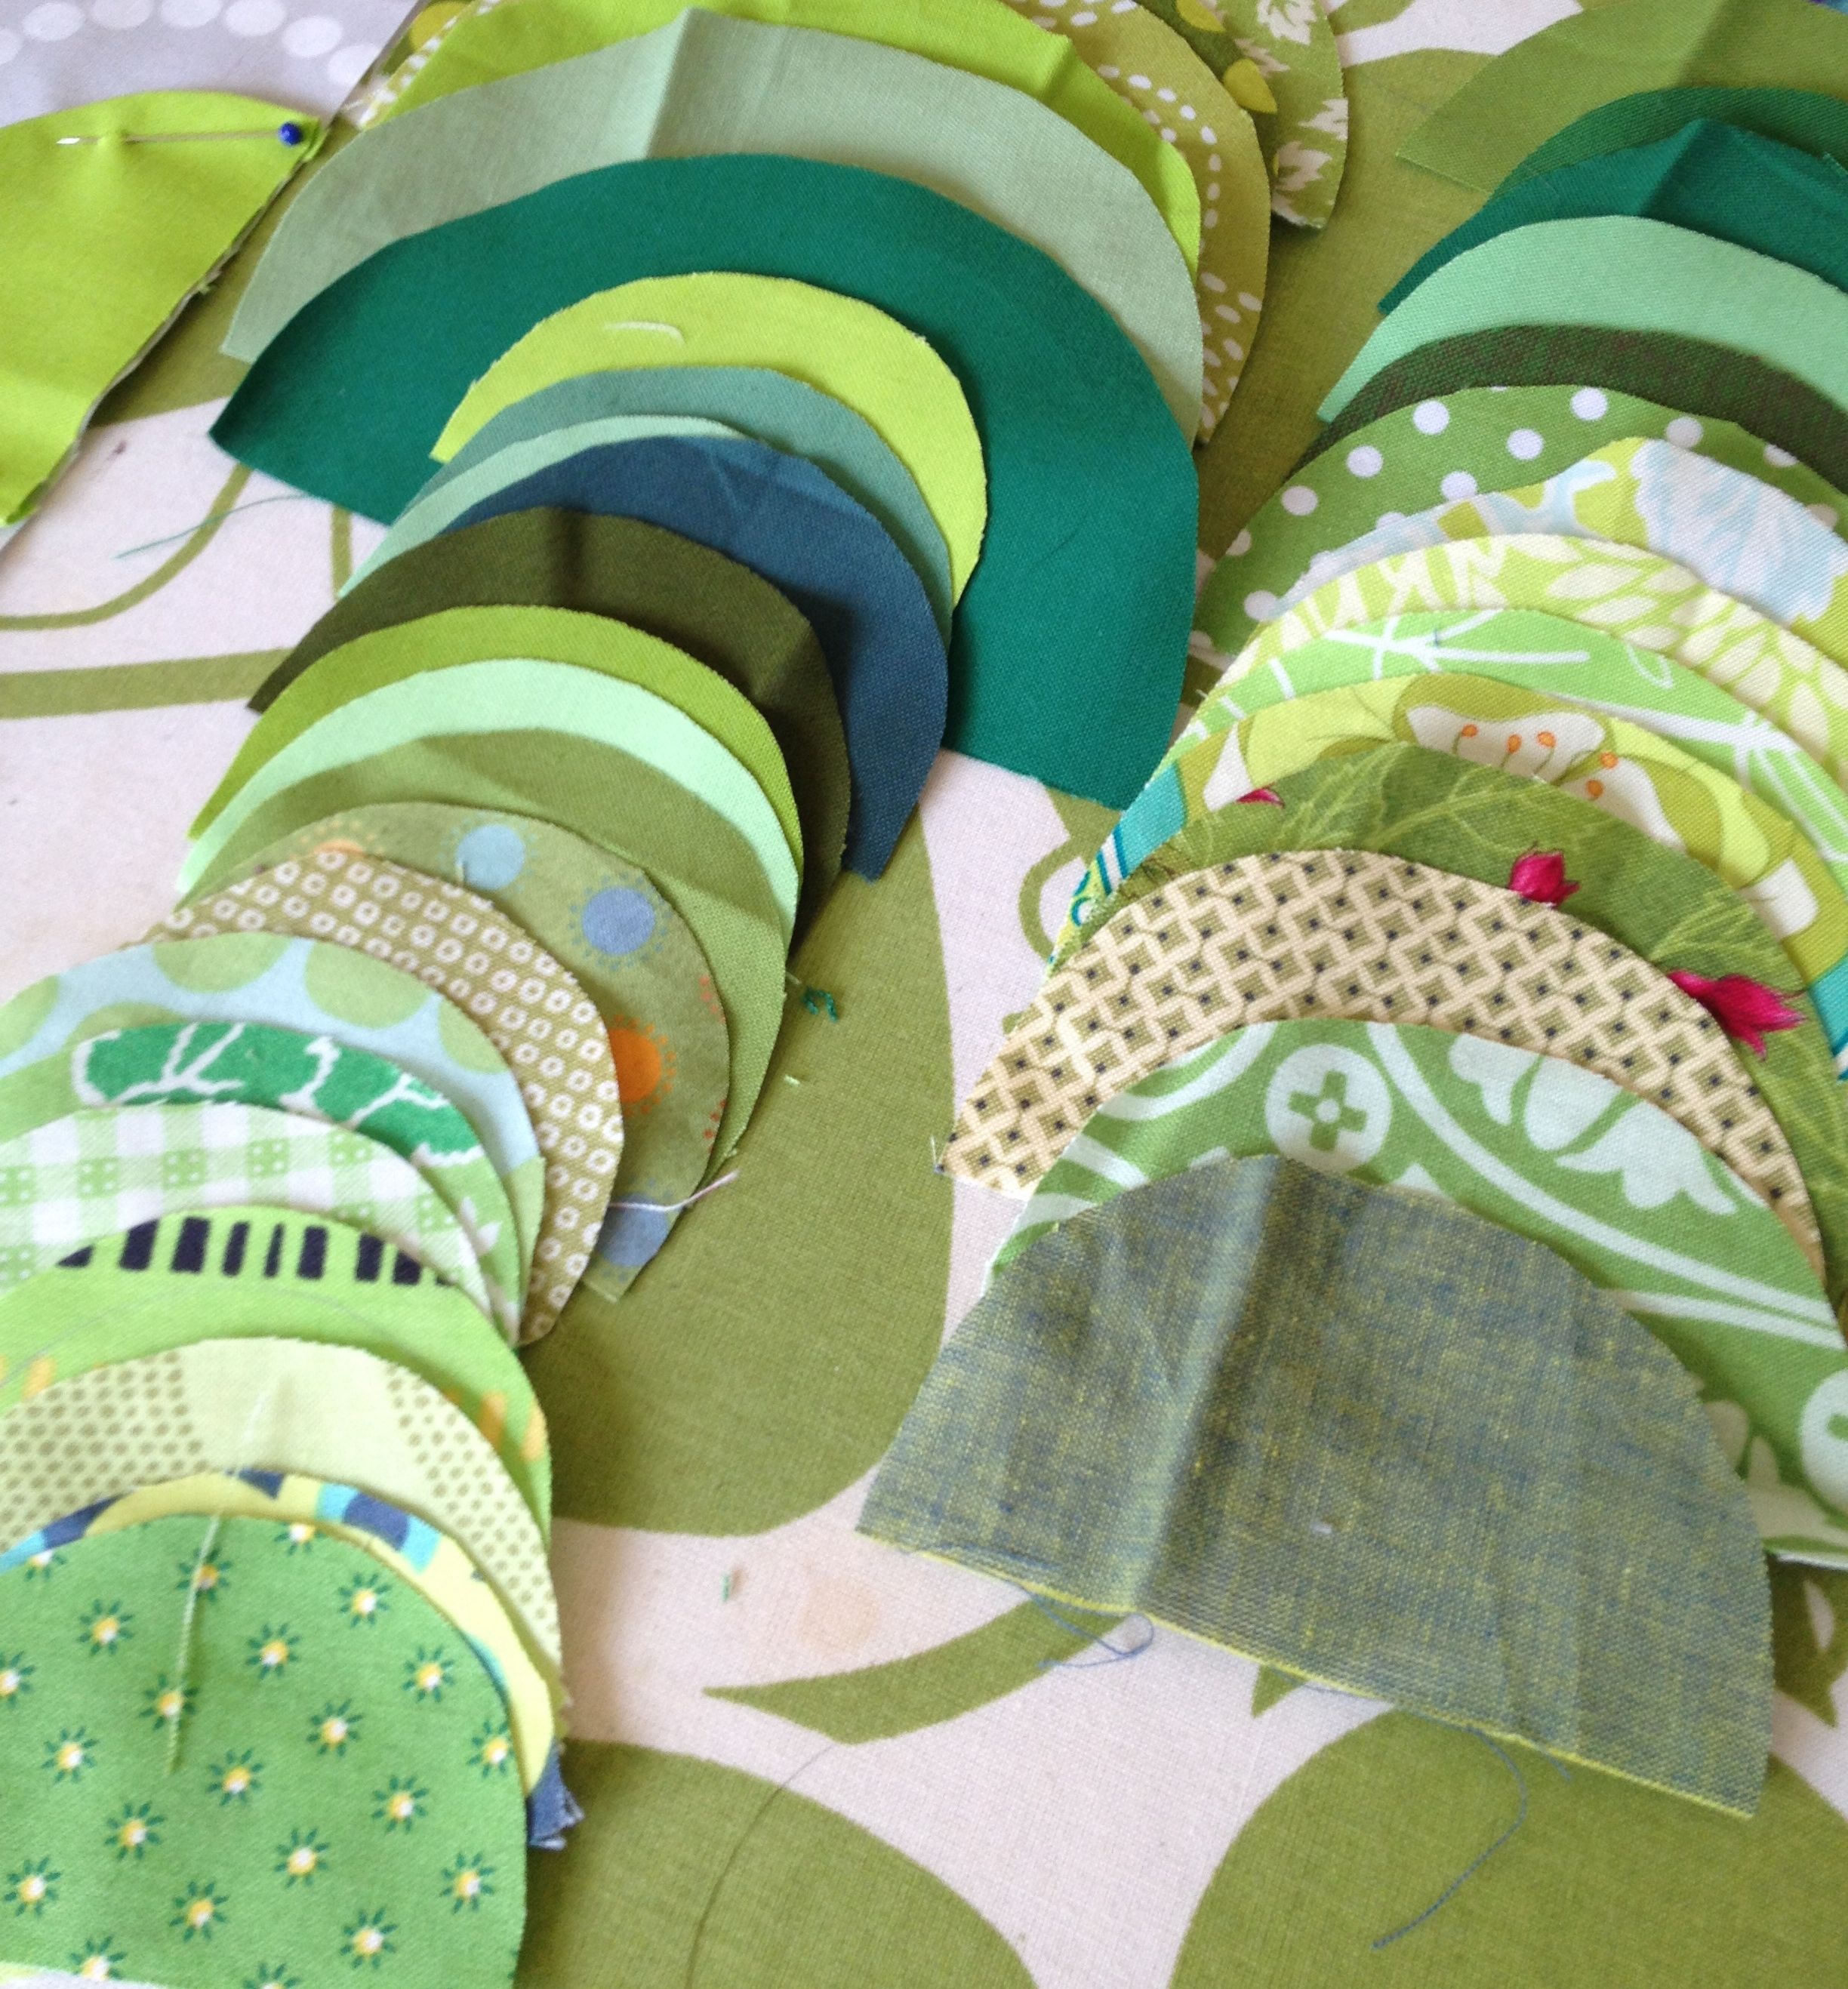
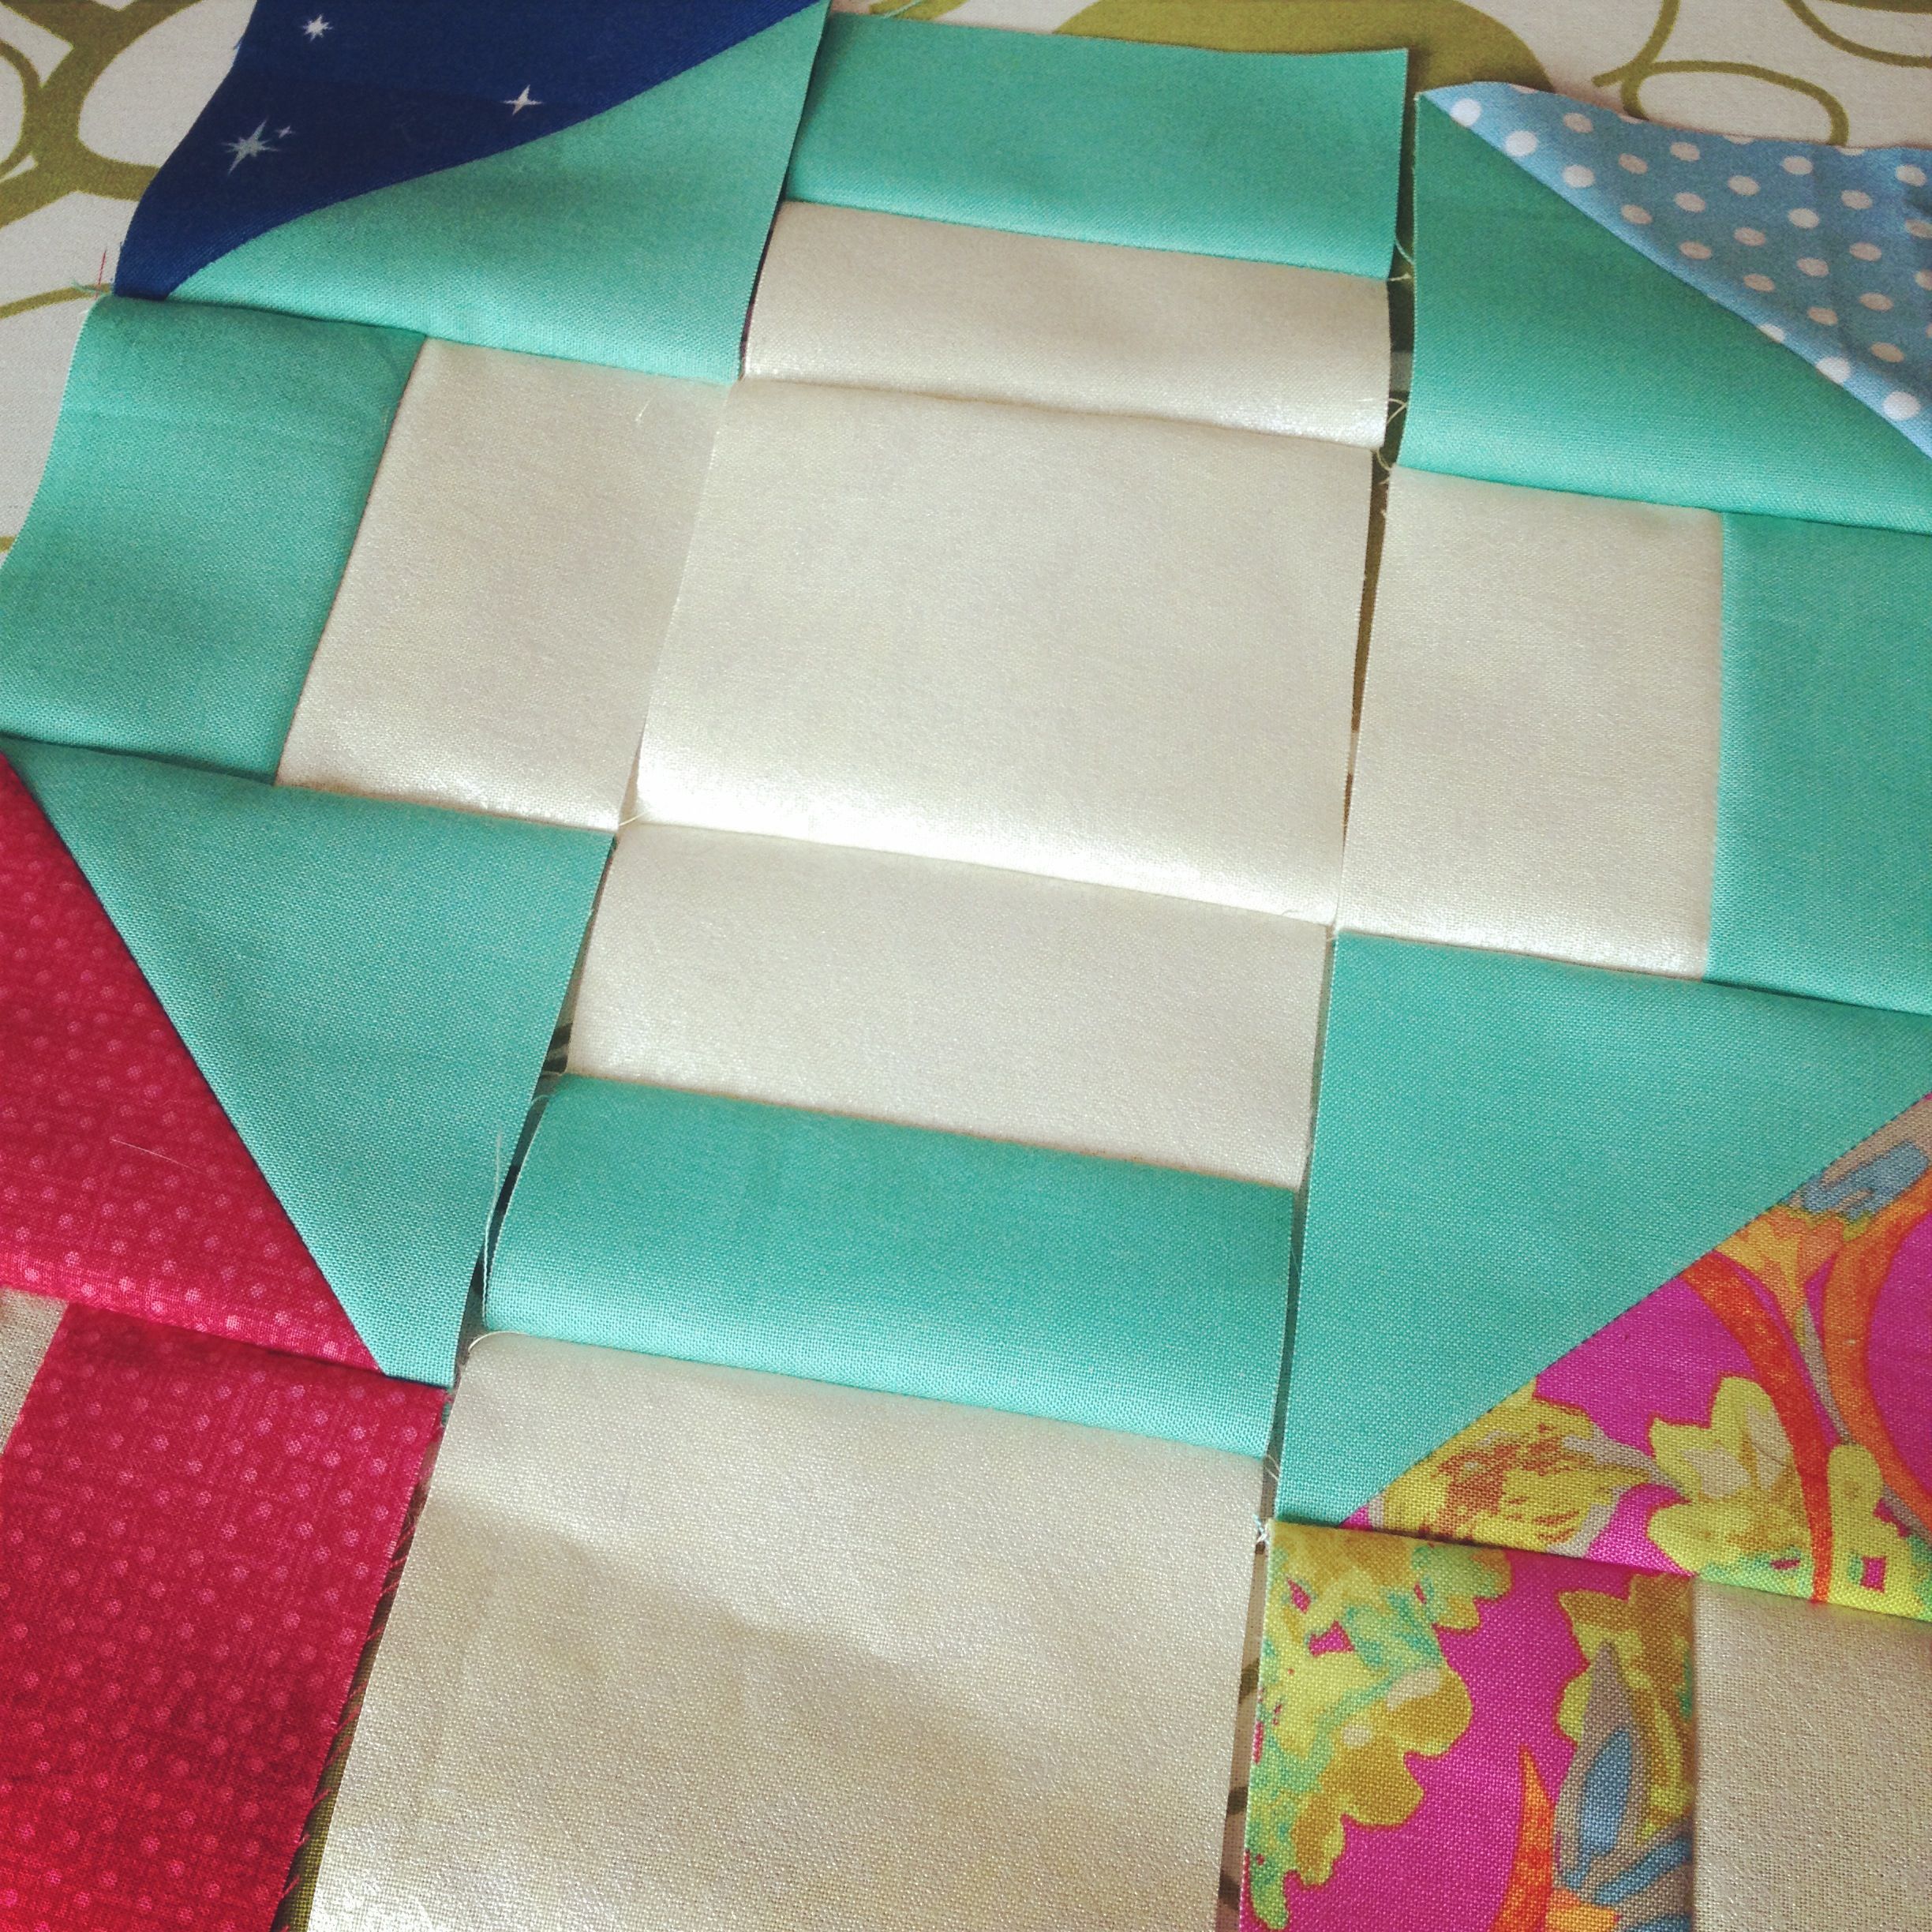
I cut a centre panel from the fat quarter and then cut 2 1/2″ strips from the Heron print making sure the Herons were going up and down and across. Then I started sewing the jelly roll strips on. From time to time I would insert a Heron to break up the solids and use more of the fabric.

Heron Log Cabin
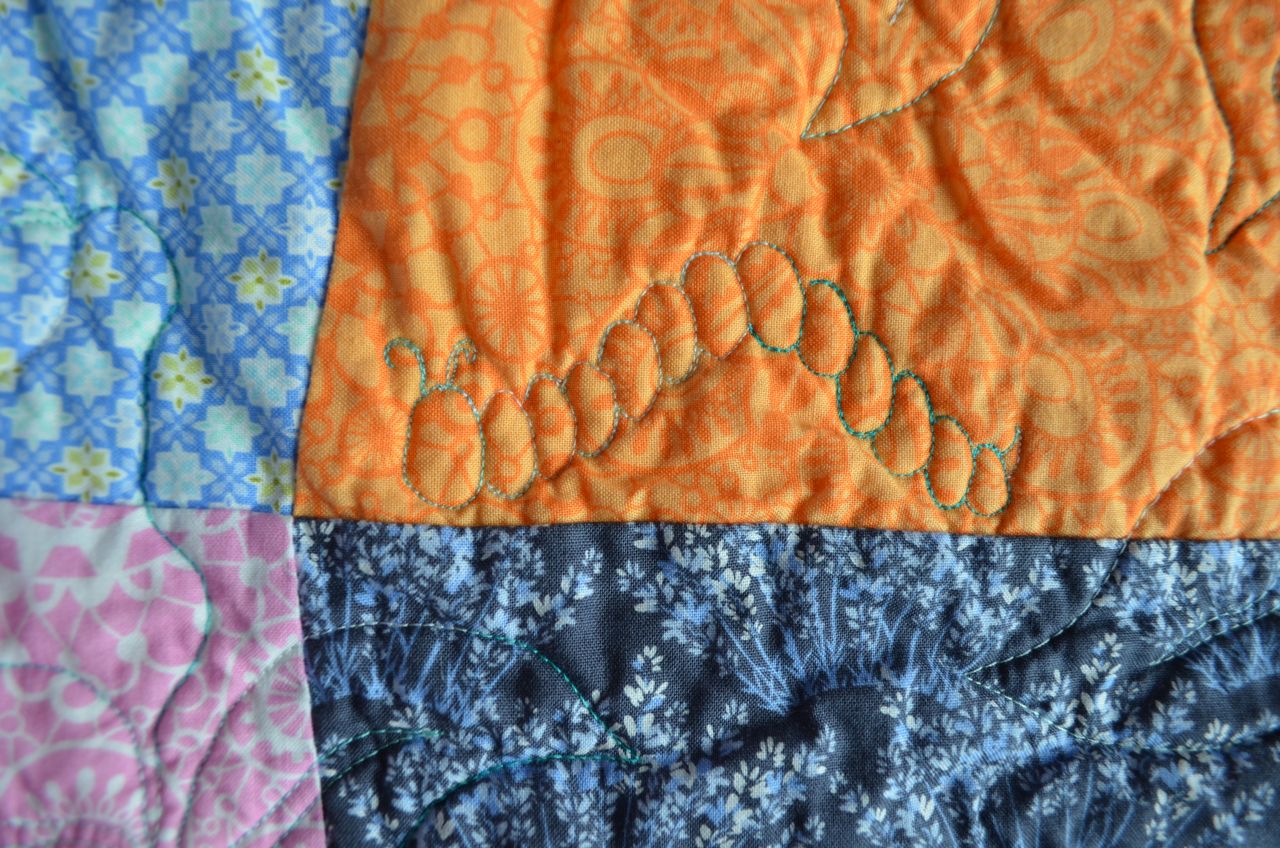
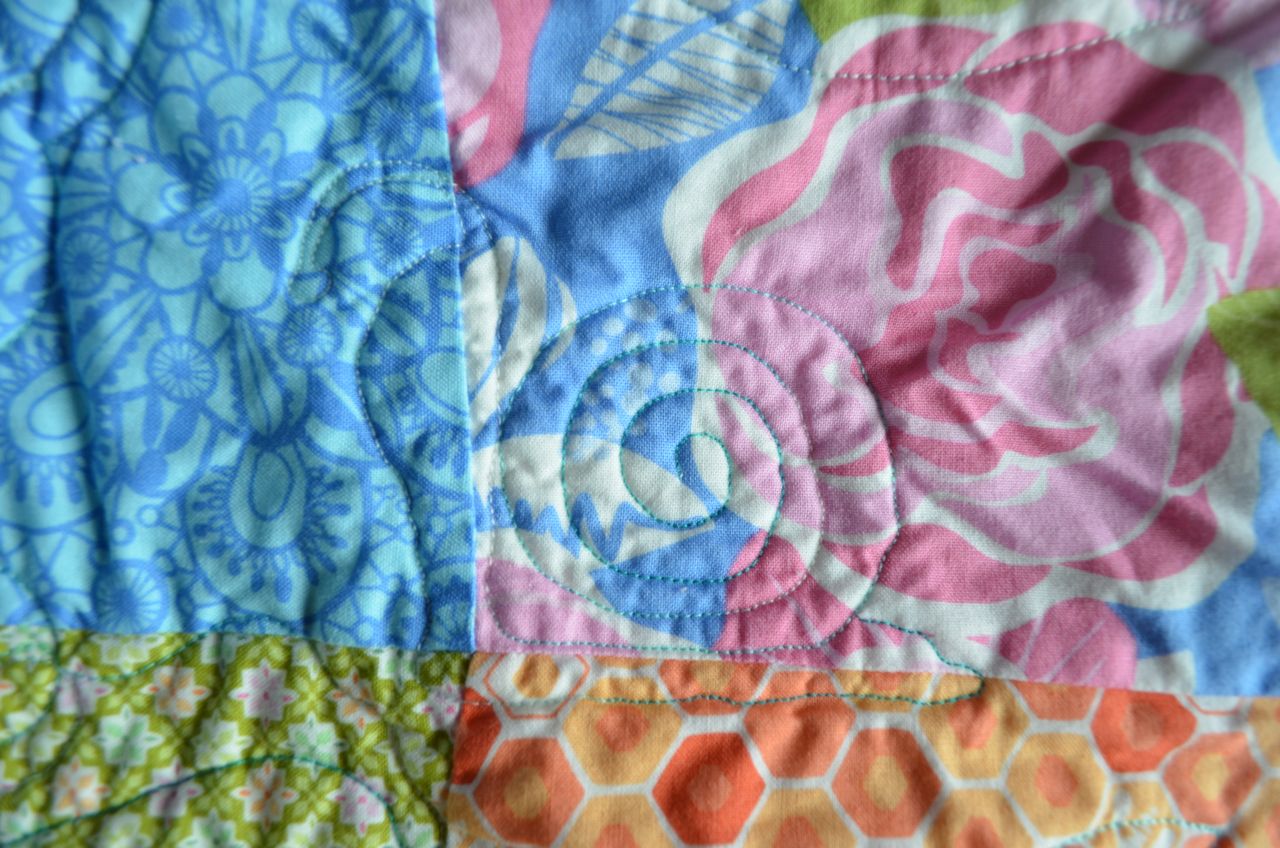
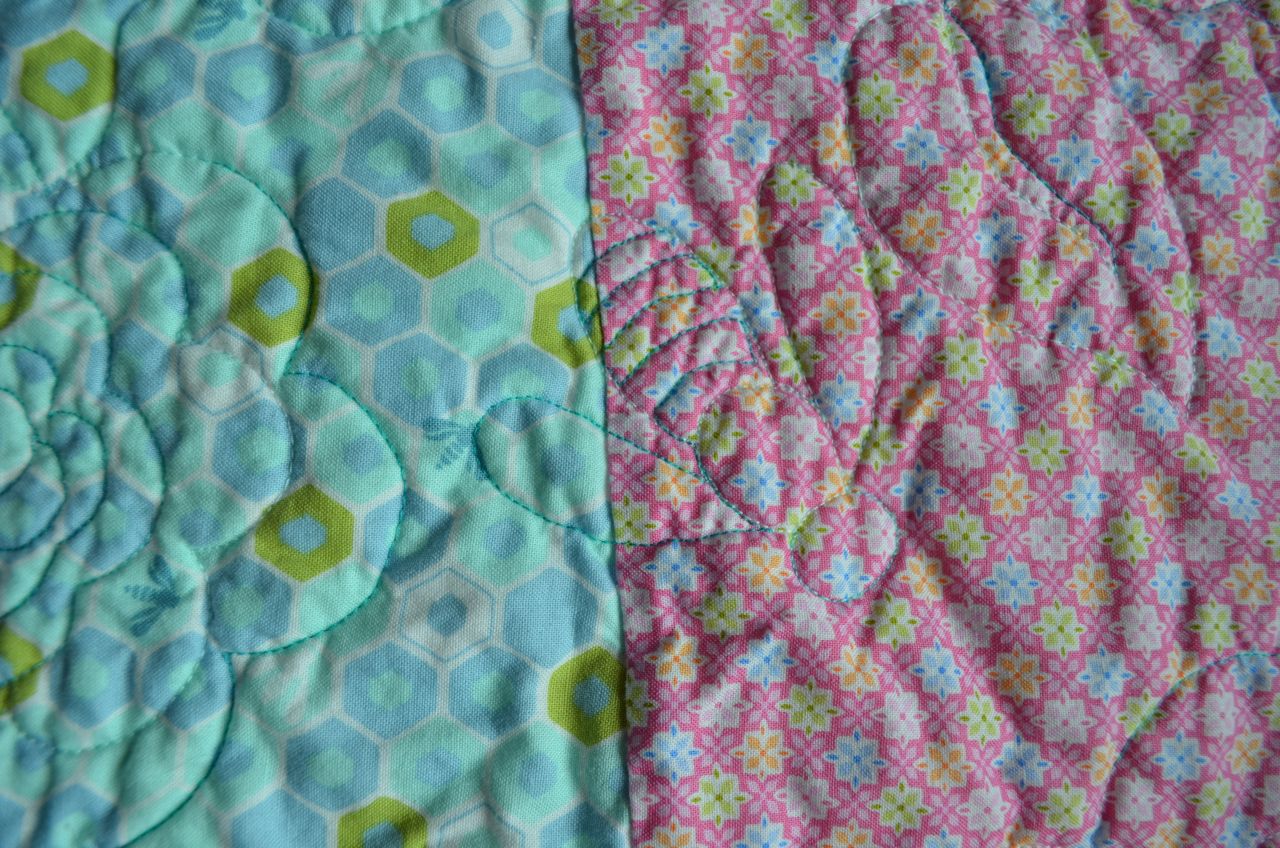
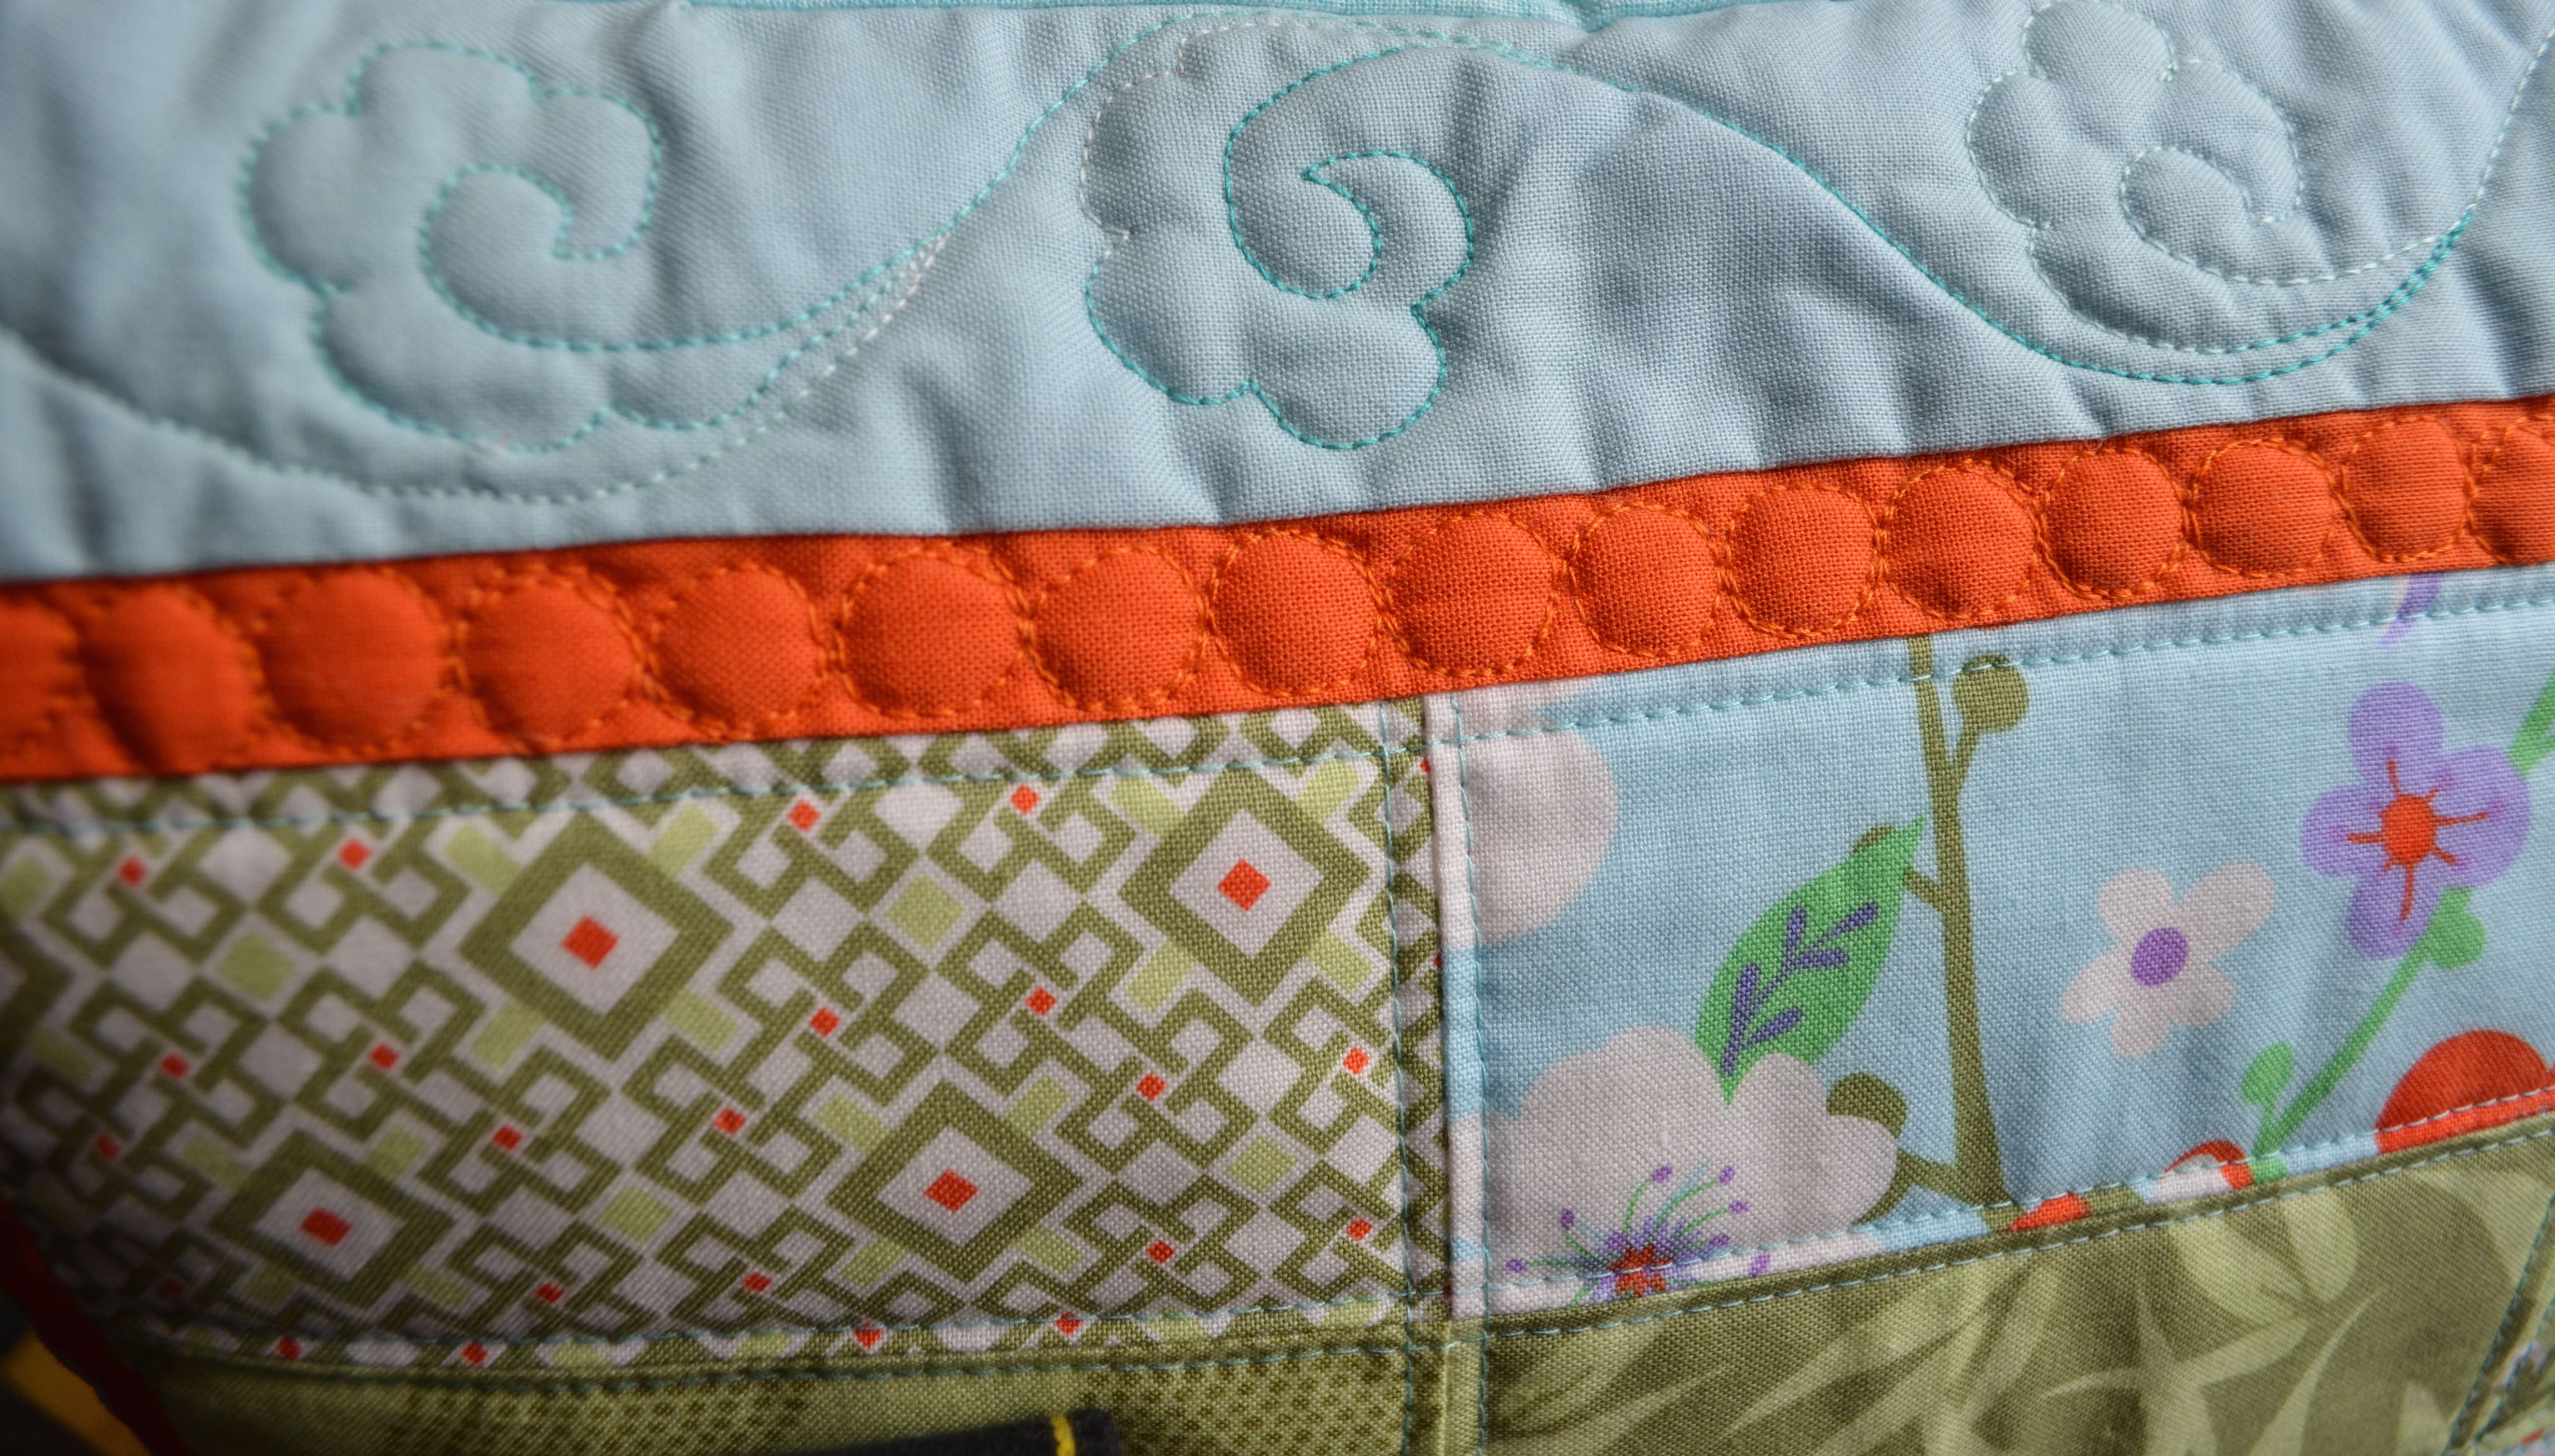
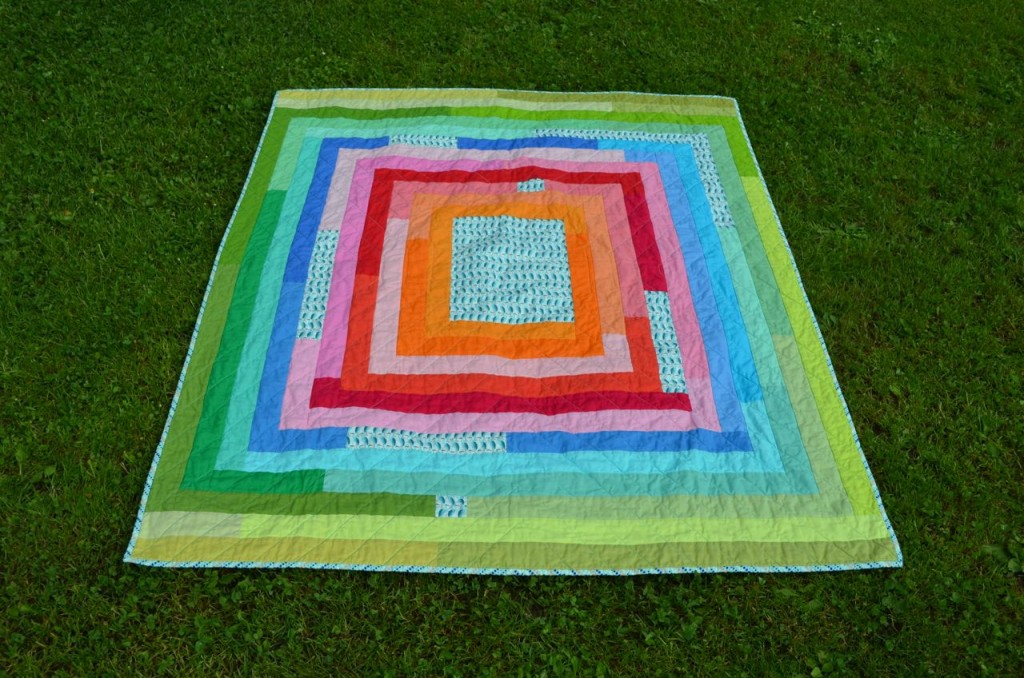
In the end I only used the oranges, pinks, reds, blues and greens from the jelly roll. I wasn’t sure how to quilt it so I asked for advice on Instagram and Krista from Poppyprint sent me a picture of how she would quilt it. It’s basically like chevrons going towards the centre. I think it gives the quilt a wonderful modern look.

Heron Log Cabin

The quilt was pieced with Aurifil 50wt in 2600 and quilted in the fabulous variegated Aurifil 40wt that I seem to use on all my quilts lately, number 4654. It finishes at 46″ x 57″ and is perfect for snuggling on the sofa. It’s backed in the Ikea Britten Numbers and bound with Windmarks Mirage from Tule by Leah Duncan for Art Gallery Fabrics.

Heron Log Cabin

Please take the time to go and browse all the other fantastic entries to the Blogger’s Quilt Festival. I’m sure you will find lots of great inspiration. All you have to do is click on the link below.


AmysCreativeSide.com

By the way, this quilt was on my FAL and I’m happy to say that it means I have finished two of eleven WIPs. I’d better get a move on!

Blogger’s Quilt Festival: Mini

Nothing like waiting for the last second to enter the Blogger’s Quilt Festival, eh? I’ve been humming and hawing whether I should and, if yes, what I should enter. In the end I decided to enter Jewel into the mini category. I’ve made a lot of EPP minis and I like them all but this one makes me especially happy because of its cheerful colours and because it was made as a ‘thank you’ for a very special lady. You can read my original posts about this mini here and here.

Jewel

This is the design I started with and the colours I decided to use. I’m not really a rainbow person but I thought it really worked for this design which had been sitting on my computer for quite a while and which I’d named Jewel.

Beginnings

It didn’t take me long to deviate from my plan but I quite liked where it was going.

Jewel being hand quilted

I did some hand quilting with some Aurifil 12wt in 4660 and added a dotty red binding to tie back to the red centre.

Jewel

I left out the last round because I liked the way it looked when I put it onto the background of some Lizzie House Pearl Bracelets in light grey.

It wasn’t all that difficult to send off to Karie as I knew it was going to someone who would appreciate it.

Please take a minute or two and check out all the other wonderful quilts at the Blogger’s Quilt Festival over on Amy’s Creative Side.


AmysCreativeSide.com


PatCH

Friday I went to a quilt show here in Switzerland. It was organised by the Association of Swiss Quilters and was held in Solothurn which is only 20 minutes away by train. I met up with the lovely Helen from runquiltknitwrite and we had a great time looking at all the quilts and shopping for a bit of fabric.

You weren’t allowd to take any pictures of the quilts which I thought was a real shame as I really didn’t want to spend money on a catalogue (not if I could spend it on fabric!!!). I did sneak in one picture though with my phone.

Quilt

Quilts in Switzerland don’t seem to be about snuggling or warmth but all about art. They were all made for hanging on the wall, some with paper, plastic and bubble wrap on them. One had lots of bobbins sewn on it, others had buttons or 3D flowers. Did I like the quilts? A few. Was the show inspirational? Yes, absolutely. It made me want to push some boundaries and maybe make an art quilt for hanging on the wall. Just because I would like to see if I can. However, it also made me realise that I love to make things I can use as well as look at and that I would probably be in the wrong place if I joined the Swiss quilting association.

kaffe

What about the fabric I bought? Actually it wasn’t very much. I bought a Kaffe Fassett print that I absolutely adore and a few purple fat quarters as I want to make Little Miss Bossy-Boots a new quilt. She’s getting too big for the pink log cabins (although it’s still perfect for snuggles on the sofa) and prefers purple to pink now. Slowly but surely I’m trying to find enough purple fabrics to make her a Dresden plate quilt. I’m going to add more colours but want to start with the purples first.

yellow

Solothurn also houses the best fabric shop I have seen in a long time, Stoffartig. It most definitely has everything my little heart desires: quilting cottons, voiles, corduroy, jersey etc and everything else you need for quilting and dressmaking. It was like Aladdin’s cave and I got a bit overwhelmed. In the end I only bought a remnant and some interfacing. However, I will be back.


Birthday Quilt

I’m not sure why but on Wednesday last week I suddenly decided to make my mother a quilt for her birthday. It had to be a quick finish as her birthday is today. Layer cake to the rescue!

I bought a layer cake of ‘Honey, Honey’ by Kate Spain quite a while ago. The prints are so cheerful and gorgeous, I absolutely love them. In fact, I decided while making this quilt that I have to try and find some yardage of some of the prints as I think they are p.e.r.f.e.c.t. I have yet to see a collection by Kate Spain that I don’t love but this one truly makes my heart sing.

Mam's Birthday Quilt

Every now and then I pulled out the layer cake and wondered what pattern I should use to make a quilt. I put it back not being able to decide. Now that I knew I was making a quilt for my mother I had to come up with something. In the end I decided to go for big tumblers to let the fabrics do the talking.

Cutting Tumblers A bit of washi tape on the ruler ensured that the angles were all the same. As some of the prints were directional I had to make sure I cut the tumblers the right way and I’m pleased to report I only made one mistake. As it was fairly early on I could swap that tumbler with one from one of the other rows and sort it like that.

The quilt was pieced with Aurifil 40wt (2021) and free motion quilted with my favourite Aurifil 40wt (4654). I did some big flowers, leaves and insects and added Little Miss Bossy-Boots’ and my name and the year. My fmq may not be perfect but, by Jove, I had a lot of fun doing it.

FMQ FlowerCaterpillarSnailBeeNames

I love this quilt and I hope my mother does too (I might just steal it back if she doesn’t). The best thing? Kate Spain saw my picture on Instagram and wished my mum a ‘happy birthday’.

Happy Birthday

Modern Churn Dash: A Quick How-To

While I was sewing my churn dash quilt, a Dashing Echo, I always thought of it as a ‘modern churn dash’ and somehow this name stuck. The churn dash block is a traditional block and I love the look of it. Changing it up a bit felt a little strange but I love the new look. When I showed my quilt on the blog I was asked if I could write a little how-to for it and I’m happy to oblige.

Modern Churn Dash

I’m sorry to say that I cannot remember how much of the background fabric I used but  believe I started with two meters and had some left over. For the churn dashes I used 10 different fat quarters.

Cutting

  • Background: 15 x (8.5″ x 8.5″) and 32 x (4.5″ x 8.5″)
  • Five whole churn dashes: 2 x (9″ x 9″) cut diagonally and 4 x (4.5″ x 8.5″)
  • Two 3/4 churn dashes: 1 x (9″ x 9″) cut diagonally and 2 x (4.5″ x 8.5″)
  • two half churn dashes: 1 x (9″ x 9″) cut diagonally and 1 x (4.5″ x 8.5″)
  • Four 1/4 churn dashes: 1 x (9″ x 9″) cut diagonally and 1 x (4.5″ x 8.5″) Note: you only need one of the triangles

Once you’ve cut all your fabrics lay out your churn dashes starting with the one in the centre.

Modern Churn Dash

The difference between the traditional churn dash and this version is that it’s not sewn in blocks but in rows. The pattern is a repeat of four different rows. My quilt is constructed from nine rows; rows 1, 2, 3, 4, 1, 2, 3, 4, 1.

Modern Churn Dash Row

Each row can be split up into blocks.

Modern Churn Dash Blocks

Sewing

  • Sew the half square triangles (HSTs) making sure you do not jumble up the colours. Pick two triangles from the first row, sew together and press. I like to press the seams open. Trim to 8.5″ x 8.5″, put them back in the correct place and grab the next pair. Sew all the HSTs together.
  • Now sew together the rectangles. They consist of one background rectangle and one coloured one and can therefore easily be chain pieced. Press and put back in the correct place.
  • Sew the blocks into rows.
  • Sew the rows together.
  • Baste, quilt and bind your quilt.
  • Snuggle!

And if you turn the blocks sewn from rectangles 180 degrees you end up with some positive doughnuts

Positive Doughnut

If you have any questions regarding this how-to please don’t hesitate to ask.


Good Fortune

I love all of Kate Spain’s fabric lines and would buy every single one of them if I had more money. I did, however, buy a charm pack of ‘Good Fortune’ two years ago. Some of those charms were used in my first ever foundation paper pieced project, the double ring of flying geese, Lynne taught at the first Fat Quarterly Retreat and which ended as a cushion.

Some more charms were used to make this cushion. I do apologise for the quality of the pictures. It’s a grey and miserable day here today.

Good Fortune

This time I decided to play around with the quilting as I really want to become more confident at free motion quilting. I decided to quilt a grid in the centre simply following the seams using an Aurifil 50wt (5006), do some pebbling on the orange border with some Aurifil 40wt (2150) and a leaf pattern in the blue border with my favourite variegated Aurifil 40wt (4654).

Good Fortune Detail

My pebbles are definitely pebbles and not circles and some of my leaves have been visited by caterpillars but I love the textures and imperfections and can’t wait to do some more free motion quilting on my Heron Log Cabin which is up next.

I have found that for me the ideal speed at which to free motion quilt is a snails pace. That’s alright, though, it becomes quite relaxing when you go that slowly.

This is my first finish on this quarter’s Finish Along list.

How not to…

…write a tutorial. I finally sat down to write the tutorial for my Modern Churn Dash quilt and totally messed up because I was trying to finish the sewing before I had to pick up Little Miss Bossy-Boots from Kindergarten. However, I really like the mess I made and am happy to show it to you.

Oops!

This is what the churn dash looks like when you sew some of the pieces the wrong way. I did it with the first row and didn’t realise it until I finished sewing together the second row. I had the choice to unpick but decided to continue instead.

Positive Doughnut

I’m not sure what this block is called but I named it the ‘positive doughnut’ and I love it so much that I’m thinking of turning it into a quilt rather than a cushion as planned. It means I’ll have to go and buy some more of the background fabric, a shimmery little Michael Miller number.

The tutorial for the churn dash will be posted this week with lots of illustrations drawn in TouchDraw…

Modern Churn Dash